
1. The base of the card is Cherry Cobbler cut
at 5-1/2” x 4-1/4” and the second layer is 4”x 5”.
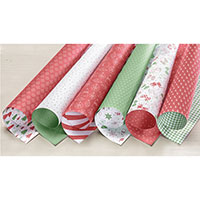
2. The DSP is cut at 1” x 5”.
3. The circle is cut with the Layering Circle
Framelits using the second to the largest circle die.
4. Next, I used the October Paper Pumpkin Kit
by putting the largest window sheet over the circle on the inside. Then, I attach the largest Dimensional Circle
from the kit. Then, I used a pinch each
of the sequins for the inside (except for the Pool Party ones). Then I used the tree printed background from the
kit to place over the Dimensional Circle.
5. I put the strip of DSP at bottom of the
card and wrapped the ribbon around the very top of the DSP and tied an extra
piece on to the right side of the card.
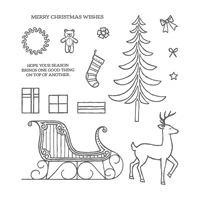
6. I stamped the deer with Soft Suede ink on
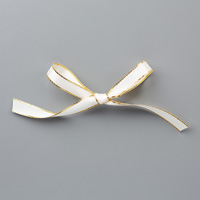
Whisper White cardstock and die cut him out with the Thinlet Die. I stamped the bow on Cherry Cobbler cardstock
with Cherry Cobbler ink and die cut it out and attached to the reindeer with a
Glue Dot. I attached a Rhinestone to the
center of the bow and used Mini Dimensionals to attach to my card.
7. I inked up the sentiment “Merry Christmas
Wishes” with Cherry Cobbler ink on Whisper White cardstock and trimmed the
sides with Paper Snips to create a banner.
8. I mounted it on Cherry Cobbler cardstock with the Foam Adhesive Strips.
8. I mounted it on Cherry Cobbler cardstock with the Foam Adhesive Strips.
Products I used:


.jpg)


No comments:
Post a Comment
Thanks for taking the time to comment on my blog. You have made my day!