Wednesday, November 27, 2024

Yuletide Village with Frosted Forest trees in an arch

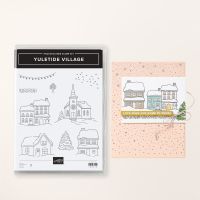
This is the card that I used for my monthly November swap.  The theme was "Christmas Card" but although there is no message on the outside, there is on the inside "From Our House to Yours" from the Humble Home stamp set.  I used lots of Wink of Stella for the roof and ground.  I was inspired by Karin Sommer Braxton's card.


Stamp Set:  Yuletide Village and Humble Home

Cardstock:  Thick Basic White, Basic White, Sentimental Christmas DSP, White Glimmer Paper from Berry Burst, Old Olive & White Specialty Paper

Ink:  Tuxedo Black Memento

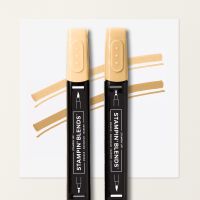
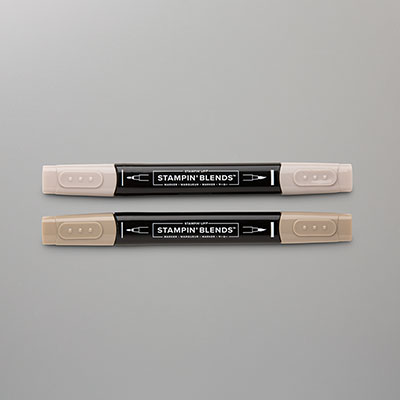
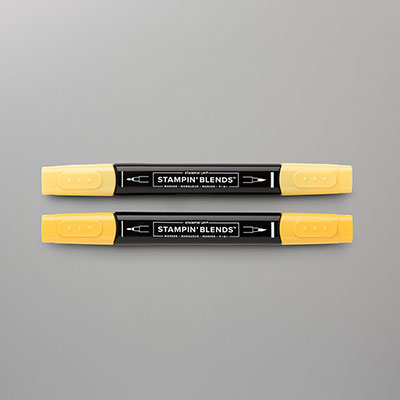
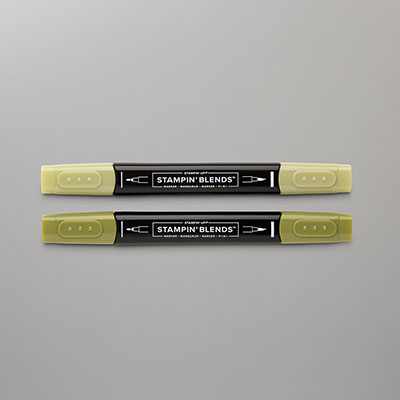
Stampin’ Blends:  Shaded Spruce, Daffodil Delight, Soft Sea Foam

Other:  Stampin’ Cut and Emboss Machine, Frosted Forest Dies (3 trees), Garden Meadow Dies (arch), Multipurpose Glue, Stampin’ Dimensionals, Pearls from Cherry Cobbler & Pearl Adhesive Backed Berries, Wink of Stella


1.     The base of the card is Thick Back White cardstock cut at 5-1/2” x 8-1/2” and scored at 4-1/4” in the middle.

2.    The DSP is cut at 3-3/4” x 5” and adhered to the front base of the card.

3.    Cut Basic White cardstock at 4” x 5-1/4” and use the arch die.  Adhere to the card except for the very bottom.

4.    Die-cut the trees from the White Glimmer Paper and insert into the bottom with Multipurpose Liquid Glue.  May need to trim off part of the ground.

5.    Ink up the house image with Tuxedo Black Memento on Basic White but leaving some of the white ground when trimming it out with the Paper Snips. Color it in with the Stampin’ Blends.  Adhere in front of the trees with Stampin’ Dimensionals at the top and Multipurpose Glue at the bottom.

6.    Use Multipurpose Glue at the bottom of the frame when satisfied.

7.    Use lots of Wink of Stella on the roof and ground covering.

8.    Add Peal Adhesive Backed Berries.


Products I used:


Product List
 

Tuesday, November 26, 2024

Sweetest Star - Easel Card


 This is an easel card made with the Sweetest Star stamp set bundle which comes with a punch to punch out the star Santa.  I cased this card from Selene Kempton because it is so adorable but I changed the measurements a little bit from hers.  It was one of her 2024 Holiday Inspirations that she emailed to me.  Here are my instructions:

Stamp Set:  Sweetest Star

Cardstock:  Thick Basic White, Real Red, Basic White, Take a Bow DSP

Ink:  Tuxedo Black Memento

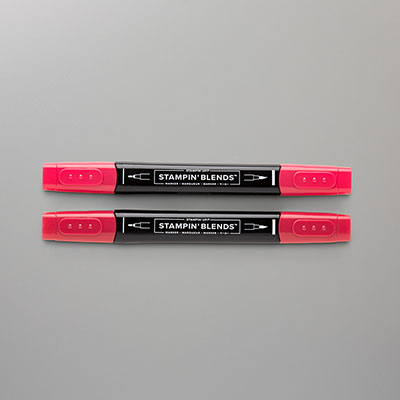
Stampin’ Blends:  Real Red, Basic Black, Daffodil Delight

Other:  Stampin’ Cut and Emboss Machine, Stylish Shapes Dies, Sweetest Star Punch, Adhesive Backed Peppermints, Wink of Stella, Multipurpose Liquid Glue, Stampin’ Dimensionals, Paper Snips


1.     The base of the card is Thick Basic White cardstock cut at 4-1/4” x 11”.  It is scored at 2”, 4” and 5-1/2”

2.    Cut Real Red cardstock (2 each) at 1-3/4” 4”and (2) at 1-1/4” x 4”.  Cut the Make a Bow DSP at (2 each) 1-1/2” x 3-3/4” (Polka Dots) and (2) at 1” x 3-3/4” (stripes).  Adhere layers together with Multipurpose Liquid Glue.  The one striped one needs Stampin’ Dimensionals to adhere to the inside of the card at the bottom.

3.    Glue the first section at the top down with Multipurpose Liquid Glue.  Add the other stripes layered to it.

4.    Adhere the other polka dot layers to the other sections of the front of the card.

5.    Ink up the sentiment “Wishing You a Holly Jolly Christmas” on ½” Basic White and cut to fit each end at an angle with Multipurpose Liquid Glue to inside layers.

6.    Ink up Santa stamp with Tuxedo Black Memento ink and color him in with the Blends.  Daffodil Delight is for his Belt Buckle.  Use a skin tone for his face.  Use Wink of Stella for his beard, mustache and his cuffs on his sleeves.  Punch him out with the Sweetest Star Punch.  Add Stampin’ Dimensionals to the back of Santa.

7.    Die-cut a Basic White circle, a Real Red circle using the Stylish Shapes Dies.  Layer together with Multipurpose Liquid Glue.  Attach Santa to the layers.

8.    Add three Peppermints above Santa on the Real Red circle.

9.    Adhere Multipurpose Glue to the bottom party of the layers to attach to the bottom panel of the easel card.


Product List

Humble Home - Hoop Ornament

I bought these 3" hoops last year from Amazon, but never found time to create some ornaments with them.  I was searching and found this idea from Anna Wheaton and watched her video on how to make them on YouTube.  She traced around the hoop but there is a 3" Circle Die from the Christmas Friends Dies that should work.  I used Saddle Brown Stazon to stain the hoop with a Dauber.  I think my next one, I will sand it first.  Just create your scene and this one used the Humble Home, tree of Peaceful Evergreen, the Snowflake Embossing Folder.  More details can be found on her video Stampin' Up! Humble Home - Embroidery Hoop Ornament


Monday, November 25, 2024

Yuletide Village Lighted Shadowbox

This is an 8" x 8" White Shadowbox frame that I bought from Amazon.  I bought the tutorial from Kathy Bedell so if you want to know how to make it, you will need to check with her at My Stamping Spot | Just another WordPress site 

I made another one last year using her tutorial and I love them both.  They are fun to make!  It uses the Yuletide Village stamp set that is in the September-December Mini Catalog on page 56.


Tuesday, November 19, 2024

Humble Home - Christmas Card Shoebox Swap


This is the card that I made for my Christmas Card Shoebox Swap.  We had 9 customers that swapped on Sunday, but one of them couldn't make it, so she will bring her cards to me later when she feels better. They did such a wonderful job creating their swap cards.

This was a card designed by Rhonda Wade and it is so adorable that I wanted to make it.  Here are the products I used:

Stamp Set:  Humble Home

Cardstock:  Shy Shamrock, Basic White, Crumb Cake

Ink:  Early Espresso, Real Red, Tuxedo Black Memento

Other:  Stampin’ Cut and Emboss Machine, Paper Trimmer, Timber 3D Embossing Folder,  Stylish Shapes Dies, Paper Snips, Humble Home Builder Punch, 2024-2026 In-Color Shimmer Gems, 3/8” Shy Shamrock Bordered Ribbon, Multipurpose Liquid Glue, Glue Dots, Mini Stampin’ Dimensionals


Friday, November 8, 2024

Humble Home - Cherry Cobbler - Thank You Card

This is another card I made using the Humble Home Bundle.  I used Cherry Cobbler this time and used the Iconic Celebrations Designer Series Paper as well as the Forever Plaid 3D Embossing Folder.  I need lots of thank you cards, so I'm glad this set also has a "thank you" stamp.  I was inspired by Joey Evans Hartman but changed it somewhat.  I used this for my October swap with other demonstrators.

Here are my instructions for this card:

Stamp Set:  Humble Home

Cardstock:  Cherry Cobbler, Basic White, Pecan Pie and Iconic Celebrations DSP

Ink:  Cherry Cobbler, Pecan Pie

Other:  Stampin’ Cut and Emboss Machine, Paper Trimmer, Bone Folder, Paper Snips, Forever Plaid 3D Embossing Folder, Merriest Trees Dies, Humble Home Builder Punch, ¼” Cherry Cobbler & Gold Satin Ribbon, Cherry Cobbler & Pearl Adhesive-Backed Berries, Multipurpose Liquid Glue, Stampin’ Dimensionals and Glue Dots.


1.     The base of the card is Cherry Cobbler Cardstock cut at 4-1/4” x 8-1/2” and scored at 5-1/2”.  Use the Bone Folder to burnish the score lines.

2.    The Cherry Cobbler cardstock for the bottom of the card is cut at 2-3/4” x 4” and inserted into the Forever Plaid 3D Embossing Folder and run through the Stampin’ Cut and Emboss Machine.  Adhere to the bottom with Multipurpose Liquid Glue.

3.    The Pecan Pie cardstock is cut at 3-1/4” x 8-1/2” and scored at 4-1/4”. 

4.    The Iconic Celebrations DSP is cut at 3” x 4” and adhered to the front of the Pecan Pie front with Multipurpose Liquid Glue.

5.    For the inside, cut Basic White cardstock at 3” x 4” and adhere with Multipurpose Liquid Glue.

6.    Die-cut a Basic White tag from the Merriest Tree Dies.  Ink up “Thank You’ Stamp with Cherry Cobbler ink at the top of the tag.  Adhere the tag to the DSP with Multipurpose Liquid Glue.

7.    On a scrap of Basic White cardstock, ink up the brick house stamp with Cherry Cobbler ink.  Ink up the roof stamp with Pecan Pie ink and stamp above the brick house.  Punch out with the Humble Home Builder Punch.  Attach to the tag with Stampin’ Dimensionals.

8.    Ink up the door and windows stamp with Pecan Pie ink on Basic White cardstock.  Cut them out with the Paper Snips and attach with Glue Dots or Mini Dimensionals.

9.    Tie a bow with the ribbon and attach with a Glue Dot over the hole in the tag.

10.  Add three of the Cherry Cobbler Adhesive-Back Berries to the tag.

Products I used:


Product List
Yuletide Village with Frosted Forest trees in an arch
This is the card that I used for my monthly November swap.  The theme was "Christmas Card" but although there is no message on the...