Thursday, January 30, 2020

Heartfelt Braided Border Punch

This is a great card to send to a friend for Valentine's or anytime.  The set is called Heartfelt and it is in the 2020 January-May Mini catalog on pages 8, 9 and 10.  The colors are Flirty Flamingo and Real Red which shows you on page 9 the colors in the Suite to use with the From My Heart Specialty Designer Series Paper.  I bought the whole Suite because I loved everything that was in it.  I plan on baking brownies in the tins by using a brownie mix and filling them up like cupcakes and bake for about 15 minutes at 350.  They come with plastic lids to add after the brownies have cooled and you can decorate each lid using the doilies, ribbon, and sentiments.

Here are the directions for this card:

Stamp Set:  Heartfelt (2020 January-May Mini) Page 10

Cardstock:  Flirty Flamingo, Real Red, Whisper White, From My Heart Specialty DSP

Ink:  Flirty Flamingo or Real Red

Other:  Heart Punch Pack, Braided Border Punch, From My Heart Faceted Gems, Multipurpose Glue, Take Your Pick Tool


1.     The base of the card is Flirty Flamingo cardstock cut at 4-1/4” x 11” and scored at 5-1/2” in the middle.

2.    The second layer is Real Red cardstock cut at 3-3/4” x 5” and from the From My Heart Specialty DSP it’s cut at 3-5/8” x 4-7/8”.  Layer it onto the Real Red cardstock.

3.    Use the Scallop Heart Punch to punch out the heart from the Specialty DSP. Ink up the sentiment “So lucky to have a friend like you” with Real Red or Flirty Flamingo ink depending on which heart you punch out. Put Dimensionals on the back to pop it up.

4.    Punch out from Real cardstock a braided layer using the Braided Border Punch.  Attach with Multipurpose Glue.

5.    Attach 3 Faceted Gems to the card using Multipurpose Glue or Fine-Tip Glue Pen.  Use the Take Your Pick Tool to pick them up using the putty end.

Products I used:


Timeless Tulips in Pineapple Punch

This is another card I made using the Timeless Tulips from the 2020 Mini Catalog which has a lot of sentiments for different holidays.  The color is the In-Color Pineapple Punch which will retire when the new annual catalog comes out.  It is my favorite yellow by far.   I used Old Olive for the leaves and stems.  This set also has a punch that coordinates with it that can be purchased as a bundle to save 10%.  Check it out on page 43 of the catalog.  The background is the embossing folder Coastal Weave on page 39 of the Mini catalog.
Here are my instructions for making this card.  I stamped "Happy Birthday" on the inside of the 2-3/4" x 8" center where this card opens.


Stamp Set:  Timeless Tulips

Cardstock:  Pineapple Punch, Thick Whisper White

Ink:  Pineapple Punch, Old Olive, Memento Black

Other:  Big Shot, Coastal Weave Embossing Folder, Tulip Builder Punch, Multipurpose Glue, Snail, Dimensionals


1.     The base of the card is Thick Whisper White cardstock cut at 4-1/4” x 5-1/2”.

2.    The second layer is Pineapple Punch cardstock cut at 4” x 5-1/4” and inserted into the Coastal Weave Embossing Folder and run through the Big Shot.  Adhere to the front of the card.

3.    The third layer is Whisper White cardstock cut at 2-3/4” x 8” and scored at 4” in the middle.

4.    Ink up the large tulip stamp with Pineapple Punch ink and stamp it at the very top in the middle.  Ink up the stem with Old Olive ink.  Ink it up again with Pineapple Punch on a scrap of Whisper White and punch it out with the Tulip Builder Punch.  Use Dimensionals to adhere to the first stamped image.

5.    Ink up other smaller tulips and stems.  Attach an Old Olive stem with Dimensionals to the large tulip.

6.    On the inside, ink up the sentiment of choice with Memento Black ink.

7.    Adhere to front of the card with adhesive.

Products I used:  

Lovely Lilypad Calendar

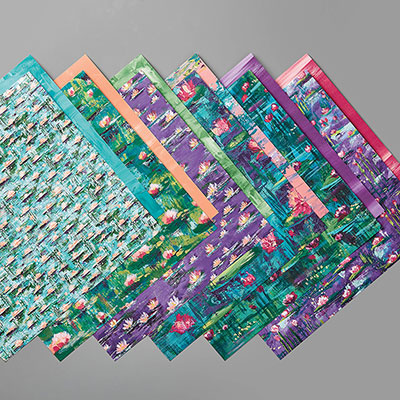
Each January, I like to have my club stamp members make a new stand-up calendar with a current stamp set.  This set is called Lovely Lily Pad and it's from 2020 Sale-a-Bration catalog FREE with a $50 purchase until the end of March.  If you wish to get the Lily Pad Dies that coordinate with it, it is FREE with another $100 order.  Or you could earn both with a $150 workshop and you could earn more FREE Rewards. The background paper is another Sale-a-Bration item with a $50 order. The calendars were purchased through https//vippies.com

Here are my instructions for making this calendar.

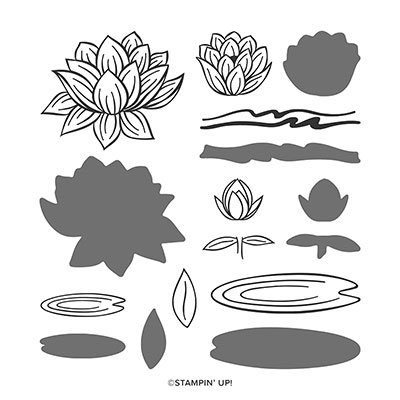
Stamp Sets:  Lovely Lily Pad (SAB), Morning Star (Mini)
Cardstock:  Thick Whisper White, Garden Green, Flirty Flamingo, Lily Impressions DSP (SAB)
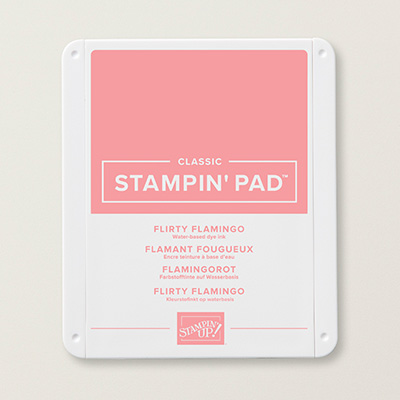
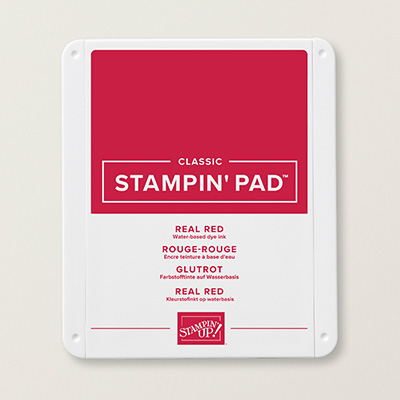
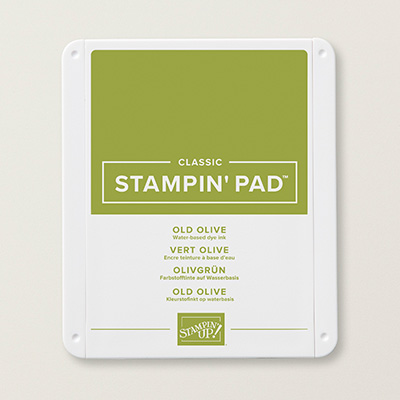
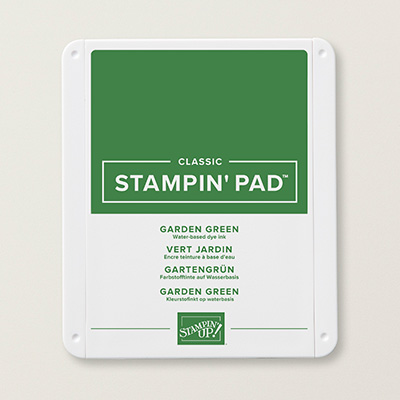
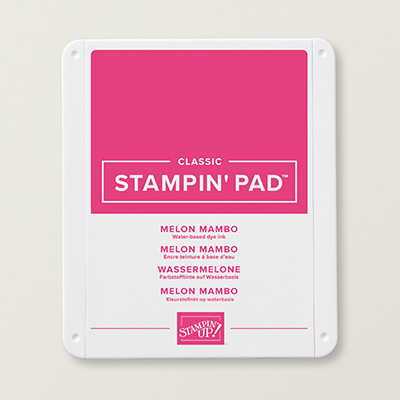
Ink:  Melon Mambo, Memento Black, Garden Green
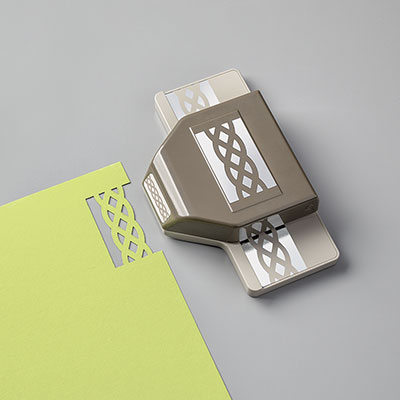
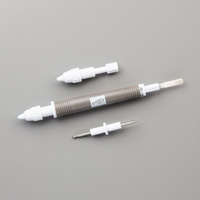
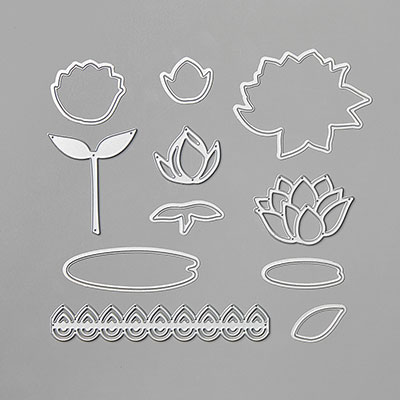
Other:  Big Shot, Bone Folder, Lily Pad Dies, Tear and Tape, Dimensionals, Fine-Tip Glue Pen, Multipurpose Glue, Triple Banner Punch, Multipurpose Glue, Calendars were purchased from https://vippies.com  This was inspired by Erica Cerwin's calendar. 

1.     The calendar is cut from Thick Whisper White cardstock at 4-1/4” x 11” and scored at 5-1/2” in the middle.  Use the Bone Folder so the mountain scored line is on the inside.
2.    The stand between is also Thick Whisper White cardstock cut at 4” x 5-1/2” and scored on the long side at ½”, 2-3/4” and 5”.  Use the Bone Folder to crease all of the scored lines.  Attach Tear and Tape on the small ends and to the inside so that the stand looks like a “W” with short sides.
3.    Lily Impressions DSP is cut at 4” x 5-1/4” and adhered to the base of the calendar.
4.    Ink up the Lily Pad with Garden Green ink and stamp it on Garden Green cardstock.  Die-cut them out with the Lily Pad Dies.
5.    Ink up the Lotus Lily Flower with Melon Mambo ink and stamp it on Melon Mambo cardstock. Die-cut it out with the Lily Pad Dies.  Add the Flirty Flamingo accent die with Multipurpose Glue or Fine-Tip Glue Pen.
6.    Ink up the sentiment “Each day is a new beginning” with Memento Black ink on Whisper White cardstock.  Use the Triple Banner Punch to make a banner end.
7.    Layer everything out before placing it on the calendar.  Remove adhesive on the back of the calendar and attach at the bottom making sure you’ll have room at the top for the sentiment and Melon Mambo Lily flower.  Attach the sentiment banner with Multipurpose Glue as well as the Lily Pad.  Attach the Lotus Lily flower with Dimensionals.


Sunday, January 12, 2020

Timeless Tulip


This is was the first stamp set I decided I wanted to purchase as a demo for the preorder in December from the January-June 2020 Mini Catalog.  It is a Photopolymer stamp set with 15 stamps.  There are 7 sentiments included which could be for Mother's Day, Get Well, Sympathy and Birthday.  I used the Seaside Spray In-Color for the base of my card.  It's listed on page 43 and you can purchase it as a bundle with the Tulip Builder Punch,  If you wish to order any of the products below, just click on the picture and it will take you directly to my website to order.  This is the first card I made using this set.  

Here are my instructions: 


Stamp Set:  Timeless Tulips
Cardstock:  Seaside Spray, Whisper White
Ink:  Seaside Spray, Pear Pizzazz, Memento Black
Other:  Big Shot, Rectangle Stitched Dies, Tulip Builder Punch, ¼” Seaside Spray Metallic Ribbon, Glue Dots, Stamparatus, Dimensionals, Glue Dots, Multipurpose Glue.

1.     The base of the card is Seaside Spray cardstock cut at 5-1/2” x 8-1/2” and scored at 4-1/4” in the middle.
2.    The second layer is Whisper White cardstock cut at 3-3/4” x 5”.
3.    The third layer is Seaside Spray cardstock cut at 3-1/8” x 4-1/2”.
4.    The fourth layer is Whisper White which is die-cut in the Big Shot with the Rectangle Stitched Die (third largest).
5.    Line up the stamps on the Stamparatus for placement Ink up the tulip stamp with Seaside Spray and stamp on the stitched Whisper White rectangle.  Stamp the stems and with Pear Pizzazz.
6.    Stamp the tulip stamp with Seaside Spray on a Whisper White scrap and punch it out with the Tulip Builder Punch.  Add Dimensionals to the back and adhere over the first stamped tulip flower image.
7.    Ink up “Happy Birthday” with Memento Black ink and stamp on the lower left of the tulip.
8.    Take a 2” piece or less of ribbon and tie in a faux bow and trim off the excess.  Attach to the base of the tulip with a Glue Dot.

Products I used: 

March 2024 Paper Pumpkin Fun-Fold Box - Sweet Springtime

  Stamp Set:   March 2024 Paper Pumpkin Kit - Sweet Springtime Cardstock:   #3 Milk Carton Ink: Gorgeous Grape Other:   Paper Trimmer,...