Here are my instructions for my card:
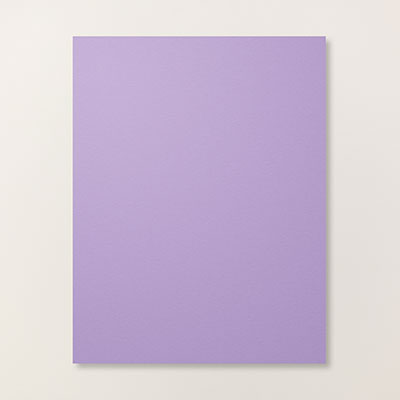
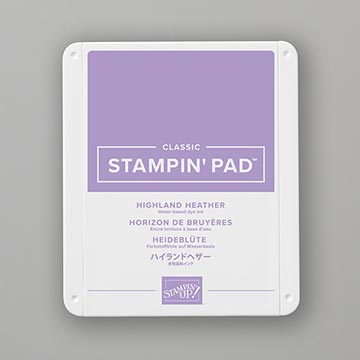
1. The card base is Highland Heather cardstock
cut at 4-1/4” x 11” and scored at 5-1/2” in the middle.
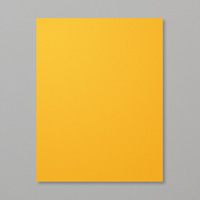
2. The second layer is Whisper White cardstock
cut at 4” x 5-1/4” and layered onto the front of card.
3. The third layer is Old Olive cardstock cut
at 3-3/4” x 5” and layered onto the front of the card.
4. The fourth layer is Vellum cardstock cut at
3-1/2” x 4-3/4” and attached with Glue Dots to the front of the card.
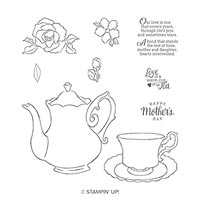
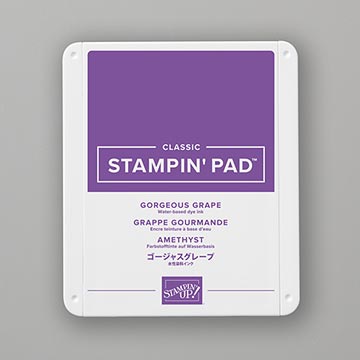
5. The tea pitcher stamp is inked up with
Gorgeous Grape on Whisper White cardstock and then ink up the Crackle Paint
stamp with Gorgeous Grape ink and ink up the pitcher.
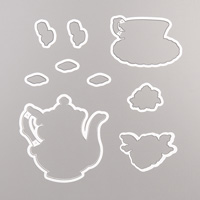
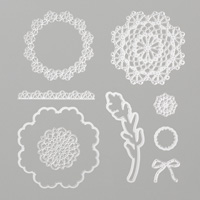
6. Ink up the rose with Memento Black and die
cut both pitcher and rose with the Tea Time Framelit Dies.
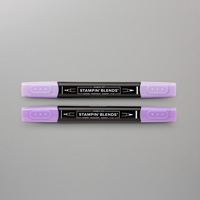
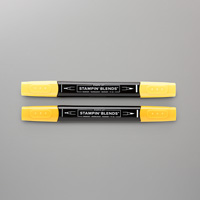
7. Use the Stamping Blends to color in the
Pitcher and the rose.
8. Attach the rose to the pitcher with
Dimensionals.
9. Put Dimensionals on the back of the pitcher
and attach to the upper center of the card.
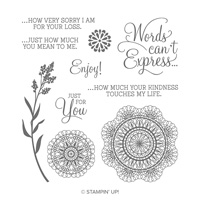
10. Ink up “Happy Mother’s Day” sentiment with
Gorgeous Grape ink on Whisper White cardstock.
Die cut it out with an oval from the Layering Ovals Framelits and a
Highland Heather oval the next size up so the two can be layered together and
attached with a Dimensional at the bottom of the card.
Products I used: