This is the first card I made using the new Celebrate Sunflowers set. I did it for a swap this month. I used the new In-Colors to create it which is Bumble Bee and Just Jade cardstock. The base of the card is Soft Suede. I ran the sunflower through the new Tasteful Textile after die cut it out. I did the same with second layer. I sponged the edges with Soft Suede.
Here is my instructions:
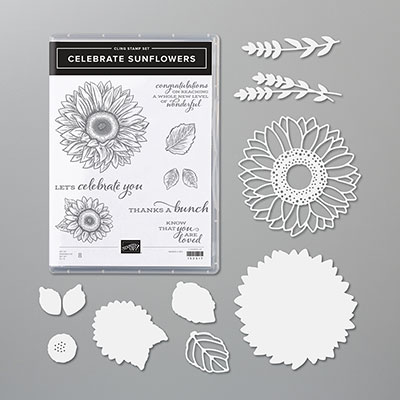
Stamp Set: Celebrate Sunflowers #152517 (Page 13 of
2020-21 AC)
Bundle: #154065 for $51.25 on page 175
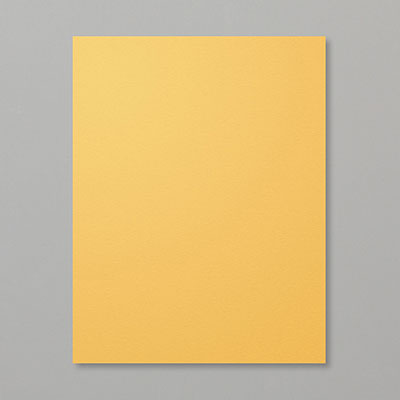
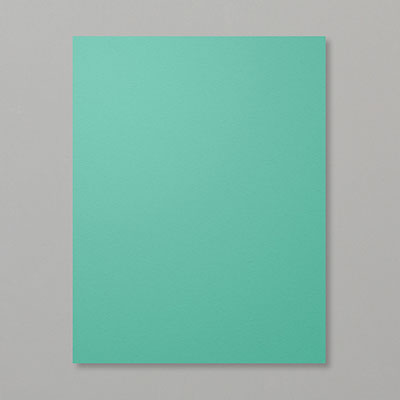
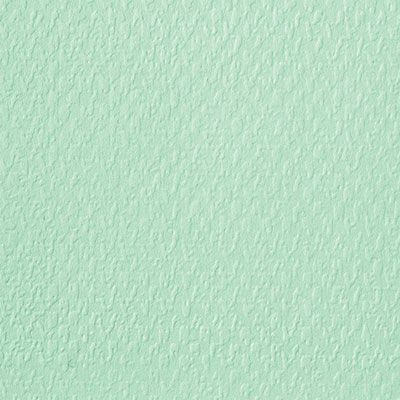
Cardstock: Soft Suede #115318, Bumble Bee #153077, Just
Jade #153079
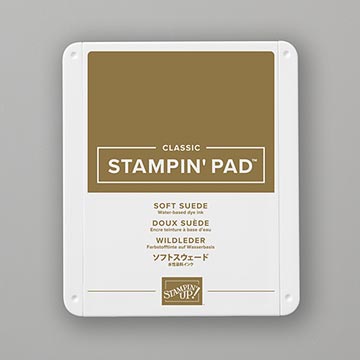
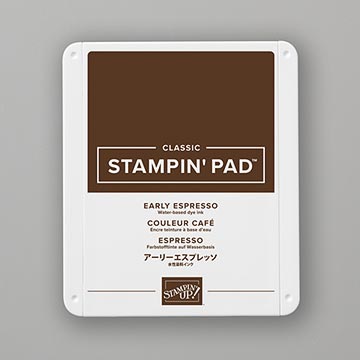
Ink: Soft Suede #147115, Garden Green #102584
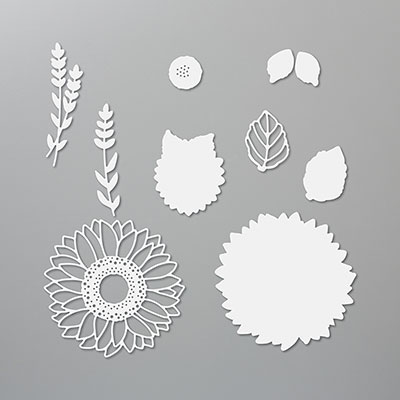
Other: Die Cutting Machine, Sunflower Dies #152704,
Tasteful Textile 3D Folder #152718, (N) Adhesive Sheets #152334, Sponge #141337,
Multipurpose Glue #110755, Dimensionals #104430, Wink of Stella #141897
1. The base of the card is Soft Suede
cardstock cut at 5-1/2” x 8-1/2”and scored at 4-1/4” in the middle.
2. The second layer is Bumble Bee cardstock
cut 4” x 5-1/4” and inserted into the 3D folder and run through the die-cutting
machine. Then ink up the edges with a
Sponge and Soft Suede ink. Adhere to the
base card with Multipurpose Glue.
3. Cut a 3-1/2” x 3-1/2” square of Soft Suede
cardstock.
4. Ink up two large leaves on Just Jade
cardstock using Garden Green ink. Die
cut with the Sunflower Dies (leaf).
Adhere to the square with Multipurpose Glue in the top left corner and
the bottom right corner. Use Wink of
Stella.
5. With the outline die of the sunflower and
using Bumble Bee cardstock, die cut the base of the sunflower. Then insert it into the Tasteful Textile 3D
Folder and run it through the die-cutting machine. Sponge the edges of Soft Suede ink.
6. Next use the detailed overlay sunflower die
using the Bumble Bee cardstock. I used
an adhesive sheet for the backing so it is easier to adhere to the base of the
sunflower.
7. Die cut the center using Soft Suede
cardstock and the Sunflower Die. Adhere
with a Dimensional. Add Wink of Stella
to the center of the sunflower.
8. Attach Dimensionals to the back of the
sunflower and attach to the Soft Suede square over the leaves.
Products I used: