Tuesday, October 23, 2018

Farmhouse Christmas

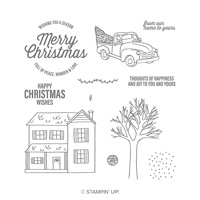
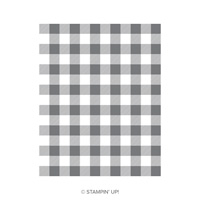
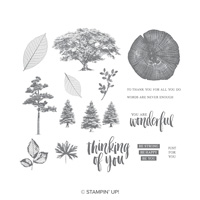
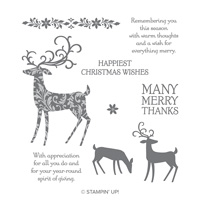
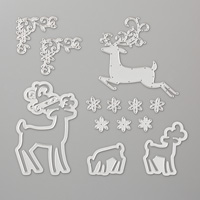
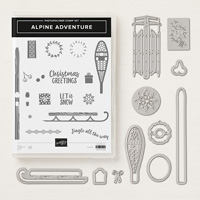
When I first received the 2018 Holiday Catalog, this was the first stamp set bundle that really caught my eye.  I love the pick up truck with the tree, but it also has a house, a tree, a wreath, a fence and some great sentiments.  It also uses the Buffalo Check Background in the Holiday Catalog and another set from the annual catalog called Rooted in Nature.  This is a card I designed and had my club members make on Sunday.
It was their favorite card to make.  Here are the instruction for this card:

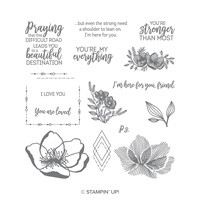
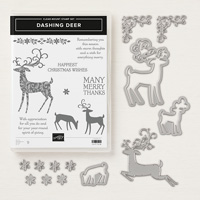
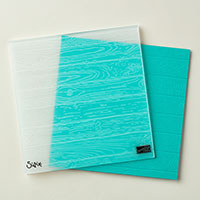
Stamp Sets: Farmhouse Christmas, Rooted in Nature, Buffalo Check
Cardstock:  Shaded Spruce, Cherry Cobbler, Crumb Cake, Whisper White
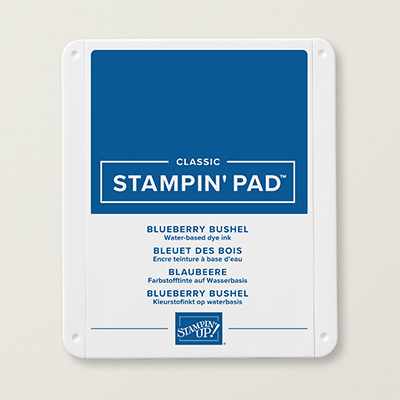
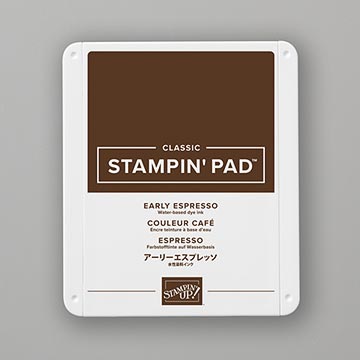
Ink:  Memento Black, Shaded Spruce, Cherry Cobbler, 
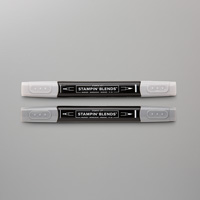
Stampin’ Blends:  Shaded Spruce, Cherry Cobbler, Basic Black (or Smoky Slate)
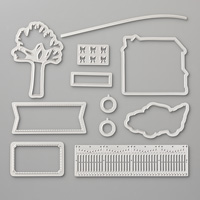
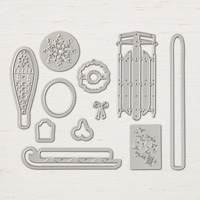
Other:  Big Shot, Farmhouse Framelits, Layering Circle Framelits, Sponge, Snail Adhesive, Multipurpose Glue, Dimensionals

1.     The base of the card is Shaded Spruce cardstock cut at 5-1/2” x 8-1/2” and scored at 4-1/4” in the middle.
2.    The second layer is Cherry Cobbler cardstock cut at 4” x 5-1/4”.  Ink up the Buffalo Check BG stamp with Memento Black ink.  Lay 4” x 5-1/4” cardstock on top of inked rubber facing up.  Lay a scrap of scrap copy paper over the cardstock and press all over with your hand.  Remove scrap and carefully lift your cardstock and set aside.   Attach to the front of the card with Multipurpose Glue.
3.    The third layer is Crumb Cake cut at 2-1/2” x 5-1/4”.  Carefully, tear the top and bottom edges and sponge with Shaded Spruce ink.  
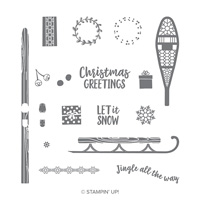
Ink up the trees from Rooted in Nature with Shaded Spruce ink and stamp across the Crumb Cake torn cardstock.  Attach to the front of the card slightly towards the bottom.
4.    Ink up the truck with Memento Black ink and stamp on scrap of Whisper White cardstock.  Die cut before you color with the Stampin’ Blends.
5.    Ink up the sentiment stamp first with Cherry Cobbler ink and stamp on Whisper White cardstock. Clean off the stamp! Die cut the circle with the Layering Circle Framelits.  Now, ink the same stamp with Shaded Spruce ink and use the die to cut it out in the Big Shot. 
6.    Attach truck to the lower left by the trees with Dimensionals.  Attach the sentiments to front of card with Multipurpose Glue and then Dimensionals above the trees.

Products I used:


Dashing Deer

A few months ago, I saw this card on Etsy for sale, and thought I could make a card similar to hers.  The stamp set is called Dashing Deer and the colors I used are Blueberry Bushel (new In-Color) and Gray Granite.  Here are the instructions for my card:


Stamp Set:  Dashing Deer

Cardstock:  Whisper White, Blueberry Bushel (In-Color)

Ink:  Blueberry Bushel, Gray Granite

Other:  Big Shot, Swirls and Curls TIEF, Detailed Deer Thinlits, Multipurpose Glue, Rhinestones


1.     The base of the card is Whisper White cardstock cut at 5-1/2” x 8-1/2” and scored at 4-1/4” in the middle.

2.    The second layer is Blueberry Bushel cut at 4” x 5-1/4” and inserted into the Swirls & Curls TIEF.  Attach to the front of the card with Multipurpose Glue.

3.    Cut a Whisper White cardstock triangle about 3” x 4” and ink up “Happiest Christmas Wishes” at the bottom.  Attach to the card with Multipurpose Glue.

4.    Ink up the deer with Gray Granite ink onto Whisper White cardstock and die cut with the Detailed Deer Thinlets in the Big Shot.  Attach to the triangle and to the right of the card front as shown in the picture above.

5.    Die cut the flourish die with Whisper White cardstock in the Big Shot.  Attach a Rhinestone in the center of the flower.  Die cut a Blueberry Bushel flower in the Big Shot and attach a Rhinestone in the center.

Products I used:

Alpine Adventure

Just got this set "Alpine Adventure" yesterday and I already wanted to play with it and create a card that was similar to one I did in 2015 called Warm Wishes. 
Here are the instructions for my Alpine Adventure card:
1.     The base of the card is Early Espresso cardstock cut at 5-1/2” x 8-1/2” and scored at 4-1/4” in the middle.
2.    The second layer is Soft Suede cardstock cut at 4” x 5-1/4” and inserted into the Pinewood Planks Dynamic TIEF and run through the Big Shot.
3.    The next layer is Crumb Cake cut at 1-3/4” x 4-1/4” and inserted into the Corrugated Dynamic TIEF and run through the Big Shot.  May need to trim to fit four inches across the card.  Attach to the front of the card with Tear and Tape. Take a Galvanized Button with 3/16” Braid Linen Trim inserted into the holes and frayed. Attach to the left side of the card with Glue Dots on the corrugated cardstock.
4.    Die cut the sled from the Country Lane DSP using the Alpine Sports Thinlets Die in the Big Shot.  Attach to 2” x 4-1/4” Very Vanilla Cardstock and then layered onto a 2-1/4” x 4-1/2” Early Espresso cardstock.  Attach with Dimensionals to the right side of the card.
5.    Ink up the sentiment “Let it Snow” with Early Espresso ink and stamp onto Crumb Cake cardstock.  Die cut it out using the Alpine Sports Thinlets Die and attach to the sled with a Dimensional.
Here are the products I used for the new card:


Products Retiring Soon

  Hi Stampers: The Last Chance Products are on sale now!  That's right from 9-30 April, you can save up to 60% off of your favorite prod...