Sunday, July 21, 2019

Pigs Can Fly

Don't you just love this little flying pig?  I created this card for a swap I'm in this month.  The theme was "Anything with Wings" so why not a pig with wings?  The stamp is from the set "This Little Piggy" in the 2019-20 Stampin' Up! annual catalog.
Here is the instructions for my card:

Stamp Set:  This Little Piggy
Cardstock:  Rich Razzleberry, Petal Pink, Whisper White
Ink:  Memento Black
Stampin’ Blends:  Dark and Light Petal Pink, Dark and Light Rich Razzleberry
Other:  Big Shot, Subtle Embossing Folder, Layering Circles Dies, Banner Triple Punch, Dimensionals, Multipurpose Glue, Wink of Stella

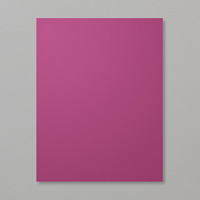
1.     The base of the card is Rich Razzleberry cardstock cut at 4-1/4” x 11” and scored at 5-1/2” in the middle.
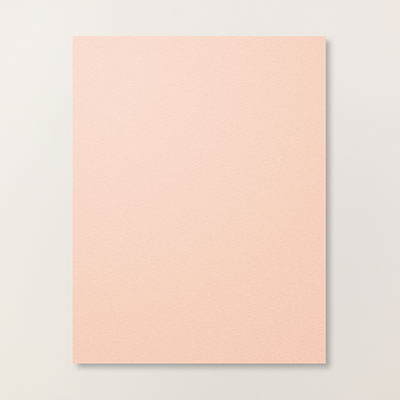
2.    The second layer is Petal Pink cardstock cut at 4” x 5-1/4” and inserted into the Subtle Embossing Folder and run through the Big Shot.  Adhere to the front of the card with Multipurpose Glue.
3.    The banner is Rich Razzleberry cardstock cut 2” x 5” and inserted into the Banner Triple Punch and adhered to the center of the card with Multipurpose Glue.
4.    Using the Layering Circles Dies in the Big Shot, cut the largest scalloped circle die from Rich Razzleberry cardstock.  Cut second to the largest circle die from Whisper White cardstock.
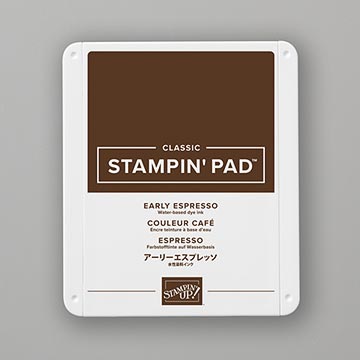
5.    Ink up the “flying pig” stamp with Memento Black ink and stamp it on the Whisper White circle die. 
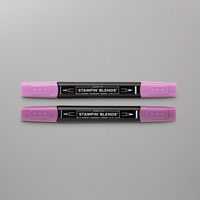
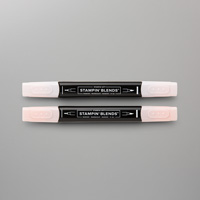
6.    Color the pig in with the Stampin’ Blends and use the Wink of Stella on his wings, hooves, snoot and curly tail.  Attach to the scalloped circle with Multipurpose Glue.
7.    Put Dimensionals on the back and adhere over the banner.

Products I used for this card:


Thursday, July 11, 2019

Let it Ride with Crackle Paint

This card makes a great masculine birthday card.  It was inspired by Mary Deatherage's card that I saw on Pinterest only I changed it up a bit.
Here are my instructions for this card:


Stamp Set:  Let it Ride, Crackle Paint

Cardstock; Early Espresso, Crumb Cake

Ink:  Early Espresso, Mossy Meadow

Other:  Big Shot, Pinewood Planks Embossing Folder, Story Label Punch, Mossy Meadow Baker’s Twine (from Magnolia Lane Ribbon Combo Pack), Glue Dots, Dimensionals


1.     The base of the card is Early Espresso cardstock cut at 5-1/2” x 8-1/2” and scored at 4-1/4” in the middle.

2.    The second layer is Crumb Cake cardstock cut at 4” x 5-1/4” and inserted into the Pinewood Planks Embossing Folder and run through the Big Shot.  Adhere to the front of the card.

3.    The small piece of Crumb Cake cardstock is cut at 2-3/4” x 3-3/4” and the Crackle Paint stamp is inked up with Early Espresso ink.  Then ink up the trees with Mossy Meadow and stamp at the bottom without re-inking to make them appear far away.

4.    Layer it onto the 3” x 4” Early Espresso cardstock with Snail Adhesive.  Put Dimensionals on the back and adhere to the front of the card.

5.    Ink up “Happy Birthday” with Mossy Meadow ink on Crumb Cake cardstock.  Use the Story Label Punch to punch it out. 

6.    Use the Story Label Punch to punch out an Early Espresso label.  Cut it in half and layer it behind the Crumb Cake Label.

7.    Double the Mossy Meadow Baker’s Twine and tie a bow to adhere to the label with a Glue Dot.

Products I used:


2019 Annual Catalog by Stampin' Up! (NA)

Tuesday, July 2, 2019

Seaside Notions - Seahorse

Bermuda Bay is one of my favorite colors so I decided to use it for the base of my card.
The seahorse stamp is from Seaside Notions which is a new set in the catalog this year.  I thought it was so pretty by itself, I decided not to put a sentiment on the front of my card, but on the inside I used "Happy Birthday" embossed with Gold Embossing Powder.  Here are the instructions for my card:
1.     The base of the card is Bermuda Bay cardstock cut at 5-1/2” x 8-1/2” and scored at 4-1/4” in the middle.
2.    The second layer is Noble Peacock Foil (Pretty Peacock) cut at 4” x 5-1/4” and inserted into the High Seas 3D Embossing Folder and run through the Big Shot using the 3D Embossing Folder Plate on top.  Attach to the front of the card with Multipurpose Liquid Glue.
3.    On the Shimmery White cardstock, use the Embossing Buddy, and then ink up the seahorse stamp with Versamark ink.  Sprinkle Gold Embossing Powder over the seahorse and shake off the excess.  Heat set with the Heat Tool. 
4.    Die cut the seahorse using the oval die.  Use the Aqua Painter with Bermuda Bay ink to color the seahorse. 
5.    Die cut an oval scallop die using Gold Foil.  Layer together with adhesive and put Dimensionals on the back to adhere to the front of the card.
Products I used:


March 2024 Paper Pumpkin Fun-Fold Box - Sweet Springtime

  Stamp Set:   March 2024 Paper Pumpkin Kit - Sweet Springtime Cardstock:   #3 Milk Carton Ink: Gorgeous Grape Other:   Paper Trimmer,...