Monday, March 30, 2020

Welcome Easter and Easter Promise

Good Morning!  It's getting closer to Easter, so I've been making a few Easter cards.  This card was inspired by Michelle Zindorf's card but I used the bunny instead of the lamb and changed it a bit from hers.  The stamp sets I used are Easter Promise and Welcome Easter.  I used Memento Black ink, Granny Apple Green and BalmyBlue.  The Stampin' Blends to color the crocus flowers were Highland Heather and Gorgeous Grape and stems and leaves with Granny Apple Green.  The embossing folder is Coastal Weave.  I stamped the bunny on a scrap of Whisper White and colored him in with the Light Highland Heather Blend,  Then I cut him out with the Paper Snips and put Dimensionals on the back.  I attached him to the card where I sponged Mossy Meadow ink for the shadow. 

 Products I used:


Sunday, March 29, 2020

The Gang's All Meer - Missing You!

Front of Card
  
Inside of Card

Hi Stampers,

Yesterday,  I came across a cute card made by a fellow Stampin' Up! Demonstrator, Tina Zinck from Canada, and she was inspired by another demo, Nancy Novak. Thank you to both of you for such a cute idea especially since we are keeping our distance from our friends and family at this time. I had to make one for myself, of course.  It is a fairly simple card to make as long as you have all four sets and products to make it.   The Gang's All Meer set is a FREE Sale-a-Bration set which ends March 31, 2020.  You can always use other sets and other sentiments to create your own or there is still time to SHOP NOW.

These are the products I used:


Beautiful Moments


This is a card that I cased from Karen Henderson (another Stampin' Up! demonstrator) using pretty much the same colors and everything.  I put the Multipurpose Glue on the Silicone Sheet and used a sponge to apply it to the Vellum so that it would not show glue lines.

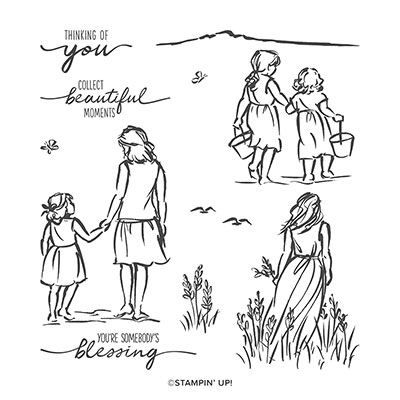
Stamp Set:  Beautiful Moment

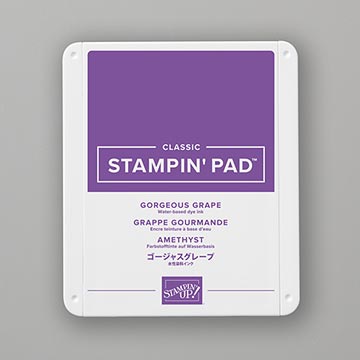
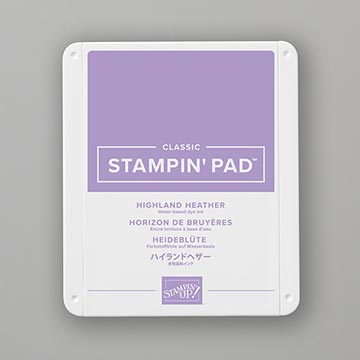
Cardstock:  Highland Heather, Gorgeous Grape, Whisper White, Vellum

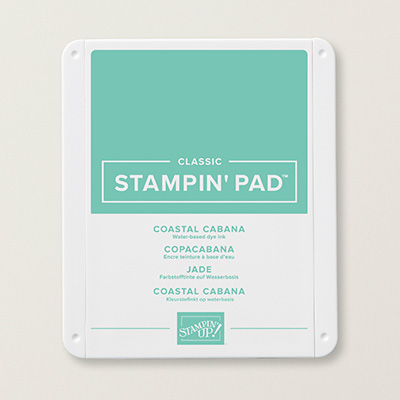
Ink:  Stazon, Coastal Cabana, Gorgeous Grape, Highland Heather

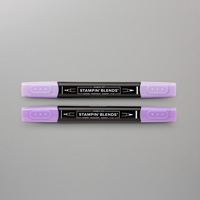
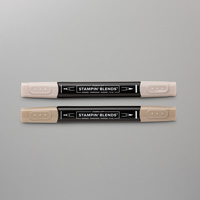
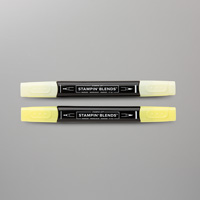
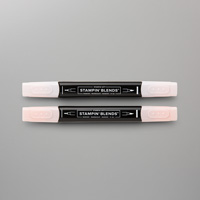
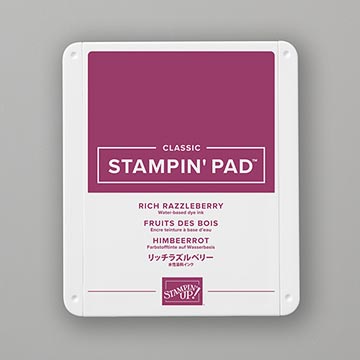
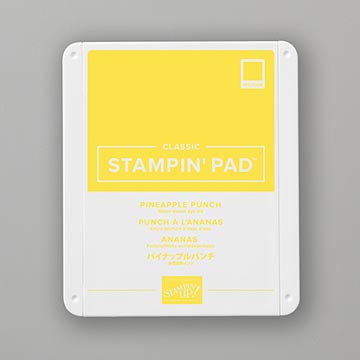
Stampin’ Blends:  Shaded Spruce Dark, Rich Razzleberry, Pineapple Punch, Crumb Cake, Petal Pink

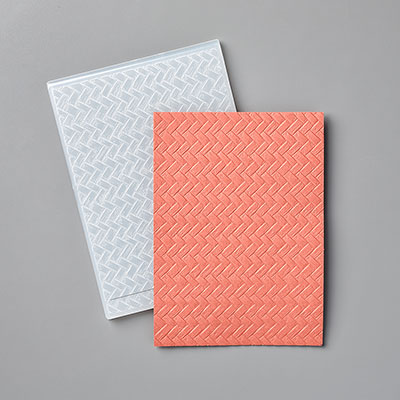
Other:  Big Shot, Subtle Embossing Folder, Sponges, Whisper White Solid Baker’s Twine, Dimensionals, Multipurpose Glue, Silicone Pad


1.     The base of my card is Highland Heather cardstock cut at 5-1/2” x 8-1/2” and scored at 4-1/4” in the middle.

2.    The second layer is Gorgeous Grape cardstock cut at 3-3/4” x 5”.

3.    The third layer is Whisper White cardstock.  Ink up the sentiment “Collect Beautiful Moments” in Gorgeous Grape ink and stamp it at the bottom before inserting it into the Subtle EF before running it through the Big Shot.  Adhere together with Multipurpose Glue and adhere to the front of the card.

4.    Cut Whisper White cardstock at 2-1/2” x 3-1/2” as well Vellum the same size.

5.    Ink up the lady stamp with Stazon ink on the Vellum.  Add the little butterfly.  Let dry!  When dry, turn over and color in with Stampin’ Blends.  (Normally, Stazon and Stampin’ Blends do not work together, but you are coloring the back so they don’t touch each other).

6.    I used Pineapple Punch and then Crumb Cake for her hair.  I used Shaded Spruce Combo for the dress and Dark Rich Razzleberry for the lavender flowers and Petal Pink for her skin.

7.    On the Whisper White cardstock, use a sponge (or makeup brush) to add Coastal Cabana ink about 1/3 of the way down, then do the same with Gorgeous Grape and Highland Heather.

8.    Use Multipurpose Glue on the Silicone pad and sponge the back of the Vellum when dry.  Then attach to the Whisper White cardstock.  Adhere to the 2-3/4” x 3-3/4” Gorgeous Grape cardstock. 

9.    Wrap White Solid Baker’s Twine around both and tie a bow in front.  Put Dimensionals on the back and adhere to the front of the card.

10.  Add 3 Silver Metallic Pearls.

Products I used:


Friday, March 20, 2020

Full of Happiness Fun Fold


This little chick was so adorable that I purchased this set when it first came out in the January-June 2020 Mini-Catalog.  It is called Full of Happiness.  I used the sentiment "Happy Spring" from last year's Fable Friends set which is still current in the annual catalog.  The Designer Series Paper is from the Peaceful Poppies. The fun-fold idea for my card came from stampwithlisamarie.blogspot.com 

 Here are my instructions on how I made my card:
1.     The base of the card is Rich Razzleberry cardstock cut at 5-1/2” x 8-1/2” and scored at 2” and 3-1/8” and turn it around and do the same thing.
2.    Burnish all the score lines with the Bone Folder.
3.    The DSP is cut at 1-3/4” x 5-1/4” – Cut two and one at 2” x 5-1/4”.
4.    The Whisper White cardstock is cut at 1-1/2” x 5” for the back.  Use the flower stamp to ink it up with Pineapple Punch and Rich Razzleberry.  Adhere to the DSP strip and attach it to the back center panel.
5.    Ink up the chick stamp with Pineapple Punch.  Memento Black for the eyes.  Pumpkin Pie for the beak.  Cut out with the Paper Snips. Attach to the center panel in the middle.
6.    Ink up the egg with Rich Razzleberry on Whisper White and die cut with the Dino Dies in the Big Shot.  Put Dimensionals on the back of the egg and place below the chick as though he is coming out of the cracked egg.
7.    Ink up “Happy Spring” from the Fable Friends set with Rich Razzleberry on Whisper White and die cut with the Stitched So Sweetly Dies.  Attach Dimensionals to the back and attach it to the top front panel.

8.     Attach 3 Gingham Gala Adhesive-Backed Sequins.


Products I used:


Supremely Awesome Round Metal Decor

  This is another project they made on Sunday's club.  It is a Galvanized Metal Bottle Cap that I got at Dollar Tree.  I used the Deckle...