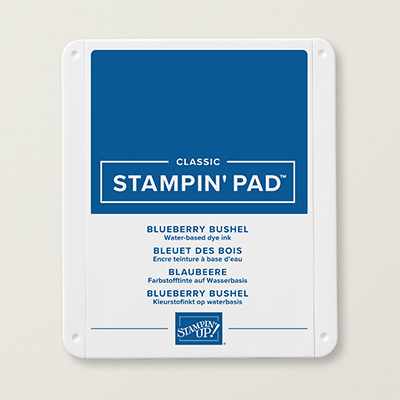
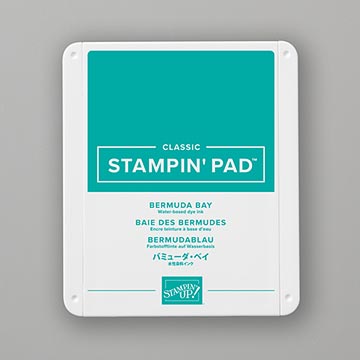
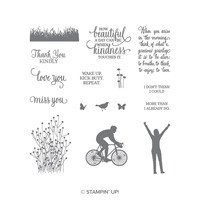
This is another card I stamped using the Enjoy Life stamp set again. It is cased from Linda Van Wely-Zwille because I just loved the colors she used. I think the new Blueberry Bushel is a new favorite of mine. It is a new In-Color that will be around for a couple years at least. I also Bermuda Bay. I used the Sponge Brayers to get this effect and sprinkled water on it and blotted it dry with a paper towel. Once dry, I added the grass with Memento Black and also the bike silhouette stamp using the Stamparatus. Here are my instructions:
Stamp Set: Healing Hugs
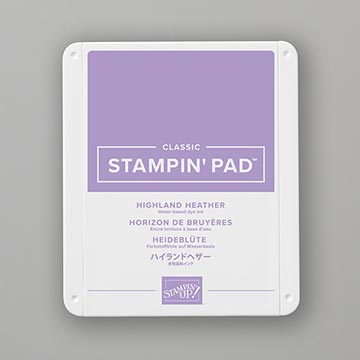
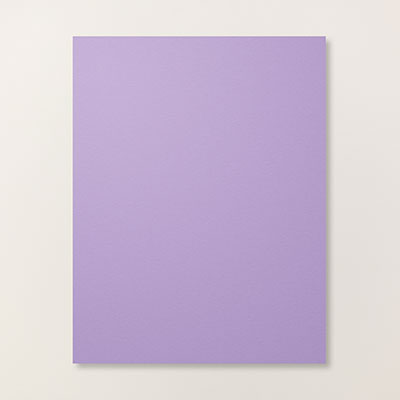
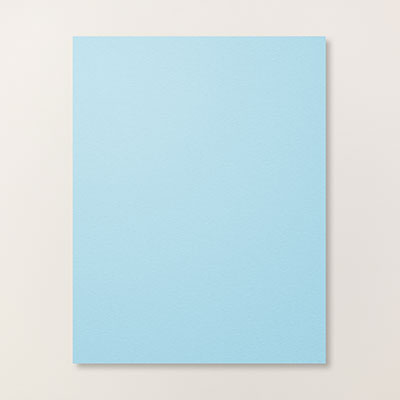
Cardstock: Blueberry Bushel, Bermuda Bay, Basic Black,
Whisper White
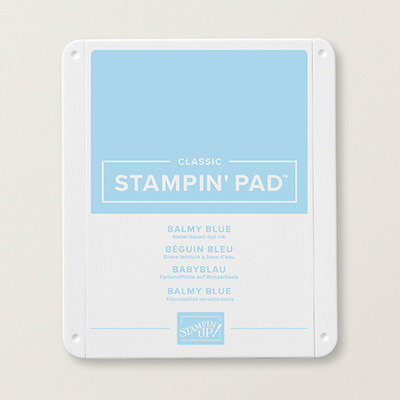
Ink: Bermuda Bay, Blueberry Bushel, Memento Black
and/or Night of Navy
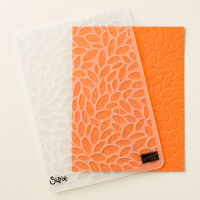
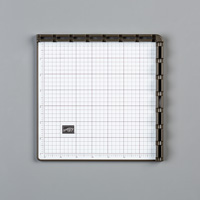
Other: Stamparatus, Big Shot, Stitched Shapes
Framelits (circle) Multipurpose Glue, Dimensionals, Sponge Brayers, water,
paper towel
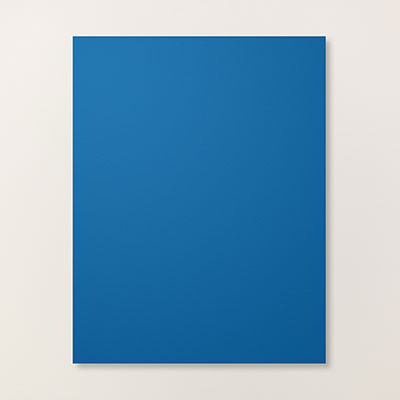
1. The base of the card is Blueberry Bushel
cut at 5-1/2” x 8-1/2” and scored at 4-1/4” in the middle.
2. The second layer is Bermuda Bay cut at 4” x
5-1/4”.
3. The third layer is Basic Black cut at
3-15/16” x 4-15/16”.
4. The fourth layer is Whisper White cut at
3-3/4” x 4-13/16”.
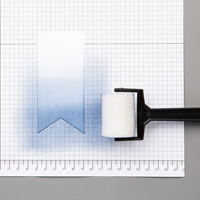
5. Starting with the lighter color – Bermuda
Bay – ink up the Sponge Brayer and brayer it across the Whisper White cardstock
horizontally.
6. The take the darker color – Blueberry
Bushel – ink up the Sponge Brayer and brayer it across the opposite side of the
card and blend the colors together until satisfied.
7. Optional:
Get your hand slightly wet with water and sprinkle onto the cardstock
and immediately dry with a paper towel.
8. Ink up the grass with Memento Black ink or
Night of Navy ink to stamp the grass along the bottom of the Bermuda Bay side.
9. Use the Stamparatus and Memento Black ink
to stamp the bicycle person.
10. Ink up the sentiment with Memento Black ink
on Whisper White cardstock. Use the Big
Shot and Stitched Shapes Framelit circle to die cut it out. Add Dimensionals to the back and adhere to
the front of the card.
Products I used: