Wednesday, November 28, 2018

Dashing Deer with Snow is Glistening

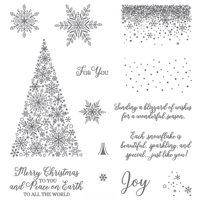
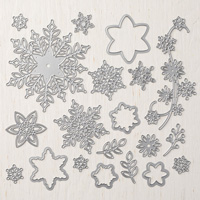
Snow is Glistening makes a beautiful card for winter.  It's too bad this set will be gone the end of November with all it's beautiful Snowflake Thinlets dies.  Bermuda Bay is one of my favorite colors so that is what I made the color of my snowflakes instead of the traditional white.  My Dashing Deer is die cut from silver foil and attached across the snowflakes.  

Here are the instructions to my card:

Stamp Set:  Snow is Glistening
Cardstock:  Silver-Edged Cards, Whisper White, Bermuda Bay, Silver Foil
Ink:  Bermuda Bay
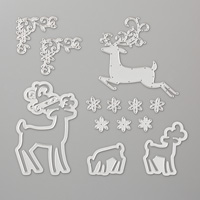
Other:  Big Shot, Snowfall Thinlets Die, Detailed Deer Framelits, Dimensionals, Glue Dots

1.     The base of the card is the Silver-Edged Card in the 2018 Holiday Catalog on page 11.
2.    The second layer is Whisper White cardstock cut at 3-3/4” x 5” and using the stamp from Snow is Glistening with Bermuda Bay ink, stamp the edge of the Whisper White cardstock at top and bottom.
3.    Die cut the largest snowflake from the Snowfall Thinlets Die in the Big Shot using Bermuda Bay cardstock as well as the next largest snowflake.
4.    Attach the snowflakes to the center of the card using Glue Dots.
5.    Die cut a Silver Foil deer from the Detailed Deer Framelits in the Big Shot.  Add Dimensionals and attach over the snowflakes.


Wednesday, November 21, 2018

Snowflake Showcase and Alpine Adventure

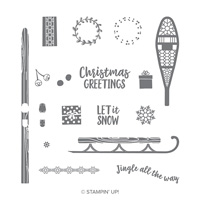
I've been making lots of cards this month but it seems I'm too busy to post them.  I don't know how other demos do it and still do videos.  This card was made using the new Snowflake Showcase which is only available through November, 2018 while supplies last.    I used the Snowfall Thinlet Dies which one of the items from the Snowflake Showcase. The sentiment "Let it Snow" however is from the Alpine Adventure stamp set inked up in Night of Navy. and the background is Twinkle Twinkle DSP.

Here my instructions:


1.     The base of the card is the Silver Foiled-Edge Card.

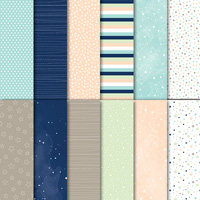
2.    The second layer is Twinkle-Twinkle DSP cut at 3-3/4” x 5” and attached to the front with Multipurpose Glue.

3.    The snowflakes are cut out in the Big Shot using Whisper White cardstock and the Snowfall Thinlets Dies.

4.    Ink up the sentiment “Let it Snow” from the Alpine Adventure set with Night of Navy ink and stamp in the center of the largest snowflake.  Attach the largest snowflake to the right side of the card using Multipurpose Glue.

5.    Attach the smaller snowflakes to the left of the card using Glue Dots.

6.    Attach Rhinestones in the middle of the small snowflakes.

7.    For the inside, ink up the sentiment “Each snowflake is beautiful, sparkling and special…just like you!” with Night of Navy ink.

Products I used:


Documenting the Day

This is a 2025 Sale-a-Bration card I made with Documenting the Day and the 12" x 12" Bloom Impressions DSP which is also a SAB fre...