Friday, January 31, 2025

#CreativeConventionOnline


This is a card that I did for a Mystery Stamping which means I didn't know what the original card was going to look like or what stamp sets the demonstrator (Erica Cerwin) used.  I just knew the measurements she shared.  So, this is what I came up with and I was pleased with the results and I used the Beautiful Butterflies Bundle from the 2025 Spring Mini Catalog on pages 38-41.  Let me know what you think of my card in the comments.


Friday, January 24, 2025

Textured Floral Easel Calender

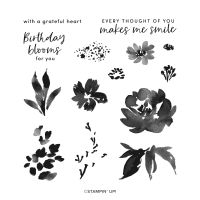
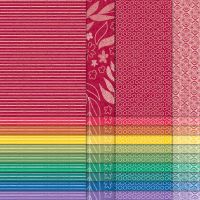
Every January, I like to make a calendar card with my club members and this tutorial was perfect from Selene Kempton.  I've made this layout before, so it was easy and fun to make with her instructions.  I used all the Regals 6" x 6" DSP but each club member got to choose their favorite Regals color to make their calendars.  This one uses Pretty Peacock.  You wouldn't have to use the Regals color family, of course.  Any family color would work.  The base of the card is cut at 4-1/4" x 11" and then scored at 2", 4" and 5-1/2".  Then just cut your DSP to fit a Basic White layer for each section on the front.  The sentiment on the inside is from the Textured Floral stamp set in the annual catalog.  SHOP WITH ME

Products I used:


Product List

Monday, January 20, 2025

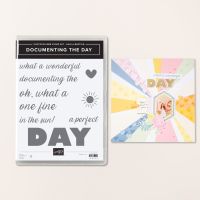
Documenting the Day

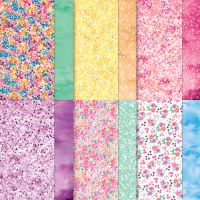
This is a 2025 Sale-a-Bration card I made with Documenting the Day and the 12" x 12" Bloom Impressions DSP which is also a SAB free item,   If you spend $60 in product before tax and shipping you can earn one of them FREE or if you spend $120, you can earn both FREE.  This was inspired from Rhoda Wade's card, but I used different colors.  SHOP WITH ME

My Instructions:

Stamp SetsDocumenting the Day (2025 SAB)

Cardstock:  Basic Black, Basic White, Bloom Impressions DSP (SAB)

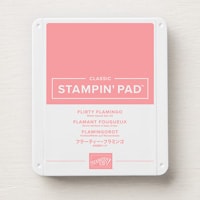
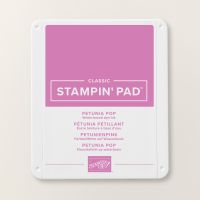
Ink:  Tuxedo Black Memento, Flirty Flamingo, Petunia Pop

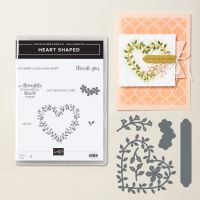
Other:  Stampin’ Cut and Emboss Machine, Heart Shaped Dies, Greetings of the Season Dies, Paper Snips, Black and Very Vanilla Large Check Ribbon, Regal Foiled Adhesive Backed Dots (I didn’t have the SAB Purple Adhesive Backed Sequins), Multipurpose Liquid Glue, Stampin’ Dimensionals, Glue Dots


1.    The base of the card is Basic Black cardstock cut at 5-1/2” x 8-1/2” and scored at 4-1/4” in the middle.

2.    The second layer is the Bloom Impressions DSP cut at 4” x 5-1/2” and adhered to the front of the card.

3.    Ink up the “day” stamp with Flirty Flamingo ink.  With Paper Snips, fussy cut the letters out and adhere with Stampin’ Dimensionals at the bottom of the card.

4.    Die-cut a Basic White label from the Greeting of the Seasons dies and stamp the sentiment “Oh, What a Day” with Tuxedo Black Memento ink.  Adhere with Stampin’ Dimensionals at the top.

5.    Tie a bow with the Black and Very Vanilla Large Check Ribbon.  Attach to the hole in the label with a Glue Dot.

6.    Die-cut three flowers from the Heart Shaped Dies from Basic White cardstock.  Adhere with Stampin’ Dimensionals and add a Regal Foiled Adhesive Backed Dot to center of each flower.  Then adhere with Stampin’ Dimensionals.

Here is my inspiration card from Rhonda:


Products I used for my first card:


Product List

Wednesday, January 15, 2025

Documenting The Day (2025 SAB)

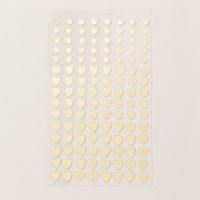
This card was made from the Documenting the Day stamp set that I earned FREE with a $60 order.  If you have a Sale-a-Bration catalog, it is posted on page 3.  It has several beautiful sentiments around memorable days.  It has various phrases that can be paired with the bold DAY sentiment to create difference sentences.  These phrases are perfect for adding scrapbook memories as titles or fun accents.  The little Adhesive Backed Hearts are from the Online Exclusives (not found in an of the catalogs). The idea for this card came from Rhonda Wade.  All the items can be purchased at SHOP WITH ME

Stamp set:  Documenting the Day (2025 SAB)

Cardstock:  Lemon Lolly, Basic White, 12” x 12” Bloom Impressions (SAB)

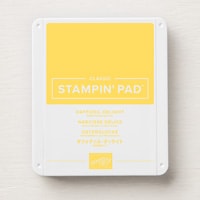
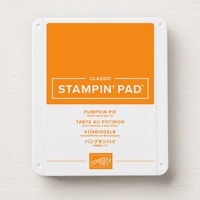
Ink:  Daffodil Delight, Pumpkin Pie

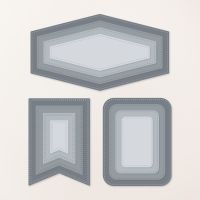
Other:  Stampin’ Cut and Emboss Machine, Nesting Essentials Dies, Adhesive Backed Hearts Sequins, Baker’s Twine Three Color Pack, Multipurpose Liquid Glue, Stampin’ Dimensionals, Glue Dots


Products I used:


Product List

Monday, January 13, 2025

Fruit Salad - Happy Birthday Card

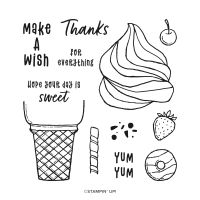
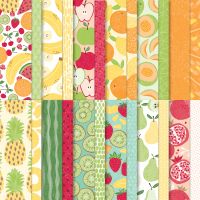
This card makes me think of summer with the delicious watermelon designer series paper from the Fruit Salad Designer Series Paper that can be earned FREE with a $60 order during Sale-a-Bration.  Sale-a-Bration started on Tuesday, January 7 and runs until the end of February.  I also used a stamp set for the sentiment from the Annual Catalog called Ice Cream Swirl SHOP WITH ME
I did not design this card, but instead I saw a video from Leena Girsa and it was so cute, I wanted to re-create it.  So I'm sharing the instructions I typed to make this card.

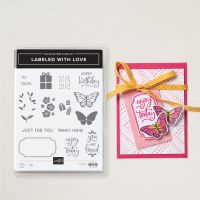
Stamp Set:  Ice Cream Swirl (AC page 77), Labeled with Love

Cardstock:  Basic Black, Garden Green, Real Red, Basic White, 6” x 6” Fruit Salad DSP

Ink:  Tuxedo Black Memento

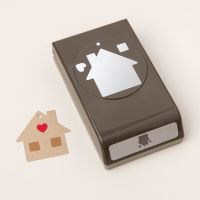
Other:  Stampin’ Cut and Emboss Machine, Paper Trimmer, Spotlight on Nature Dies, Stylish Shapes Dies, 2” Circle Punch, Humble Home Punch (heart), 3/8” Black and Very Vanilla Ribbon, Paper Snips, Stampin’ Dimensionals, Multipurpose Liquid Glue, Glue Dots


1.     The base of the card is 5-1/2” x 7-1/2” Basic Black cardstock scored at 4-1/4”.

2.    The Basic White cardstock for the inside is 4” x 5-1/4”.

3.    The Fruit Salad DSP is cut at 1” x 5-1/4” for the inside watermelon rind. Adhere to the right side of the Basic White insert with Multipurpose Liquid Glue.

4.    For the outside, the watermelon with seeds, it is cut at 3” x 5-1/4”.  Wrap the ribbon around the bottom and adhere with Tear and Tape/or Glue Dots on the back. Adhere the DSP with Multipurpose Liquid Glue to the front flap.

5.    Die-cut a Garden Green circle from the Spotlight on Nature Dies, a Basic White circle with the 2” Circle Punch, and a 2-1/4” Real Red circle from Stylish Shapes.

6.    Stamp the sentiment “Hope Your Day is Sweet” from the Ice Cream Swirl stamp set with Tuxedo Black Memento ink leaving room for the heart at the bottom.

7.    The little heart is Real Red punched out from the Humble Home Punch and adhered below the sentiment with a dot of Multipurpose Liquid Glue.

8.    Layer all together with Multipurpose Liquid Glue and adhere to the card with Multipurpose Liquid Glue making sure you only put glue on one side and not the whole thing so you don’t glue your card shut!

9.    Tie a bow with the ribbon and attach with a Glue Dot.

10.  Inside: Ink up the sentiment “Happy Birthday” from the Labeled with Love stamp set with Tuxedo Black Memento ink.

11.   Cut out a couple watermelon pieces from the DSP to adhere with Multipurpose Liquid Glue


Products I used:


Product List

#CreativeConventionOnline

    This is a card that I did for a Mystery Stamping which means I didn't know what the original card was going to look like or what sta...