Showing posts with label Pumpkin Pie. Show all posts

Monday, August 31, 2020

Have a Hoot

This time of year, I seem to find a lot of cobwebs on my front porch, but I guess it just goes with the decor for Halloween.  Halloween isn't for a couple months but I wonder how it will be with COVID this year.  Will the kids go out trick or treating?  It's even on a Saturday this year.  Maybe just let the kids sit in their yards with their costumes on and a parade of cars drive by and throw candy out to them like they do in real parades.  Just an idea I thought of.  Anyway, I love this owl but I don't like spiders especially on my front porch.  It's awful to walk through a cobweb!  This little owl doesn't like spiders either.  I made this card for my swap this month.  Here are my instructions:

1.     The base of the card is Pumpkin Pie cardstock cut at 4-1/4” x 11” and scored at 5-1/2” in the middle.
2.    The second layer is Basic Black cardstock cut at 4” x 5-1/4”, and the third layer is Crumb Cake cut at 3-3/4” x 5”.  Insert the Crumb Cake in the Woodland Embossing Folder and run it through the Big. Shot.  Adhere to the Basic Black cardstock.  Wrap the Metallic Mesh Ribbon around both layers and tape to the backside with Scotch Tape.
3.    Ink up the owl/tree with Memento Black ink on Whisper White cardstock.  Cut out with the Stitched Shapes Dies.  Color in the tree with Soft Suede Blends.  Ink up another one on a scrap of Whisper White and die cut the owl and spider with the Peek-A-Hoot Dies.  Color them in and attach with Dimensionals.  Pop them up with Dimensionals (cut one smaller for the spider).  Die-cut a Pumpkin Pie scalloped circle with the Layering Circles Dies.  Layer together with Adhesive.  With Dimensionals on the back, adhere over the ribbon.
4.    Die a Basic Black Spider web with the Peek-a-Hoot Dies and attached in the upper right-hand corner with a Black Dimensional.
5.    Ink up the sentiment “Have a Hoot on Halloween” with Memento Black on a ¾” x 2-1/4” Whisper White Label.  Insert into the Banner Pick a Punch.  Attach with Dimensionals to the bottom the left-hand side of the card.

Products I used:


Product List

Wednesday, August 19, 2020

Loyal Leaves - Masking

Do you like the season changing to fall soon?  It's almost time for falling leaves and the Loyal Leaves is perfect for masking using Watercolor Paper.  The new Water Painters are perfect for coloring in the leaves with the Classic Inks.   First, I used the Stazon ink pad called Saddle Brown in a couple random places on the watercolor paper.  Then I used post-it notes to stamp on and cut out with the Paper Snips making sure there were some of the sticky parts to put over the stamped leaves so that I could stamp over them without stamping directly on them which is called Masking.  I had to make several of these masks the more I stamped.  The colors I used were Crushed Curry, Pumpkin Pie, Garden Green, and Cherry Cobbler.  I really love the colors in my leaves. My card was inspired by a fellow demo Elizabeth Hill Rush.  Products I used:


Product List

Friday, March 20, 2020
Full of Happiness Fun Fold


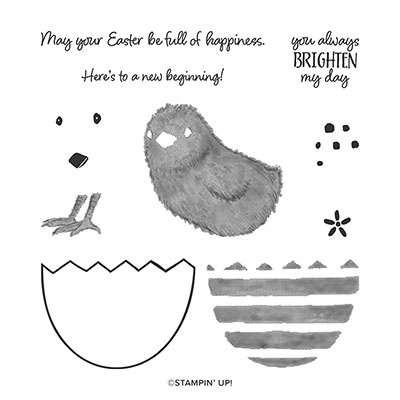
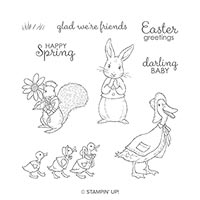
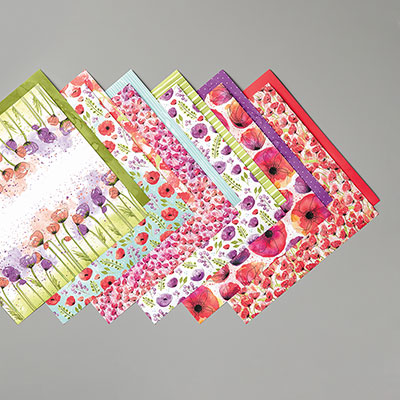
This little chick was so adorable that I purchased this set when it first came out in the January-June 2020 Mini-Catalog.  It is called Full of Happiness.  I used the sentiment "Happy Spring" from last year's Fable Friends set which is still current in the annual catalog.  The Designer Series Paper is from the Peaceful Poppies. The fun-fold idea for my card came from stampwithlisamarie.blogspot.com 

 Here are my instructions on how I made my card:
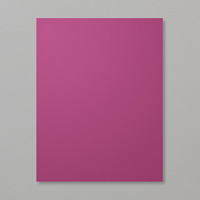
1.     The base of the card is Rich Razzleberry cardstock cut at 5-1/2” x 8-1/2” and scored at 2” and 3-1/8” and turn it around and do the same thing.
2.    Burnish all the score lines with the Bone Folder.
3.    The DSP is cut at 1-3/4” x 5-1/4” – Cut two and one at 2” x 5-1/4”.
4.    The Whisper White cardstock is cut at 1-1/2” x 5” for the back.  Use the flower stamp to ink it up with Pineapple Punch and Rich Razzleberry.  Adhere to the DSP strip and attach it to the back center panel.
5.    Ink up the chick stamp with Pineapple Punch.  Memento Black for the eyes.  Pumpkin Pie for the beak.  Cut out with the Paper Snips. Attach to the center panel in the middle.
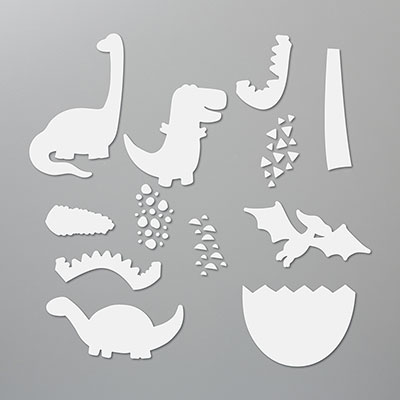
6.    Ink up the egg with Rich Razzleberry on Whisper White and die cut with the Dino Dies in the Big Shot.  Put Dimensionals on the back of the egg and place below the chick as though he is coming out of the cracked egg.
7.    Ink up “Happy Spring” from the Fable Friends set with Rich Razzleberry on Whisper White and die cut with the Stitched So Sweetly Dies.  Attach Dimensionals to the back and attach it to the top front panel.

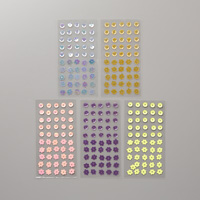
8.     Attach 3 Gingham Gala Adhesive-Backed Sequins.


Products I used:


Fern & Flora - "You Make the World a Better Place"

Here is another card that I made using the Moonlit Flora Designer Series Paper.  It is so beautiful that it really makes the card without pu...