Showing posts with label Paper Snips. Show all posts

Thursday, September 10, 2020

Coming Home - Happy Holidays

Time for another Coming Home card I made all from the Trimming the Town Designer Series Paper and the Home Together Dies.  Here are my instructions:

1.     The base of the card is Misty Moonlight cardstock cut at 5-1/2” x 8-1/2” and scored at 4-1/4” in the middle.

2.    The second layer is Whisper White cardstock cut at 4” x 5-1/4” and adhered to the front of the card.

3.    The third layers were made using the snowbank dies from the Home Together Dies using the Trimming the Town DSP and Whisper White cardstock until it is 3-3/4” x 5” to layer onto the front of the card.

4.    With Paper Snips, trim out the buildings from the Trimming the Town DSP and adhere with Multipurpose glue to the third layers.

5.    Ink up the sentiment “Happy Holidays” from the Itty Bitty Christmas stamp set with Misty Moonlight ink and stamp on a scrap of Whisper White cardstock.

6.    Punch it out with the Classic Label Punch.  Put Mini Dimensionals on the back and adhere to the front center of the card.

Products I used:


Product List

Monday, August 31, 2020

Nothing's Better Than "Cookies" - Masking and Watercoloring

In my opinion, nothing's better than chocolate chip cookies, unless it's oatmeal raisin.  I decided to create another masking and watercoloring technique using the Nothing's Better Than stamp set Bundle.  It does take a little bit of time to create all the masks you need but it was fun to make.
Here are the instructions for my card:


1.     The base of the card is Early Espresso cardstock cut at 5-1/2” x 8-1/2” and scored at 4-1/4” in the middle.
2.    The Watercolor Paper is 3-7/8” x 2-3/8” and layered onto Cinnamon Cider cardstock cut at 2-1/4” x 4” with Multipurpose Glue (after stamping).
3.    Begin inking up the cookie with Saddle Brown Stazon ink and randomly stamp on the Watercolor Paper, but do not overlap.  Instead, stamp on Post-it notes and cut out with Paper Snips to mask over the first stamped images.  Keep making more masks so that they never overlap each other.
4.    Color them in with the Water Painters and ink from the ink pad.  Try not to color in two the same color that is close to each other.  Once dry, layer onto the Cinnamon Cider cardstock.  Add Dimensionals and attach them to the front of the card.
5.    Ink up the sentiments on Crumb Cake cardstock and trim each sentiment with Paper Trimmer.  Pop up with Dimensionals.
6.    Die-cut the word “Cookies” from the Love You More Than Dies.  Attach with Multipurpose Glue as shown in the picture.

Products I used:


Product List

Wednesday, July 8, 2020

Zany Zebras - Rainbow Glimmer Paper Birthday Card


Hi Stampers!  I've been having fun with this Rainbow Glimmer Paper is really easy to work with it.  It's so beautiful and really cuts well in the Stampin' Up! Trimmer.  It's new this year in the annual 2020 Stampin' Up! catalog.  I always have lots of birthday cards to make and I really should make enough to have on hand so I'm not making the cards at the last minute.  This card would be great for a child's birthday as well as an adult.  The Zany Zebras is an adorable set to use for birthdays or baby showers.  You can find the set in the annual catalog and the beginner's brochure.  Here are the instructions for my card and I was inspired by Tina Wardell's card.


1.     The base of the card is Basic Black cardstock cut at 5-1/2” x 8-1/2” and scored at 4-1/4” in the middle.
2.    The second layer is the Rainbow Glimmer Paper (yellow/pink and purple section) which is die cut with the largest Rectangle Stitched Die.  Die-cut the center with the fourth largest die and save the center for later on another project.  Attach layer to the Basic Black card with Stampin’ Seal.
3.    The third layer is Basic Black is cut at 3-1/2” x 5” and die cut with the third largest Rectangle Stitched Die and attached with Dimensionals.
4.    Die-cut the green/blue/purple section of the Rainbow Glimmer Paper three times with the 8th largest Rectangle Stitched Die.  Attach to the card base with Dimensionals.
5.    Stamp two (2) zebras and party hats two times on 4-1/4” x 5-1/2” Whisper White cardstock in Memento Black ink.  Color the party hats in with Stampin’ Markers.
6.    Fussy cut the zebras and party hats with the Paper Snips.
7.    Attach both zebras to the card base with Multipurpose Liquid Glue and the party hats with Mini Dimensionals on top of the zebras.
8.    Color the sentiment “Happy Birthday” with Bumble Bee, Bermuda Bay, Magenta Madness, and Misty Moonlight ink markers and stamp on remaining Whisper White cardstock.  Die-cut out with the smallest Stitched So Sweetly Die.  Attach to the left side with Multipurpose Liquid Glue.  Add three Artistry Bloom Sequins!

Products I used:


Product List

Tuesday, June 2, 2020

Tasteful Touches - Misty Moonlight Flowers

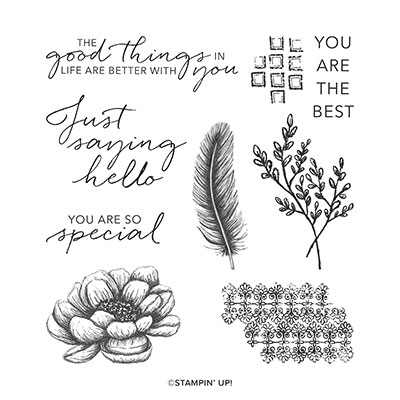
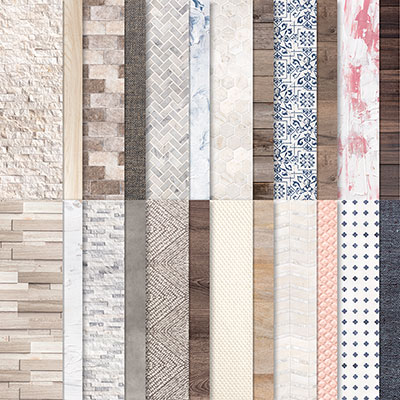
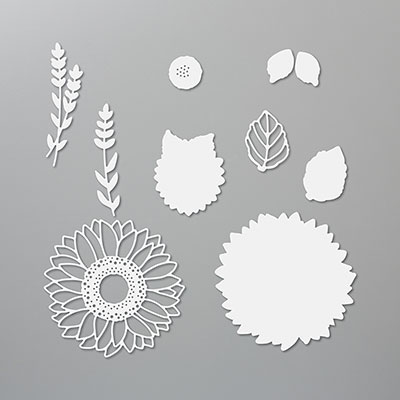
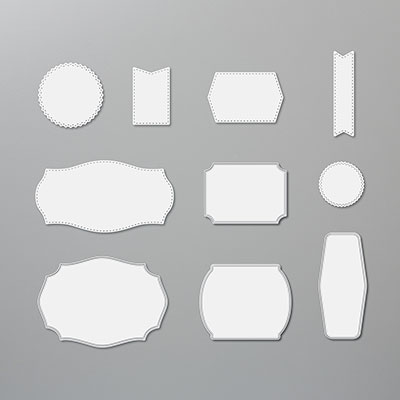
This my first card made with this new set called Tasteful Touches.  I love the new In Good Taste DSP that I used for the background.  I inked up the flowers in Night of Navy on Whisper White cardstock and then colored them in with an Aqua Painter.  I used the Paper Snips to cut them out.  Sorry, no dies for this one but it does have the Tasteful Labels Dies to make it a bundle.  I used one of the labels for the sentiment.  The sprigs were from the Sunflower Dies.

Here is my instructions:  

Stamp Set:  Tasteful Touches #152562
Cardstock:  Night of Navy #100867, Gray Granite #146983, In Good Taste DSP #152494
Ink:  Night of Navy #126970, Misty Moonlight Stampin’ Spot from PP (or ink pad #153118
Other:  Die Cutting Machine, Sunflower Dies 152704, Tasteful Labels Dies #152886, Aqua Painter, Paper Snips 103579, Multipurpose Glue #110755, Dimensionals #104430, Metallic Pearls #146282

1.     The base of the card is Night of Navy cardstock cut at 5-1/2” x 8-1/2” and scored at 4-1/4” in the middle.
2.    The second layer is Gray Granite cut at 4” x 5-1/4” and adhered to the base with Multipurpose Glue.
3.    The third layer is the In Good Taste DSP cut 3-3/4” x 5” and adhered to the second layer with Multipurpose Glue.
4.    Ink up the sentiment “You are so special” with the Stampin’ Spot Misty Moonlight on Gray Granite cardstock and die cut with the Tasteful Labels Dies in the Die Cutting Machine.  Also, die cut two sprigs from the Sunflower Dies.  Adhere the label and the two sprigs to the card with Multipurpose Glue.
5.    I also added ¼” x  2” of trim to the label at the top and bottom of the label.
6.    Ink up the flower with Night of Navy ink and stamp two of them on Whisper White cardstock. Then use the Aqua Painter to color the flowers with the Misty Moonlight Stampin’ Spot.  Let dry!  Trim the flowers out with the Paper Snips.
7.    Add Dimensional to the back and add to the front of the card.
8.    Add three silver Metallic Pearls.


Fern & Flora - "You Make the World a Better Place"

Here is another card that I made using the Moonlit Flora Designer Series Paper.  It is so beautiful that it really makes the card without pu...