Tuesday, December 20, 2016

Santa's Sleigh

It has been a very busy month, so I've not posted recently.  Thought I'd better post this card before Christmas is over.  This was a card I made for my Christmas swap this month.  It uses the Santa's Sleigh reindeer.
Here are the instructions:


Stamp Sets:  Santa’s Sleigh
Cardstock:  Cherry Cobbler, Emerald Envy, Very Vanilla, Kraft
Ink:  Early Espresso, Cherry Cobbler, Emerald Envy
Other:  Big Shot, Holly TIEF, Santa’s Sleigh Thinlets Dies, Wonderous Wreath Framelits “Noel”, Glue Dots, Multipurpose Liquid Glue

1.     The base of my card is Cherry Cobbler cut at 4-1/4” x 11” and scored at 5-1/2” in the middle.
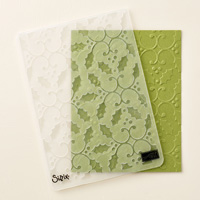
2.    The second layer is Emerald Envy cut at 4” x 5-1/4” and inserted into the Holly TIEF and run through the Big Shot.  Then attach it to the front of the card with Adhesive.
3.    Very Vanilla Cardstock is cut at 1-3/4” x 3” for the main image and the Cherry Cobbler is cut at 2” x 3-1/4” and layered together and attached to the upper part of the card. 
4.    The reindeer is inked up with Early Espresso and stamped on Kraft cardstock.  It is then cut out with the Santa’s Sleigh Thinlet Dies.
5.    The wreath is inked up with Emerald Envy on Emerald Envy cardstock.  The bow is inked up with Cherry Cobbler and stamped on Cherry Cobbler.  Both are cut out with the Santa’s Sleigh Thinlet Dies.
6.    The wreath goes around the reindeer’s neck and both glued in place onto the Very Vanilla cardstock.  Attach the bow with a Glue Dot to the wreath.
7.    The “Noel” is made from Cherry Cobbler cardstock and cut out with the  Wonderous Wreath Framelits Die and attached to the bottom of the card with Multipurpose Liquid Glue or the Fine Tip Glue Pen.

Sunday, November 27, 2016

Jolly Friends


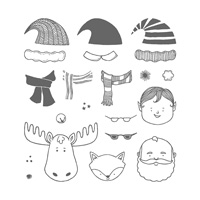
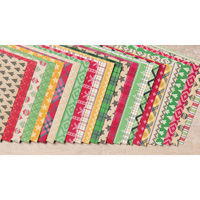
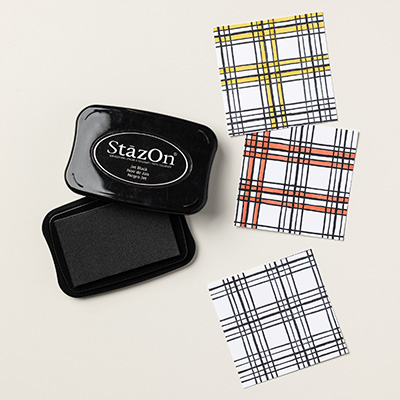
This moose is what I loved about the stamp set Jolly Friends plus the jolly hats to go with it.  Of course, the set actually has 21 stamps that come with a Santa, a fox, and an elf face too.  The sentiment is from the Merry Mice stamp set which actually says "Merry Christmouse!" but I used a Garden Green marker to make it say "Merry Christmoose!"  I used the Warmth & Cheer DSP Paper Stack for the background cut at 4" x 5-1/4"  on my 4-1/4" x 11" Basic Black card base.  The moose is stamped with Stazon on 3" x 3-1/2" Very Vanilla cardstock, and colored in with markers of Delightful Dijon and Garden Green for the scarf and hat.  The moose is colored in with Crumb Cake.

Products I used:


Monday, November 21, 2016

Christmas Pines

Last week,   I made this card using the stamp set Christmas Pines on page 19 of the 2016 Holiday Catalog.  I've seen such beautiful cards made with set and decided I wanted to purchase it to make some cards with.   The base of my card is Garden Green cut at 4-1/2" x 8-1/2" and scored at 4-1/4" in the middle, but it doesn't show up in the picture.  The second layer is Very Vanilla cut at 4" x 5-1/4" and I inserted it into the Holly TIEF and sponged it with Garden Green ink and used the Cherry Cobbler Stampin' Write marker on the berries.  I stamped the sentiment from the set with Cherry Cobbler on Very Vanilla and added Garden Green pine branches.  Then, I die cut it with new Stitched Shapes Framelits #141706 which is available this month (November) but will be in next year's 2017 Annual Catalog.  But why wait until then!!  I used the Layering Oval Framelits for the scalloped Garden Green cardstock and layered them over the 3/8" Cherry Cobbler Silky Taffeta Ribbon.  It comes in a Combo Pack with Emerald Envy on page 20.
Products I used:


Thursday, November 17, 2016

Father Christmas

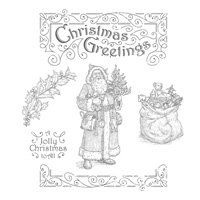
Father Christmas is a favorite stamp set in the Holiday catalog.  This card was inspired by a card I saw on Pinterest by Sandy Mott and I knew I had to make one of my own.  It uses the Holly TIEF in the Big Shot using Very Vanilla cardstock.  Crumb Cake ink and a sponge created the antique look of this card.  I used Cherry Cobbler cardstock for the backgrounds and the ribbon is the 3/8" Cherry Cobbler Silky Taffeta which adds to my card.  I stamped Father Christmas with Black Stazon and then colored him in with Stampin' Write markers.  Then I took the sponge and Crumb Cake ink to go over the image.

Products I used:


Monday, November 14, 2016

Wrapped in Warmth


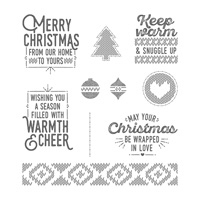
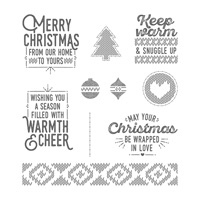
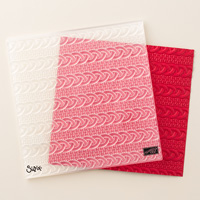
Yesterday, my club members met at my house and this is one of the cards that we made.  I showed them how to use the new Cable Knit Dynamic Textured Impressions Embossing Folder in the Holiday catalog.  It is thicker than the regular Embossing Folders.  It kind of creates a 3-D effect.  Before they put it in the Big Shot, I had them spray the 4" x 5-1/4" Cherry Cobbler cardstock with a Spritzer filled with rubbing alcohol.  Water can also be used, but the alcohol dries faster.  The wetness provides the cardstock a little more give so that when you run it through the Big Shot, the deep impression will not tear the cardstock. The base of the card is Garden Green cardstock cut at 4-1/4" x 11" and scored at 5-1/2" in the middle.  I also had them emboss the Whisper White cardstock with the Cherry Cobbler Embossing Powder and the Heat Tool. Unfortunately, I just realized the powder retired, so instead you can use the Cherry Cobbler ink pad and Clear Embossing Powder. The sentiment is from the Wrapped in Warmth stamp set.  First, they used the Embossing Buddy on the cardstock and then ink up the sentiment.  Pour the embossing powder over it and shake off the excess.  Heat set it with the Heat Tool.  Then they cut it out with the new Stitched Framelits circle.  Then they die cut a scalloped circle from the Layering Circle Framelits using Garden Green cardstock and layered them together with Multipurpose Liquid Glue with Dimensionals on the back.  The Designer Series Paper is from the Warmth and Cheer Paper Pack and it is cut at 1" x 4".

Products I used:


Humble Home - Christmas Card Shoebox Swap

This is the card that I made for my Christmas Card Shoebox Swap.  We had 9 customers that swapped on Sunday, but one of them couldn't ma...