Product List
Showing posts with label Garden Green. Show all posts
Wednesday, August 19, 2020
Loyal Leaves - Masking
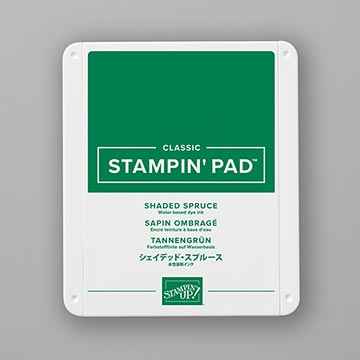
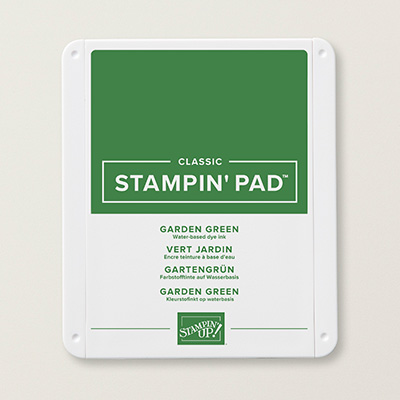
Do you like the season changing to fall soon? It's almost time for falling leaves and the Loyal Leaves is perfect for masking using Watercolor Paper. The new Water Painters are perfect for coloring in the leaves with the Classic Inks. First, I used the Stazon ink pad called Saddle Brown in a couple random places on the watercolor paper. Then I used post-it notes to stamp on and cut out with the Paper Snips making sure there were some of the sticky parts to put over the stamped leaves so that I could stamp over them without stamping directly on them which is called Masking. I had to make several of these masks the more I stamped. The colors I used were Crushed Curry, Pumpkin Pie, Garden Green, and Cherry Cobbler. I really love the colors in my leaves. My card was inspired by a fellow demo Elizabeth Hill Rush. Products I used:
Product List
Product List
Saturday, May 30, 2020
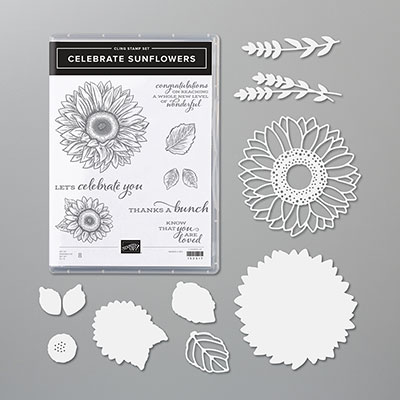
Celebrate Sunflowers - Thank You Swap
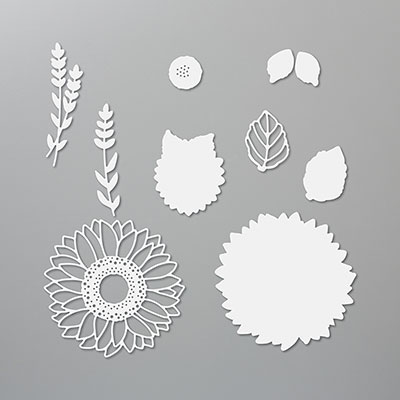
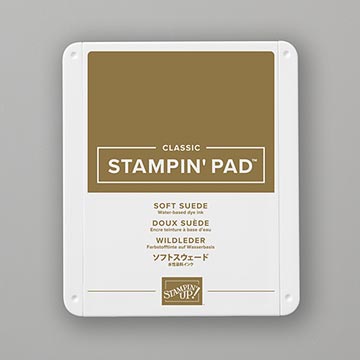
This is the first card I made using the new Celebrate Sunflowers set. I did it for a swap this month. I used the new In-Colors to create it which is Bumble Bee and Just Jade cardstock. The base of the card is Soft Suede. I ran the sunflower through the new Tasteful Textile after die cut it out. I did the same with second layer. I sponged the edges with Soft Suede.
Here is my instructions:
Stamp Set: Celebrate Sunflowers #152517 (Page 13 of
2020-21 AC)
Bundle: #154065 for $51.25 on page 175
Cardstock: Soft Suede #115318, Bumble Bee #153077, Just
Jade #153079
Ink: Soft Suede #147115, Garden Green #102584
Other: Die Cutting Machine, Sunflower Dies #152704,
Tasteful Textile 3D Folder #152718, (N) Adhesive Sheets #152334, Sponge #141337,
Multipurpose Glue #110755, Dimensionals #104430, Wink of Stella #141897
1. The base of the card is Soft Suede
cardstock cut at 5-1/2” x 8-1/2”and scored at 4-1/4” in the middle.
2. The second layer is Bumble Bee cardstock
cut 4” x 5-1/4” and inserted into the 3D folder and run through the die-cutting
machine. Then ink up the edges with a
Sponge and Soft Suede ink. Adhere to the
base card with Multipurpose Glue.
3. Cut a 3-1/2” x 3-1/2” square of Soft Suede
cardstock.
4. Ink up two large leaves on Just Jade
cardstock using Garden Green ink. Die
cut with the Sunflower Dies (leaf).
Adhere to the square with Multipurpose Glue in the top left corner and
the bottom right corner. Use Wink of
Stella.
5. With the outline die of the sunflower and
using Bumble Bee cardstock, die cut the base of the sunflower. Then insert it into the Tasteful Textile 3D
Folder and run it through the die-cutting machine. Sponge the edges of Soft Suede ink.
6. Next use the detailed overlay sunflower die
using the Bumble Bee cardstock. I used
an adhesive sheet for the backing so it is easier to adhere to the base of the
sunflower.
7. Die cut the center using Soft Suede
cardstock and the Sunflower Die. Adhere
with a Dimensional. Add Wink of Stella
to the center of the sunflower.
8. Attach Dimensionals to the back of the
sunflower and attach to the Soft Suede square over the leaves.
Products I used:
Thursday, January 30, 2020
Lovely Lilypad Calendar
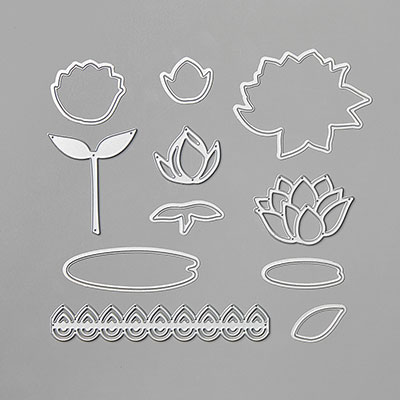
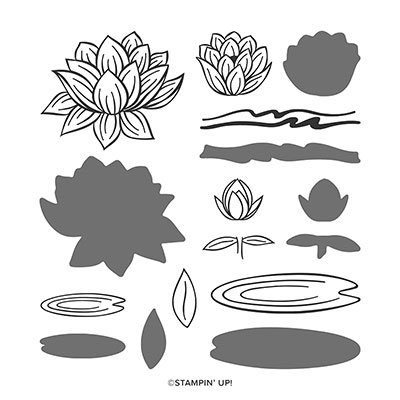
Each January, I like to have my club stamp members make a new stand-up calendar with a current stamp set. This set is called Lovely Lily Pad and it's from 2020 Sale-a-Bration catalog FREE with a $50 purchase until the end of March. If you wish to get the Lily Pad Dies that coordinate with it, it is FREE with another $100 order. Or you could earn both with a $150 workshop and you could earn more FREE Rewards. The background paper is another Sale-a-Bration item with a $50 order. The calendars were purchased through https//vippies.com
Here are my instructions for making this calendar.
1. The calendar is cut from Thick Whisper White cardstock at 4-1/4” x 11” and scored at 5-1/2” in the middle. Use the Bone Folder so the mountain scored line is on the inside.
2. The stand between is also Thick Whisper White cardstock cut at 4” x 5-1/2” and scored on the long side at ½”, 2-3/4” and 5”. Use the Bone Folder to crease all of the scored lines. Attach Tear and Tape on the small ends and to the inside so that the stand looks like a “W” with short sides.
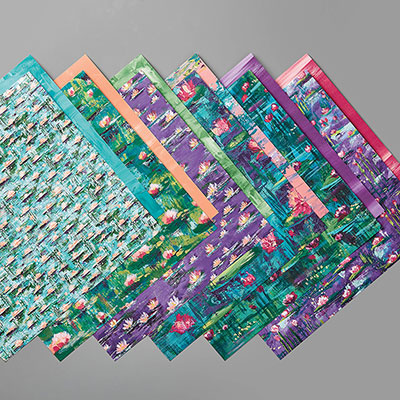
3. Lily Impressions DSP is cut at 4” x 5-1/4” and adhered to the base of the calendar.
4. Ink up the Lily Pad with Garden Green ink and stamp it on Garden Green cardstock. Die-cut them out with the Lily Pad Dies.
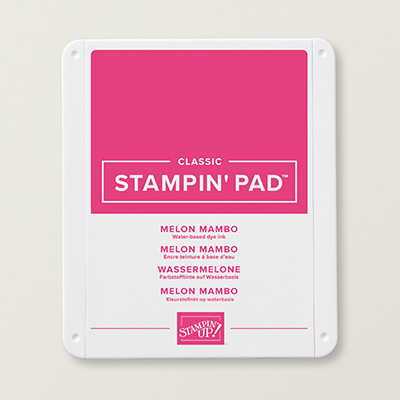
5. Ink up the Lotus Lily Flower with Melon Mambo ink and stamp it on Melon Mambo cardstock. Die-cut it out with the Lily Pad Dies. Add the Flirty Flamingo accent die with Multipurpose Glue or Fine-Tip Glue Pen.
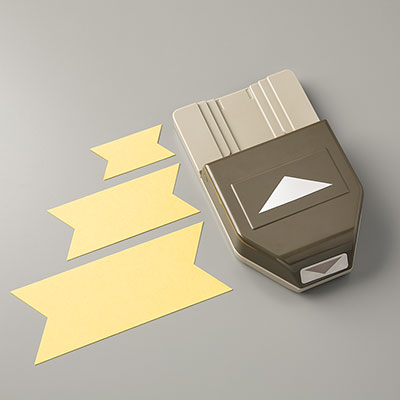
6. Ink up the sentiment “Each day is a new beginning” with Memento Black ink on Whisper White cardstock. Use the Triple Banner Punch to make a banner end.
7. Layer everything out before placing it on the calendar. Remove adhesive on the back of the calendar and attach at the bottom making sure you’ll have room at the top for the sentiment and Melon Mambo Lily flower. Attach the sentiment banner with Multipurpose Glue as well as the Lily Pad. Attach the Lotus Lily flower with Dimensionals.
Friday, November 15, 2019
Peaceful Boughs
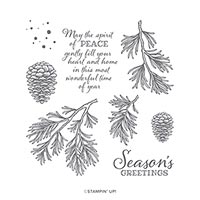
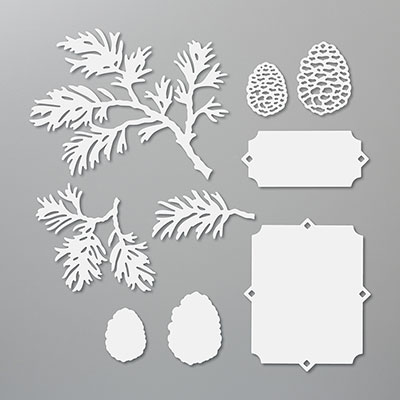
This is another beautiful set from the 2019 Holiday Catalog. I just love pine boughs and pinecones. As a matter of fact I bought a 4" artificial tree with pinecones on it at a craft fair this year that I can't wait to decorate for Christmas. Garden Green is perfect for this set as well as the Soft Suede or the Early Espresso ink on the Crumb Cake cardstock for the pinecones. Then I was able to die cut them out with the Beautiful Boughs Dies that go with it.
Stamp Set: Peaceful Boughs
Cardstock: Early Expresso, Very Vanilla, Crumb Cake
Ink: Early Espresso, Soft Suede, Garden Green, Cherry Cobbler
Other: Big Shot, Beautiful Boughs Dies, Multipurpose Glue, Dimensionals
1. The base of the card is Early Espresso
cardstock cut at 4-1/4” x 11” and scored at 5-1/2” in the middle.
2. The second layer is Very Vanilla cardstock
cut at 4” x 5-1/4”.
3. Ink up the pine bough stamp with Garden
Green ink. Stamp full strength on the
upper left-hand corner of the Very Vanilla cardstock. Stamp again without reinking on a few of
them.
4. Ink up the large and small pine cone stamps
with Early Espresso ink or Soft Suede ink and stamp on Crumb Cake cardstock. Die cut with the Beautiful Bough Dies and
attach the two small cones with Multipurpose and a Dimensional on the back of
the large one to put between the two small ones.
5. Ink up the sentiment with Cherry Cobbler on
the label and attach with Dimensionals.
Products I used:
Subscribe to:
Posts (Atom)
Glow of Harvest with Painted Pumpkins
This is a card using the Designer Series Paper Glow of Harvest, which was $5 with an order of $75 or more. Then, I used the masks to make ...
-
Just couldn't resist making another card using the Swirly Scribbles Thinlets to make a snowman. Seongsook Duncan had posted her vers...
-
This card uses a lot of the new products in the 2016-2017 Annual Stampin' Up! Catalog. The new stamp set is called Seaside Shor...
-
Just finished making this fun waterfall card this morning. I love making waterfall cards, so I had to play around with thi...