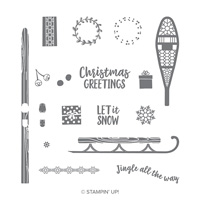
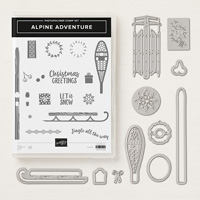
Just got this set "Alpine Adventure" yesterday and I already wanted to play with it and create a card that was similar to one I did in 2015 called Warm Wishes.
Here are the instructions for my Alpine Adventure card:
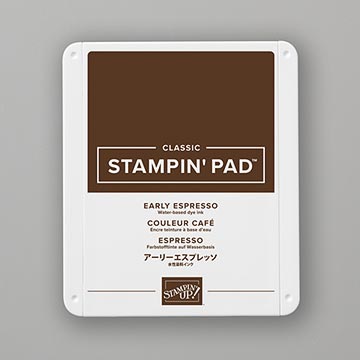
1. The base of the card is Early Espresso
cardstock cut at 5-1/2” x 8-1/2” and scored at 4-1/4” in the middle.
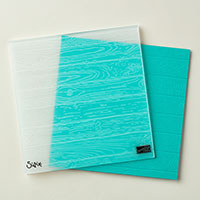
2. The second layer is Soft Suede cardstock
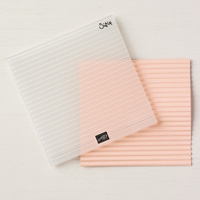
cut at 4” x 5-1/4” and inserted into the Pinewood Planks Dynamic TIEF and run
through the Big Shot.
3. The next layer is Crumb Cake cut at 1-3/4”
x 4-1/4” and inserted into the Corrugated Dynamic TIEF and run through the Big
Shot. May need to trim to fit four
inches across the card. Attach to the
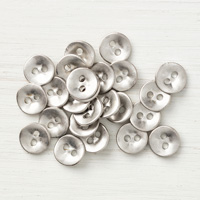
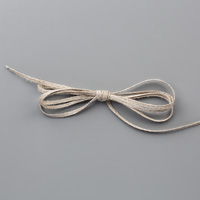
front of the card with Tear and Tape. Take a Galvanized Button with 3/16” Braid
Linen Trim inserted into the holes and frayed. Attach to the left side of the
card with Glue Dots on the corrugated cardstock.
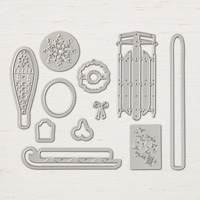
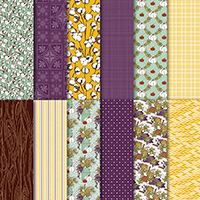
4. Die cut the sled from the Country Lane DSP
using the Alpine Sports Thinlets Die in the Big Shot. Attach to 2” x 4-1/4” Very Vanilla Cardstock
and then layered onto a 2-1/4” x 4-1/2” Early Espresso cardstock. Attach with Dimensionals to the right side of
the card.
5. Ink up the sentiment “Let it Snow” with
Early Espresso ink and stamp onto Crumb Cake cardstock. Die cut it out using the Alpine Sports
Thinlets Die and attach to the sled with a Dimensional.
Here are the products I used for the new card:







No comments:
Post a Comment
Thanks for taking the time to comment on my blog. You have made my day!