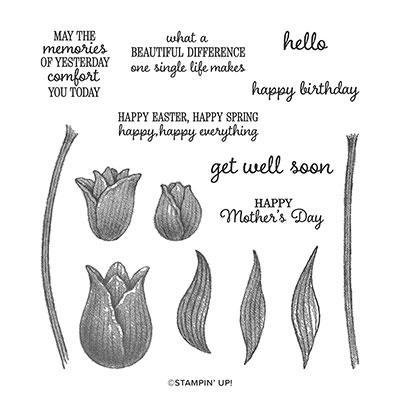
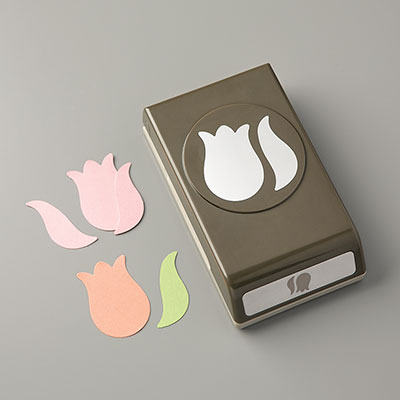
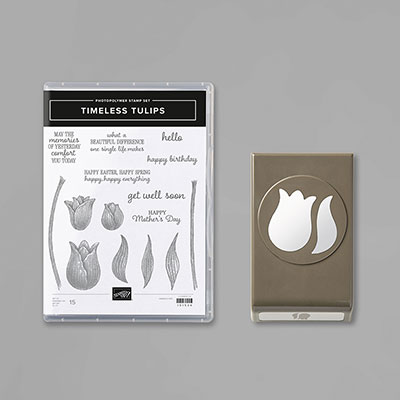
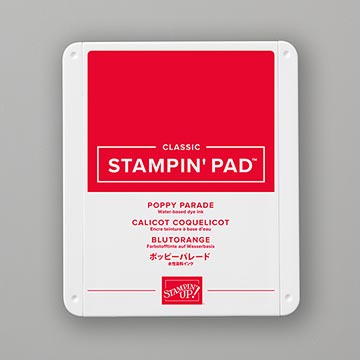
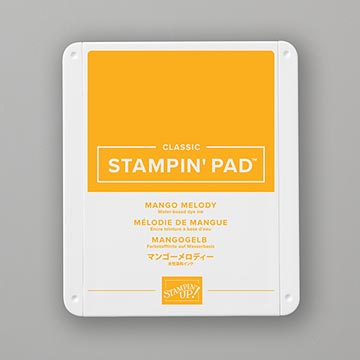
I love tulips and I love two-toned tulips, so I made a card using this technique. This is a new set called Timeless Tulips which can be purchased with the Tulip Builder Punch to save 10%. It makes me think of Spring which can't get here soon enough. It's my favorite season. First I inked up the tulip in Mango Melody ink. Then I took a Dauber and inked it up with Poppy Parade ink to get the two-toned effect.
Here are my instructions:
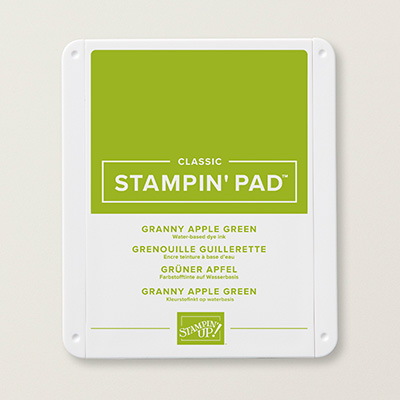
1. The base of the card is Granny Apple Green cardstock cut at 5-1/2” x 8-1/2” and scored at 4-1/4” in the middle.
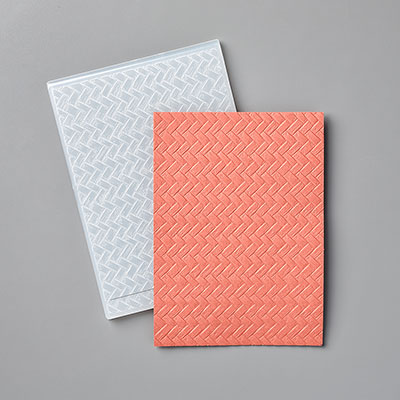
2. The second layer is Mango Melody cardstock cut at 4” x 5-1/4” and inserted into the Coastal Weave Embossing Folder and run through a die-cutting machine. Adhere to the front of the card with Adhesive.
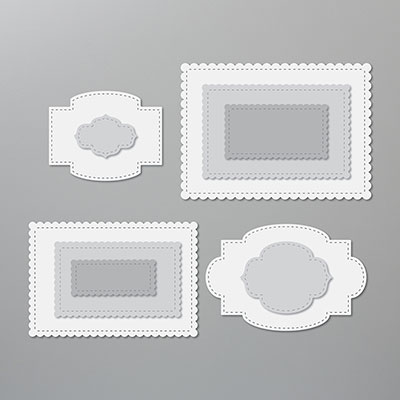
3. The third layer is the Granny Apple Green cardstock. Use the largest Stitched So Sweetly Scallop die rectangle in the die-cutting machine to cut it out.
4. The Whisper White cardstock is cut at 2-9/16” x 3-3/4”. Ink up the large tulip with Mango Melody ink. Take the Sponge Dauber and ink it up with Poppy Parade around the edges of the stamp. Huff on it before you stamp on the upper-middle Whisper White cardstock. Do the same with the two smaller tulips and stamp them lower than the large tulip on either side.
5. Ink up the stems and leaves with Granny Apple Green ink.
6. On a scrap of Whisper White cardstock, do another large tulip as before and punch it out with the Tulip Builder Punch. Put Dimensionals on the back and adhere to the first large tulip.
7. Tie a faux bow with the ½” Textured Weave Ribbon and adhere to the bottom with a Glue Dot. Leave on the reel as you tie and cut it off with the ribbon scissors.
8. Adhere stamped image to the Granny Apple Green Scalloped Rectangle with Multipurpose Glue or Snail Adhesive.
Products I used:




No comments:
Post a Comment
Thanks for taking the time to comment on my blog. You have made my day!