Showing posts with label Glue Dots. Show all posts

Saturday, June 20, 2020

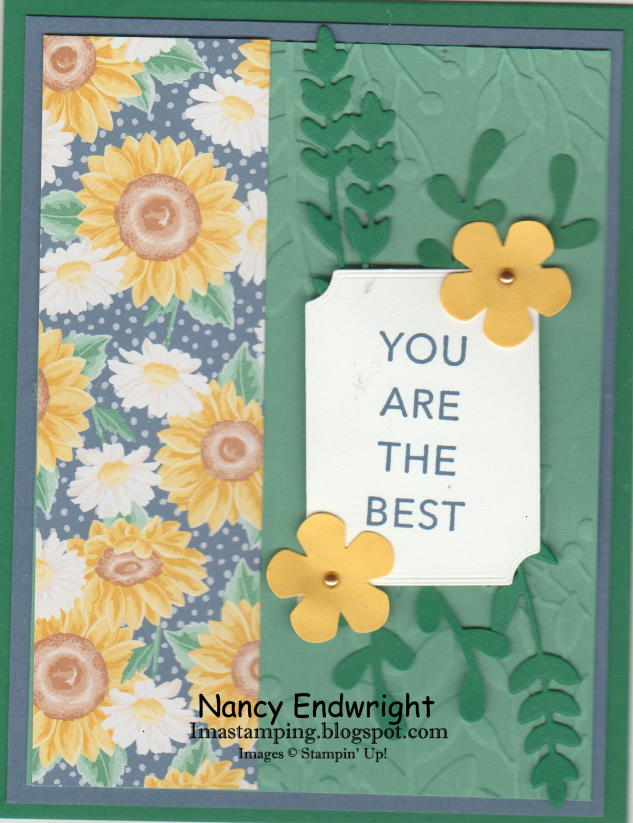
Tasteful Touches - You Are the Best


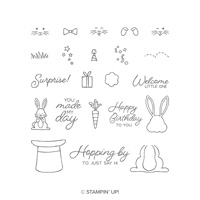
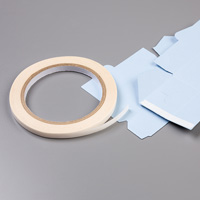
Each month, I do a swap with other Stampin' Up! demonstrators in the United States.  The theme was "New Catalog Swaps" so this is one of the new stamp sets that I ordered from the new catalog.  I love all the label dies that come with it as a Bundle to save 10%.   The new double sided tape Stampin' Seal is a lot stronger than the Snail Adhesive that Stampin' Up! used to have.  It holds a lot more too (16.4 yds. compared to 13.1 yds.) and just a dollar more.  They also carry Stampin' Seal + which is even stronger but great for 3-D projects and the same 16.4 yds.

The Big Shot is retired right now, but a newer version in the catalog is called Stampin' Cut & Emboss Machine which will be available to customers September 1. There is also a Mini Stampin' Cut & Emboss Machine but we don't know when it will be available yet.   As a demonstrator, I will be able to preorder the new Stampin' Cut & Emboss Machine in August.  
For the month of June right now, there is a special.  If you love Stampin' Up! and want to get a discount even if it's just for your hobby, you can sign up this month for $99 and get $125 worth of product plus you get to choose a FREE BUNDLE of your choice from the catalog with your Starter Kit.   I'd love to have you join my team!

Product List

Tuesday, February 18, 2020

Timeless Tulip - Two Toned

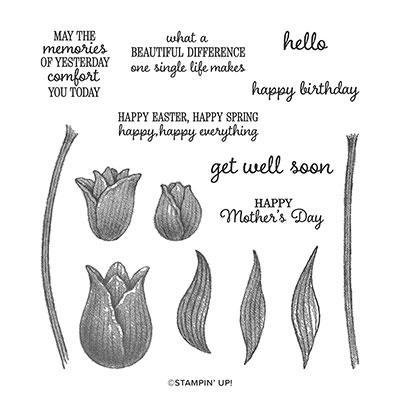
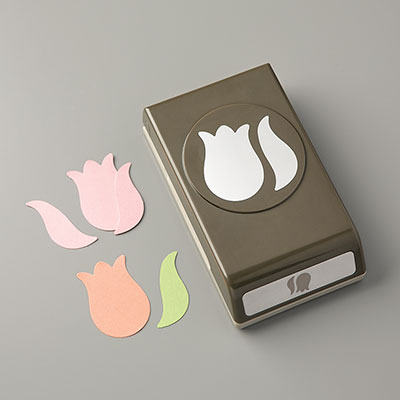
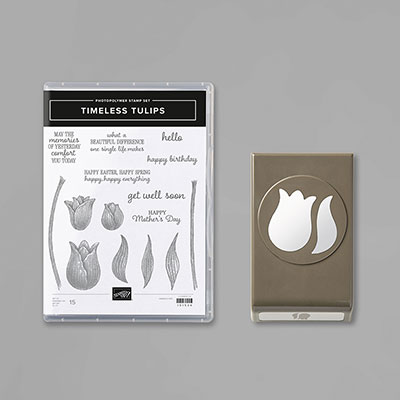
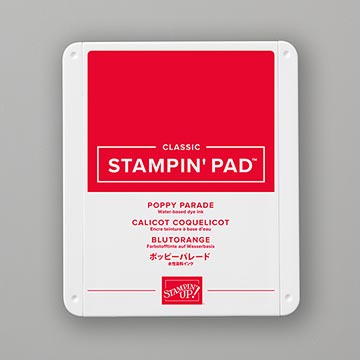
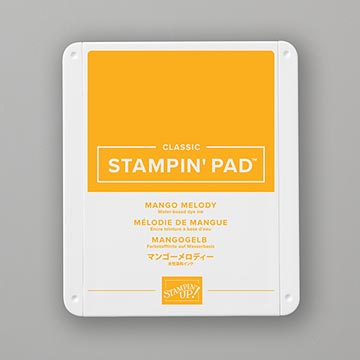
I love tulips and I love two-toned tulips, so I made a card using this technique. This is a new set called Timeless Tulips which can be purchased with the Tulip Builder Punch to save 10%.  It makes me think of Spring which can't get here soon enough.  It's my favorite season.  First I inked up the tulip in Mango Melody ink.  Then I took a Dauber and inked it up with Poppy Parade ink to get the two-toned effect.  

Here are my instructions:

Stamp Set:  Timeless Tulips (2020 January-May Mini) Page 43
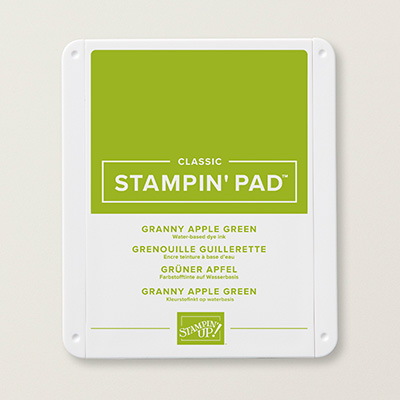
Cardstock:  Granny Apple Green, Mango Melody, Whisper White
Ink:  Mango Melody, Poppy Parade, Granny Apple Green
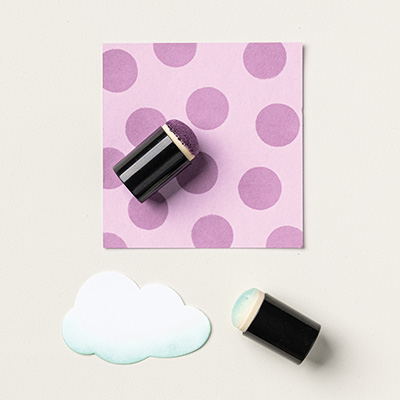
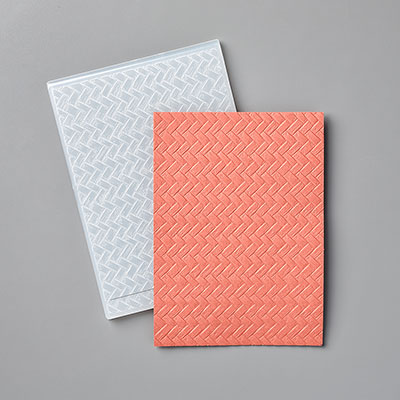
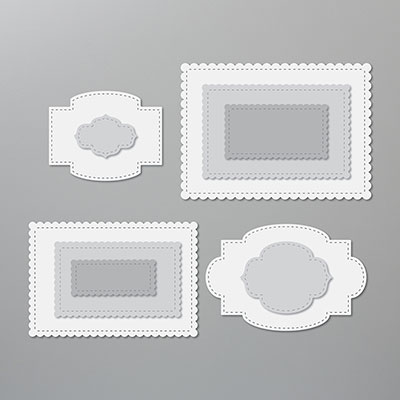
Other:  Big Shot, Coastal Weave Embossing Folder, Stitched So Sweetly Dies, Tulip Builder Punch, ½” Textured Weave Ribbon Granny Apple Green, Glue Dots, Sponge Dauber, Dimensionals, Multipurpose Glue, Snail Adhesive

1.     The base of the card is Granny Apple Green cardstock cut at 5-1/2” x 8-1/2” and scored at 4-1/4” in the middle.
2.    The second layer is Mango Melody cardstock cut at 4” x 5-1/4” and inserted into the Coastal Weave Embossing Folder and run through a die-cutting machine.  Adhere to the front of the card with Adhesive.
3.    The third layer is the Granny Apple Green cardstock.  Use the largest Stitched So Sweetly Scallop die rectangle in the die-cutting machine to cut it out.
4.    The Whisper White cardstock is cut at 2-9/16” x 3-3/4”.  Ink up the large tulip with Mango Melody ink.  Take the Sponge Dauber and ink it up with Poppy Parade around the edges of the stamp.  Huff on it before you stamp on the upper-middle Whisper White cardstock.  Do the same with the two smaller tulips and stamp them lower than the large tulip on either side.
5.    Ink up the stems and leaves with Granny Apple Green ink.
6.    On a scrap of Whisper White cardstock, do another large tulip as before and punch it out with the Tulip Builder Punch.  Put Dimensionals on the back and adhere to the first large tulip.
7.    Tie a faux bow with the ½” Textured Weave Ribbon and adhere to the bottom with a Glue Dot.  Leave on the reel as you tie and cut it off with the ribbon scissors.
8.    Adhere stamped image to the Granny Apple Green Scalloped Rectangle with Multipurpose Glue or Snail Adhesive.

Products I used:  


Thursday, April 4, 2019

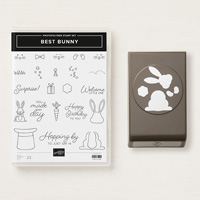
Best Bunny Suspension Card


This is a card we made at the last workshop called a suspension card.  I learned how to make this card from a video from Barb Mullikin.  Here are my instructions:

1.     The base of the card is Thick Whisper White cardstock cut at 4-1/4” x 11” and scored at 5-1/2” in the middle.

2.    The second layer is Botanical Butterfly DSP cut at 4” x 5-1/4”. Layer onto the front of the card for placement.  Put a small dap of Snail Adhesive in the middle.  Place oval die over center and die cut out in the Big Shot.

3.    Take the scallop oval and the oval you used in 2. to create a nest together on a scrap of Highland Heather cardstock.

4.    On the front of the card place two strips of Tear and Tape at the top of the oval and two at the bottom of the oval.

5.    Lay a strip of Baker’s over the center of the oval.  Then put more Tear and Tape over the other Tear and Tape to hold in place.

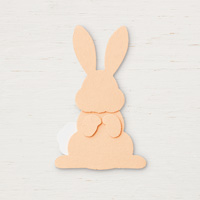
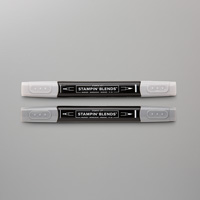
6.    Ink up the bunny pieces with Memento Black ink and punch out with the Bunny Builder Punch.  Color in with the Smoky Slake Stampin’ Blends. 

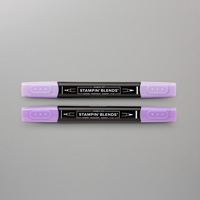
7.    Stamp the birthday package and fussy cut it out with the Paper Snips.  Color it in with Highland Heather Stampin’ Blends.  The front paws should be attached as though holding the present in front.  Put the tail in the back.

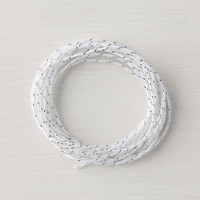
8.    Put the bunny back in the center of the opening with the Baker’s twine down the middle of the bunny.  Add Glue Dots..

9.    Take the front bunny on top of the bunny back.

10.  Ink up the “Surprise” sentiment with Gorgeous Grape on Whisper White 5/8” strip.  Flag it with the Paper Snips to create a banner.

11.   On the inside down at the right bottom, ink up the sentiment “Happy Birthday”.

12.  Optional:  Add sequins to the front.  Spin twine around so when card is opened it spins around.

Products I used:


Thursday, May 17, 2018

Detailed Dragonfly Closure Card

I've been stamping a lot, but I'm sorry to say, I've been neglecting to post to my blog recently.  This is a card I made recently for my swaps using the new preorder "Share What You Love" that you can preorder the month of May HERE

Below are my instructions for making this card and I give credit to Rachel Tessman for designing it.


1.     The base of the card is Thick Whisper White cardstock cut at 5-1/2” x 8-1/2” and folded in half.

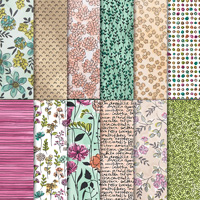
2.    The second layer is Share What You Love DSP cut at 2” x 4-1/4” for the strip outside and for the inside 4” x 5-1/4”.

3.    Use the Leaf Punch to punch out two (2) leaves from the Vellum cardstock and color with Mint Macaron ink.  Let dry!

4.    Adhere the first leaf in the left-hand corner of the card with Snail Adhesive and other on the other side of the DSP strip.

5.    Now measure 5/8” from the left side of the card for placement of the DSP strip. (Use the paper grid for measurement – 5/8” is just one mark over from 1/2” inch mark).  Adhere with Snail Adhesive/or Multipurpose Glue.

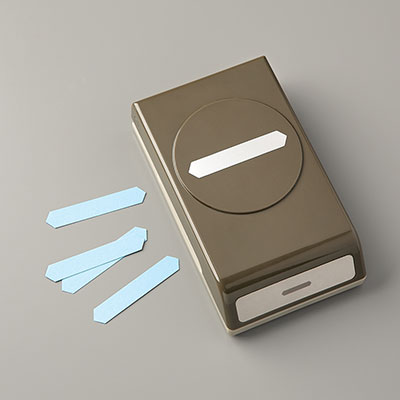
6.    Insert the Classic Label Punch to punch on the left side of the card until it stops and punch out through both layers of the DSP and Thick WW cardstock.

Then bring the punch down and line it up with the first punch and punch about ½” more.

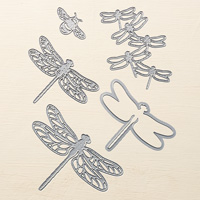
7.    Use the Detailed Dragonfly Thinlets to make a detailed Basic Black dragonfly and a solid vellum dragonfly in the Big Shot.  Always run the Thinlets through the Big Shot at an angle (or at least not head first, so as not to cause them to bend when done.

8.    Align the detailed black dragonfly on top of the vellum dragonfly using Glue Dots or Multipurpose Glue.  Then add Glue Dots to the bottom of the vellum dragonfly to attach through the punched classic hole in the card.  Fold his wings ups slightly so that when you open the card, his wings will go through the punched hole.

9.    You can add two Rhinestones and attach as his eyes or onto his body.

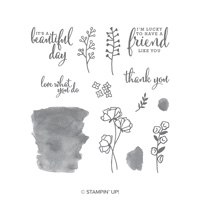
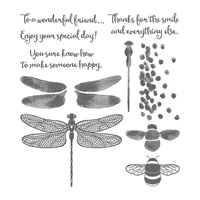
10.  Add sentiment to the right side and then another sentiment on the inside up at the top.  I used the new sentiment "I'm Lucky to have a Friend Like You" from the new preorder stamp set "Love What You Do" and for the inside of the card, I used the Dragonfly Dreams sets for the sentiment "You Sure Know How to Make Someone Happy."

Products I used:

Fern & Flora - "You Make the World a Better Place"

Here is another card that I made using the Moonlit Flora Designer Series Paper.  It is so beautiful that it really makes the card without pu...