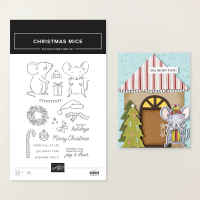
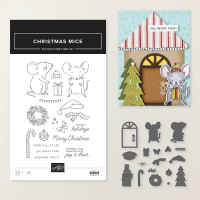
Stamp Set: Christmas Mice
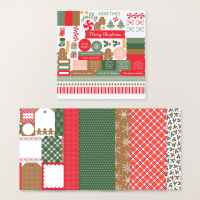
Cardstock: Thick Basic White, Pecan Pie, Basic White, Peaceful
Pine, Cherry Cobbler, Timeless Christmas
Ink: Memento Black, Cherry Cobbler
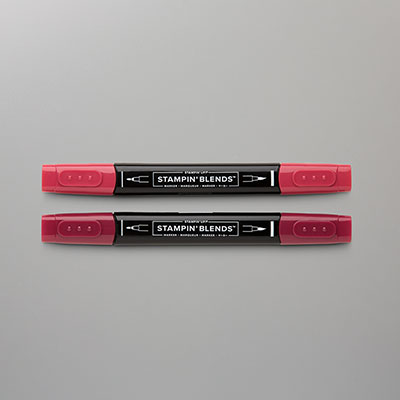
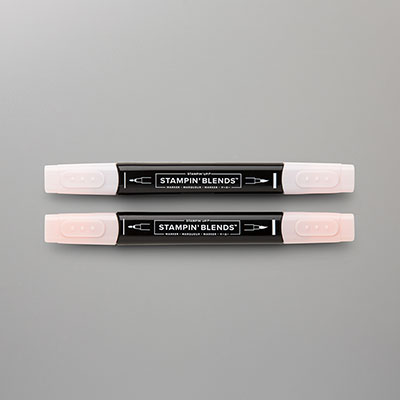
Stampin’
Blends: Gray Granite, Peaceful Pine,
Cherry Cobbler, Petal Pink
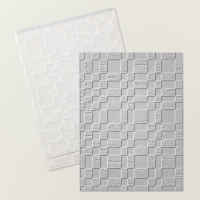
Other: Stampin’ Cut and Emboss Machine, Christmas
Mice Dies, Rustic 3D Embossing Folder, Christmas Epoxy Shapes, Multipurpose
Liquid Glue, and Stampin’ Dimensionals
1. The base of the card is Thick Basic White
cardstock cut at 5-1/2” x 8-1/2” and scored at 4-1/4” in the middle.
2. The second layer is the Timeless Christmas
DSP cut at 4” x 5-1/4”.
3. Cut Cherry Cobbler cardstock at 4-1/4” x 3”
and cut Basic White at 4-1/8” x 2-7/8”.
Insert the Basic White into the Rustic 3D Embossing Folder and adhere to
the Cherry Cobbler. Attach layers with
Stampin’ Dimensionals to the card front.
4. Stamp the mouse, hat, scarf, ornament, and
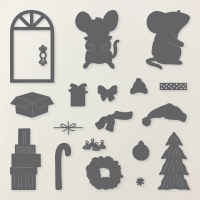
bow on Basic White cardstock and color in with the Stampin’ Blends. Die-cut them out with the Christmas Mice
Dies.
5. Die-cut a box with Pecan Pie. Ornament with Cherry Cobbler, Tree with
Peaceful Pine.
6. Attach to the Rustic 3D as shown in the
photo.
7. Ink up “Wishing You A” on a Basic White
strip and adhere to the front.
8. Ink up “Merry Christmas” on the inside of
the card.
9. Add the Epoxy Shapes to the tree.
Products I used: