Thursday, May 23, 2019

Free as a Bird

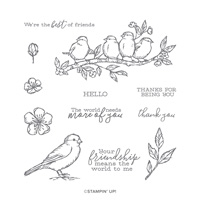
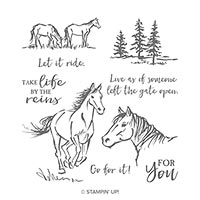
This is a new set called "Free as a Bird" that I was able to preorder as a demo.  On June 4, customers can purchase it and it is bundled with the Stitched Nest Labels Dies.  I stamped the birds in Memento Black ink and colored them in with the Stampin' Blends.  I was inspired by Jane Allmark. Here are my instructions to make this card:


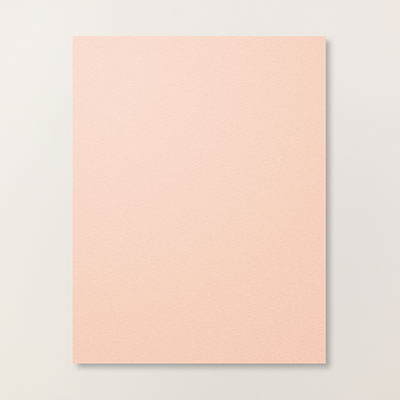
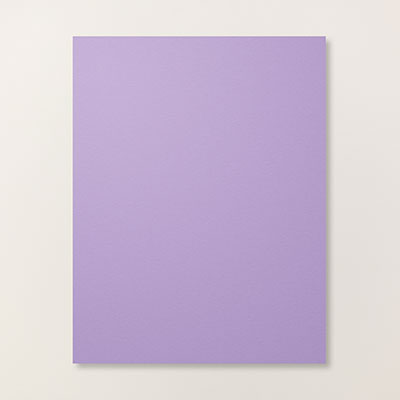
1.     The base of the card is Petal Pink cardstock cut at 5-1/2” and 8-1/2” and scored at 4-1/4” in the middle.

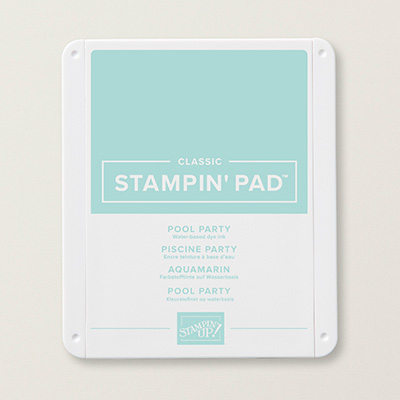
2.    The second layer is Pool Party cut at 4” x 5-1/4”.  Ink up the leaves stamp with Pool Party ink and stamp randomly around the sides of the cardstock.

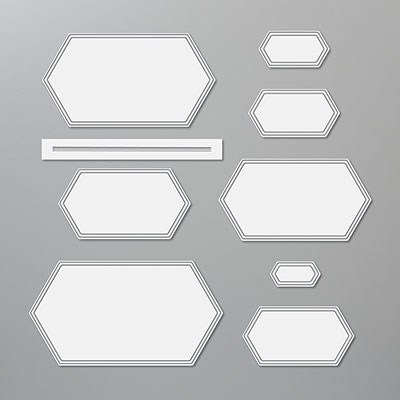
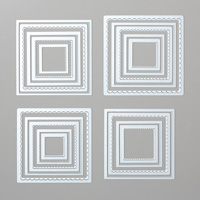
3.    Use the Stitched Nested Labels Die and Whisper White cardstock in the Big Shot.

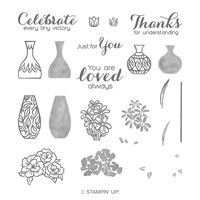
4.    Ink up the bird branch stamp with Memento Black ink and stamp on the Whisper White die cut.

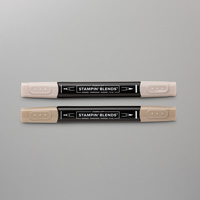
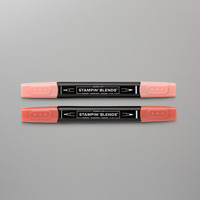
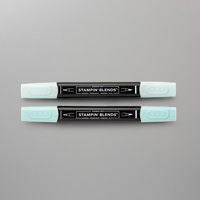
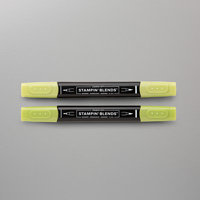
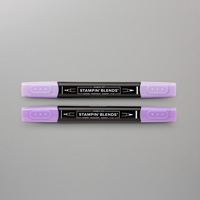
5.    Color in the birds with the Light Pool Party Stampin’ Blends.  Use the Light Calypso Coral Blend for the beaks.  Use 
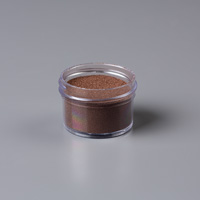
the Light and Dark Crumb Cake for the branch.  Use both Old Olives for the leaves. 

6.    Ink up the “thank you” with Memento Black ink and stamp on the lower right hands corner of the Whisper White die.  Adhere to the front of the card with adhesive.

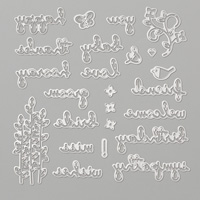
7.    Ink up the flowers with Memento Black on scraps of Whisper White cardstock.  Make 
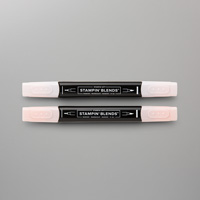
two large and three small flowers. Color the centers of the flowers with Pool Party Blends and the flower with Petal Pink Blends.  Use the Paper Snips to fuzzy cut them out.  Put Dimensionals on the back and adhere to the lower part of the die.

Products I used to make my card:


Vibrant Vases

Highland Heather is one of my favorite colors and I sure wish the Gingham Gale DSP wasn't retiring.  I love it and all the colors.  This idea was cased by Tracy Bradley.  The "Friend" is from the Well-Said Dies which are being carried over.  The Country Floral Embossing Folder is also carrying over but can't be purchased until June 4, 2019.

Here are my instructions for this card:


1.     Cut a piece of Highland Heather cardstock that measures 11″ x 4-1/4″ and score at 5-1/2” in the middle.
2.    Cut a piece of Whisper White cardstock that measures 5-1/4″ x 4″. Adhere to the base of the card.
3.    Cut a piece of Gingham Gala Designer Series Paper that measures 5″ x 3-3/4″.  Adhere to the Whisper White layer.
4.    Using the Layering Squares Framelits, Dies, cut a square out of Whisper White cardstock and another out of Highland Heather cardstock. Run the Whisper White piece through the Big Shot using the Country Floral Embossing Folder.  Adhere the embossed piece to the Highland Heather. Add Stampin’ Dimensionals to the back and attach to the front of the card.
5.    On a piece of Whisper White cardstock, stamp both the vase and flowers from the stamp set Vibrant Vases using Memento Ink. Color both images using Granny Apple Green and Highland Heather Stampin’ Blends.
6.    Use the Vases Builder Punch to cut out the vase.  Fussy cut the flowers.  Add Snail adhesive to the vase and attach to the embossed Whisper White square.  Add Stampin’ Dimensionals to the flowers and place them at the top of the vase.
7.    Remove the protective sheet from a Multipurpose Adhesive Sheet and adhere a piece of Gorgeous Grape to it.  With the Gorgeous Grape cardstock, right side up, place the die “friend” from the Well Written Framelits Dies on top of it.  Run it through the Big Shot.  Remove the backing sheet from the word “Friend” and adhere it on the card. 

Products I used:

Let It Ride - Interlocking Rectangles

This is a card I made at Sunday's workshop that I cased from Dawn Griffith, but the scanned picture doesn't do it justice.  The Copper Foil doesn't show up at bright as it should.  It is called an interlocking-card and I've made them before but not with the Rectangle Dies until now.  It is also embossed with Copper Embossing Powder.  Here are my instructions:


Stamp Set:  Let It Ride

Cardstock:  Early Espresso, Copper Foil, Very Vanilla Cardstock

Ink:  Versamark, Copper Embossing Powder

Other:  Big Shot, Stitched Rectangle Dies, Embossing Buddy, Heat Tool, 1-1/2” Circle Punch, Bone Folder, Dimensionals, and adhesives


1.     The base of the card is Early Espresso Cardstock cut at 5-1/2” x 8-1/2” and scored at 2-1/8” on each end.  Use the Bone Folder to crease the scored lines.

2.    The inside of the card is Very Vanilla cardstock cut at 4” x 5-1/4” and using the Embossing Buddy first, then ink up  the stamps with Versamark.  Sprinkle with Copper Embossing Powder and shake off excess heat set with the Heat Tool.

3.    The Copper Foil is die cut using the largest rectangle and the third largest rectangle to create a copper frame.  Put Adhesive only on the one side to attach to the left of the card.

4.    Die cut a rectangle using the fourth largest rectangle die and Very Vanilla cardstock.  Use the Embossing Buddy.  Ink up the horse with Versamark and stamp in the center of the rectangle.  Add Copper Embossing Powder and shake off the excess and heat set with the Heat Tool.  Glue only the right side so that they interlock. 

5.    On a scrap of Very Vanilla cardstock, use the Embossing Buddy and ink up the stamp “Take Life by the Reins” with Versamark ink.  Add Copper Embossing Powder.  Shake off the Excess and heat set with the Heat Tool.  Punch out with the 1-1/2” Circle Punch and attach Dimensionals on the back to attach to the Very Vanilla center piece, but not on the foil or it won’t open properly.

Products used:


Supremely Awesome Round Metal Decor

  This is another project they made on Sunday's club.  It is a Galvanized Metal Bottle Cap that I got at Dollar Tree.  I used the Deckle...