Showing posts with label Pool Party. Show all posts

Wednesday, October 7, 2020

Dove of Hope Case

The stamp set Dove of Hope doesn't do it justice in the catalog.  This is a card I cased from Akiko Sudana because it is an absolutely beautiful card using the Snowflake Splendor DSP in the background.  My club members made it on Sunday and thought it was stamped in the background.  They liked the card so much that a lot of them ordered the Bundle especially when I showed them a card I made making the dove wings into angel wings which I'll post more about it in the future, but here's the card.

Products I used to make the Dove of Hope card with the sentiment "Peace on Earth" on the front.


Product List

Friday, July 17, 2020

Jar of Flowers - Sent with Love

It's always fun to receive a bouquet of flowers from a loved one and this stamp set Jar of Flowers is perfect to send to a loved one even if it's not sent with real flowers.  It also comes in a Bundle to save 10% which includes the Jar Punch.  I used Pool Party for my jar because it reminded me of the blue canning jars from long ago.   This idea of how to make this card was from Chris Sloger.  Here are the Stampin' Up! products I used to make this card:


Product List

Thursday, February 6, 2020

Lovely Lily Pad Watercolor

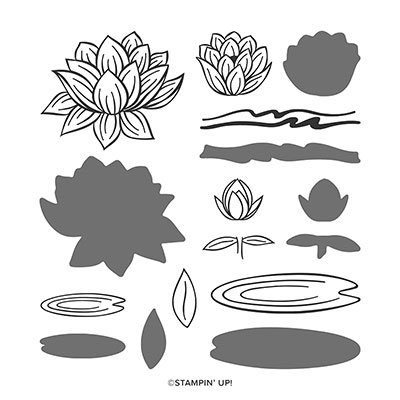
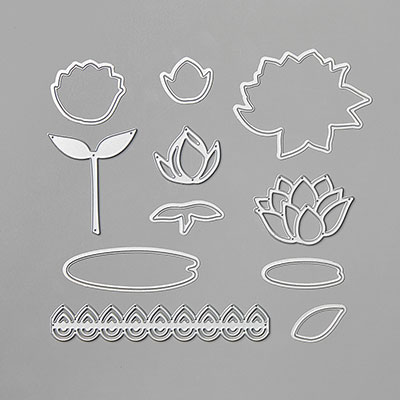
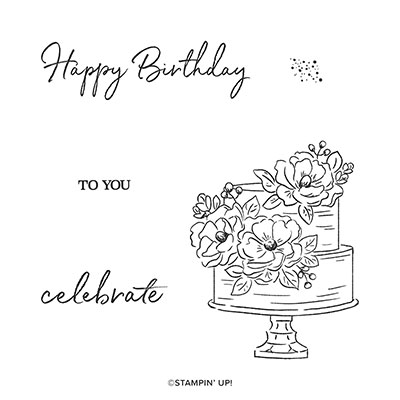
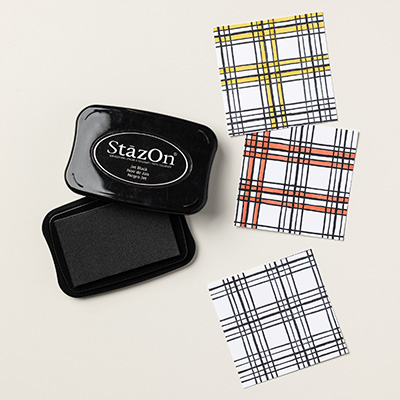
My first post for February is a card that was inspired by Alisa Tilsner from Australia.  She has a video on how to use makeup brushes for the background instead of using a brayer.  I really liked the look so I bought a few of them on Amazon.  The colors I used in the background were the Pacific Point and Pool Party ink pads.  The set I used is called Lovely Lily Pad which I earned FREE from the Sale-a-Bration catalog.  I stamped the lotus flower on watercolor paper using Stazon ink and Melon Mambo and Blushing Bride Stampin' Write Markers as well as the Aqua Painter.  I used Old Olive and Pear Pizzazz for the lily pad.  The sentiment is from the Happy Birthday To You set also earned FREE from SAB catalog.
Here are my instructions:


Stamp Sets:  Lovely Lily Pad, Happy Birthday To You (both 2020 SAB)

Cardstock:  Pacific Point, Pool Party, Watercolor Paper

Ink:  Stazon Black, Pacific Point, Pool Party,

Markers: Blushing Bride, Melon Mambo, Old Olive, Pear Pizzazz

Other:  Aqua Painter, Makeup Brush by Yoseng (Amazon). Multipurpose Glue, Dimensionals


1.     The base of the card is Pacific Point cardstock cut at 5-1/2” x 8-1/2” and scored at 4-1/4” in the middle.

2.    The second layer is Pool Party cardstock cut at 4” x 5-1/4”

3.    The third layer is Watercolor Paper cut at 3-3/4” x 5”.

4.    Ink up the makeup brush with Pool Party ink and brush back and forth across the watercolor paper.

5.    Ink up the makeup brush with Pacific Point ink and brush back forth across the watercolor paper.

6.    Ink up the lily pad and lotus flower with Stazon ink and stamp on the Watercolor Paper.

7.    Color the flower in with the Melon Mambo marker and then the Blushing Bride marker.  Then use the Aqua Painter to blend the colors pulling them to the point of the flower.  Do each petal individually.

8.    Color the Lily Pad with the Old Olive and Pear Pizzazz and blend with the Aqua Painter.

9.    Adhere the lily pad to the card front with Multipurpose Glue.  Attach Dimensionals on the back of the lotus flower and attach above the lily pad.

Products I used:


Friday, November 15, 2019

Snowman Season - Build a Snowman

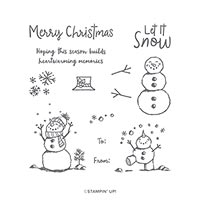
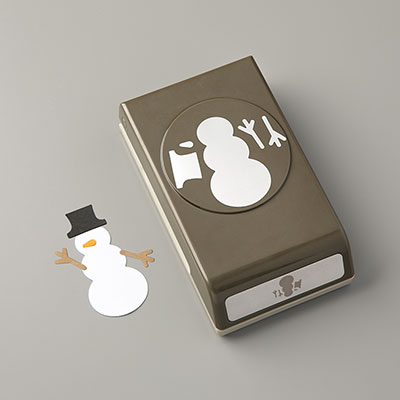
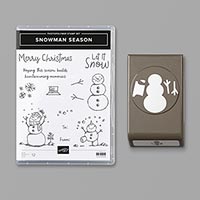
This is a adorable card that I cased it from Cindy Brumbaugh.  I love snowmen, but not so much the snow.  The paper snowman is so much for fun to make.  The stamp set is called Snowman Season in the 2019 Holiday Catalog on page 20.  It also bundles up with a snowman punch.  

Here are my instructions:


Stamp Sets:  Snowman Season, Snow Front

Cardstock:  Pool Party, Basic Black, Whisper White

Ink:  Memento Black

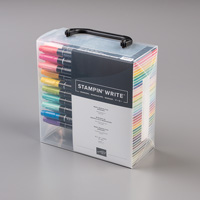
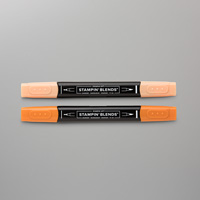
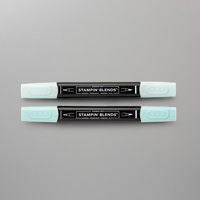
Stampin’ Blends:  Pool Party Combo, Pumpkin Pie Dark

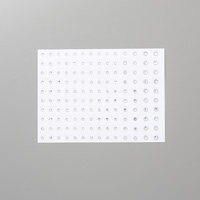
Other:  Snowman Builder Punch, Paper Snips, Multipurpose Liquid Glue, Dimensionals, Rhinestone Basic Jewels


1.     The base of the card is Pool Party cardstock cut at 5-1/2” x 8-1/2” and scored at 4-1/4” in the middle.  (Tip:  If making more than one card, use a whole sheet of 8-1/2” x 11” and first score at 4-1/4” and then cut in half at 5-1/2” to save time)

2.    The next layer is Basic Black cardstock cut at 4” x 5-1/4” and adhered to the front of the base with Multipurpose Liquid Glue.

3.    The third layer is Whisper White cardstock cut at 3-3/4” x 5”.  Use the Snow Front landscape stamp in Pool Party ink and stamp at the bottom of the Whisper White cardstock on the left and then on the right, and then in the middle.

4.    Ink up the sentiment “Let it Snow” with Memento Black ink and stamp in the very top left corner.

5.    Ink up the snowman with Memento Black ink and stamp three snowmen on Whisper White scrap cardstock.  Remember to leave space in between each one.  Punch each one out.  (Trick for Builder Punches:  Punch out on a scrap to use the scrap cardstock for a negative piece to align your stamps right where the holes are to pick all the stamps up with one block.  This is so that you can punch out all your pieces at once after stamping instead of individually).

6.    Punch out all pieces, but we won’t be using the hats.  On the first snowman, use the Paper Snips to cut out the bottom of the snowball but leave the black at the top.  Lay it on the left of the card.  On the second snowman, cut off the two bottom snowballs leaving the black at the top.  For the third snowman, leave him whole but color his nose with the Pumpkin Pie Blend.  Use the Pool Party Stampin’ Blend on the left side of the snowman and the snow balls to give dimension.  Lay them on the Pool Party landscape for placement.

7.    Ink up the snowflake stamp with Pool Party and stamp above each snowball and snowman.

8.    Attach snowball/snowman with Dimensionals.

9.    Add Rhinestones to the Pool Party snowflakes.

10.  Add the sticks for the arms on the final snowman with Multipurpose Glue and leave two others on the ground.


Products I used:


Fern & Flora - "You Make the World a Better Place"

Here is another card that I made using the Moonlit Flora Designer Series Paper.  It is so beautiful that it really makes the card without pu...