Showing posts with label Rectangle Stitched Framelit Dies. Show all posts

Thursday, May 23, 2019

Let It Ride - Interlocking Rectangles

This is a card I made at Sunday's workshop that I cased from Dawn Griffith, but the scanned picture doesn't do it justice.  The Copper Foil doesn't show up at bright as it should.  It is called an interlocking-card and I've made them before but not with the Rectangle Dies until now.  It is also embossed with Copper Embossing Powder.  Here are my instructions:


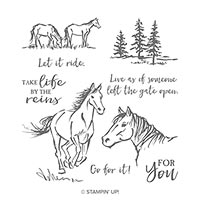
Stamp Set:  Let It Ride

Cardstock:  Early Espresso, Copper Foil, Very Vanilla Cardstock

Ink:  Versamark, Copper Embossing Powder

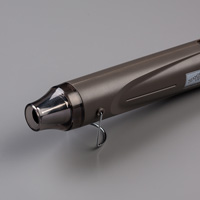
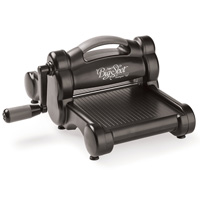
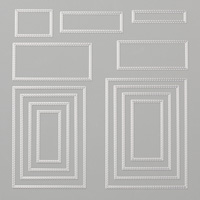
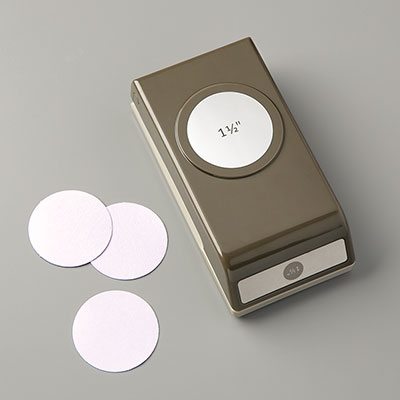
Other:  Big Shot, Stitched Rectangle Dies, Embossing Buddy, Heat Tool, 1-1/2” Circle Punch, Bone Folder, Dimensionals, and adhesives


1.     The base of the card is Early Espresso Cardstock cut at 5-1/2” x 8-1/2” and scored at 2-1/8” on each end.  Use the Bone Folder to crease the scored lines.

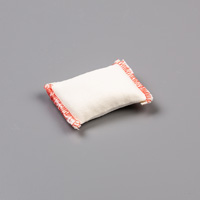
2.    The inside of the card is Very Vanilla cardstock cut at 4” x 5-1/4” and using the Embossing Buddy first, then ink up  the stamps with Versamark.  Sprinkle with Copper Embossing Powder and shake off excess heat set with the Heat Tool.

3.    The Copper Foil is die cut using the largest rectangle and the third largest rectangle to create a copper frame.  Put Adhesive only on the one side to attach to the left of the card.

4.    Die cut a rectangle using the fourth largest rectangle die and Very Vanilla cardstock.  Use the Embossing Buddy.  Ink up the horse with Versamark and stamp in the center of the rectangle.  Add Copper Embossing Powder and shake off the excess and heat set with the Heat Tool.  Glue only the right side so that they interlock. 

5.    On a scrap of Very Vanilla cardstock, use the Embossing Buddy and ink up the stamp “Take Life by the Reins” with Versamark ink.  Add Copper Embossing Powder.  Shake off the Excess and heat set with the Heat Tool.  Punch out with the 1-1/2” Circle Punch and attach Dimensionals on the back to attach to the Very Vanilla center piece, but not on the foil or it won’t open properly.

Products used:


Thursday, April 11, 2019

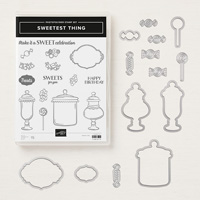
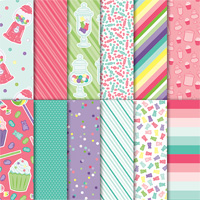
Sweetest Thing - Never Ending Card


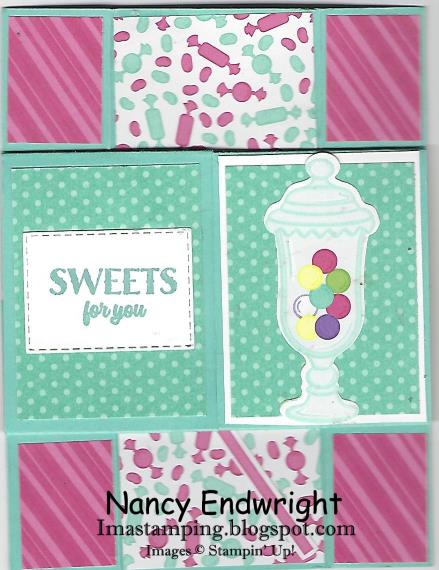
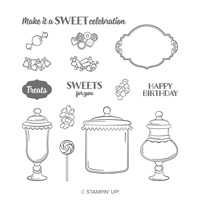
It's been a while since I've made a Never Ending Card and I thought the Sweetest Thing stamp set and the How Sweet It Is DSP would be perfect for making one as a birthday card.  Here are my written instructions after following a video of Diane Hutchison on Crafts by the Bow:

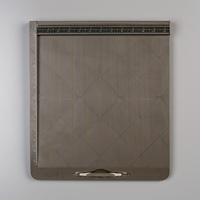
1.     Cut two pieces of Coastal Cabana cardstock at 4-1/4” x 5-1/2”.  Score one of them at 1-3/8” on each side of the 5-1/2” side using the Simply Scored Scoring Tool.  Turn to the 4-1/4” side and cut in half at 2-1/8” on the Stampin’ Trimmer.  These will be marked 1 and 2.
2.    On the other piece of Coastal Cabana, on the 4-1/4” side, score 1-1/16” on each side.  Turn on the 5-1/2” side and cut at 2-3/4” on the Stampin’ Trimmer.  These will be marked 3 and 4

                                                                   
3.    Use two rows of about 1” each of tear and tape at the top left of 3 and top right of 4.  Repeat at the bottom left of 3 and bottom right of 4 with two rows of Tear and Tape.


4.    Remove the tape backing.  Make sure that 3 and 4 are even before placing 1 at the top of 3 and 4.  Once it’s in place, 2 should be next at the bottom.  You may need to trim on the edge if not even.  Use the Bone Folder to crease each score line as you fold and unfold.
5.    Now you are ready to add Designer Paper cut at the following dimensions:
You need (8) of 2” x 2-5/8” DSP of different designs.
You need (4) of 2” x 1-1/4” DSP of the same design. 
You need (4) of 7/8” x 2-5/8” of the same design.
You need (8) of 7/8” x 1-1/4” of two different designs.
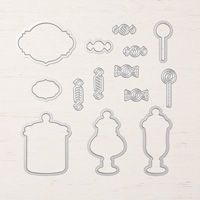
6.    Now using the Jar of Sweets Framelit Dies and the How Sweet It Is DSP, die cut the candy jars in the Big Shot.  Use Paper Snips to cut out candy and attach with Adhesive.
7.    Die cut the small Rectangle Framelits and ink up the sentiment “Sweets for You” and another one with “Happy Birthday” in Coastal Cabana ink.
8.    Add three Glitter Enamel Dots to the front of the card.

Products I used:


Friday, January 18, 2019

Dear Doily

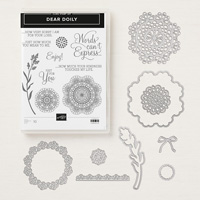
Stampin' Up! had a previous doily stamp set back in 2011 (see photo below) that I just loved but long retired, so I was glad to see the new doily set in the Occasions Catalog called "Dear Doily" and so I wanted to try to recreate the card I did back in 2011 but with different colors.  Here are the instructions for my current card:  
Stamp Set:  Dear Doily (2019 Occasions) Page 47
Cardstock:  Thick Whisper White, Gorgeous Grape, Highland Heather
Ink:  Gorgeous Grape, Versamark Ink Pad, White Embossing Powder
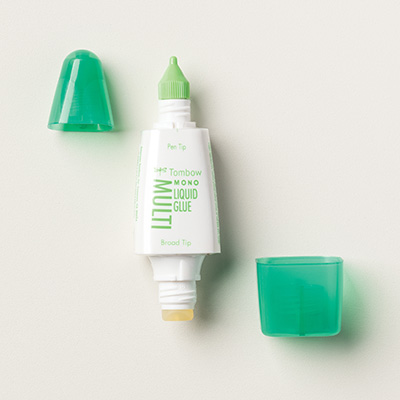
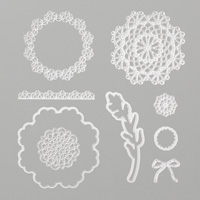
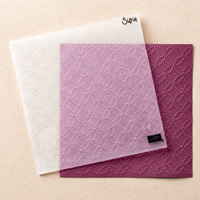
Other:  Big Shot, Heat Tool, Quilt Top TIEF, Doily Builder Thinlets Dies, Rectangle Stitched Framelit Dies, Decorative Ribbon Border Punch, Multipurpose Glue, Embossing Buddy, Snail Adhesive, Glue Dots, Dimensionals

1.     The base of the card is Thick Whisper White cardstock cut at 4-1/4” x 11” and scored at 5-1/2” in the middle.
2.    The second layer is Highland Heather cardstock cut at 4” x 5-1/4” and inserted into the Quilt Top TIEF and run through the Big Shot.
3.    The third layer is Gorgeous Grape cardstock at 4” x 2-3/4” with the Embossing Buddy rubbed over it before inking up the doily with Versamark ink before embossing with White Embossing Powder with the Heat Tool.
4.    Use the Decorative Ribbon Border Punch on Whisper White cardstock and add lengths to the top and bottom of the Gorgeous Grape cardstock with Snail Adhesive.
5.    Use Multipurpose Glue to attach to the front of the card.
6.    Die cut bows in the Big Shot using the Doily Builder Thinlets Dies and attach to the center of each doily with a Glue Dot.
7.    Use the Rectangle Stitched Framelit Die for the sentiment “Just For You” inked up with Gorgeous Grape ink.  Attach in the upper right-hand corner of Gorgeous Grape with Dimensionals.

Products I used:


Fall Pumpkins and Sunflowers card

Fall is in the air!  Yes, it is finally sweater weather here in Indiana.  It has been a hot summer, so it's nice to have cooler weather....