


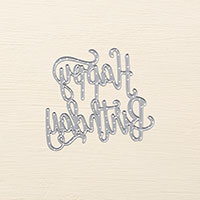
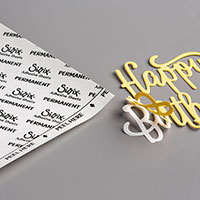
On Sunday, I taught my club members how to use the new Adhesive Sheets. It works so well with the "Happy Birthday" Thinlet. I also showed them how to ink up the large background stamps.
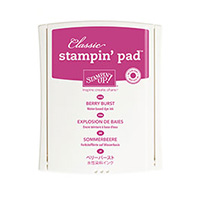
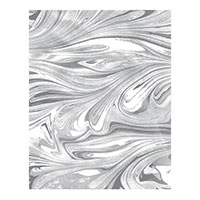
This lovely Marbled background stamp and the new In-Color Berry Burst look awesome together.
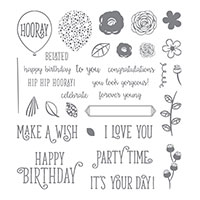
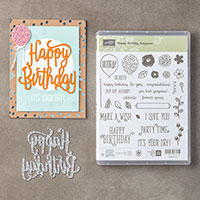
On the inside, they used Happy Birthday Gorgeous stamp set with the Hooray Balloon and It's Your Day. The Happy Birthday Bundle saves you 10% on page 77 of the annual catalog.
Here are my instructions for making this card:
1. The base of the card is Basic Black cut at 4-1/4” x 11” and scored at 5-1/2” in the middle.
2. The second layer is Whisper White cut at 4” x 5-1/4”.
3. Take the Marbled Background stamp and adhere to the Clear Mount “F” using the Carmax Lip Balm to make it stick to the block.
4. Take the Berry Burst ink pad and ink up the Marbled Background stamp with the rubber facing up. Then carefully place Whisper White cardstock on top of the rubber and place copy paper over it and press with your hands all over the rubber.
This will prevent getting ink all over your hands. Lift cardstock carefully!
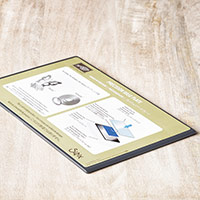
5. Adhere the 3-1/2” x 3-1/2” Multipurpose Adhesive Sheet to the 3-1/2” x 3-1/2” Basic Black cardstock by taking one end of the backing and align with one side of the cardstock being careful so that the adhesive doesn’t stick to you.
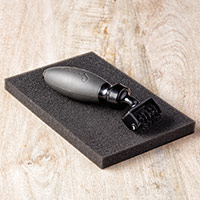
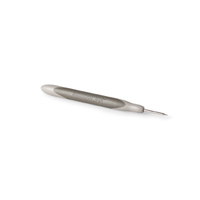
6. Now take it to the Big Shot and lay the “Happy Birthday” thinlet die on the Basic Black cardstock to die cut it out. Be sure to use the Precision Plate and one Stand Plate to run it through the Big Shot several times. Keeping the cardstock pieces with the thinlet, take it to the Big Shot Die Brush to remove all the pieces. You may need to use the Paper Piercing tool to poke the rest out.
7. Peel off the backing and adhere to the front of your card. I usually start to the center and then press it with my fingers towards each side.
I added another picture of adding "Make a Wish" and Rhinestones to the second and third cards. One the second one, after I stamped the Marbled stamp, I die cut it with the Happy Birthday thinlet and then covered it with 3-1/4" x 3-1/2" Basic Black cardstock and adhered the Marbled "Happy Birthday" die.
I added another picture of adding "Make a Wish" and Rhinestones to the second and third cards. One the second one, after I stamped the Marbled stamp, I die cut it with the Happy Birthday thinlet and then covered it with 3-1/4" x 3-1/2" Basic Black cardstock and adhered the Marbled "Happy Birthday" die.
Products I used:


No comments:
Post a Comment
Thanks for taking the time to comment on my blog. You have made my day!