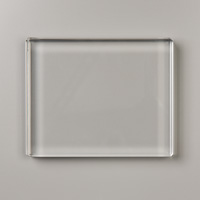
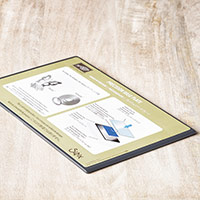
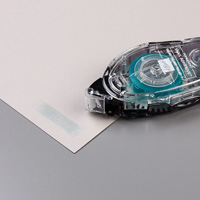
Showing posts with label Multipurpose Adhesive Sheets. Show all posts

Friday, November 15, 2019

Cup of Christmas - Enjoy!

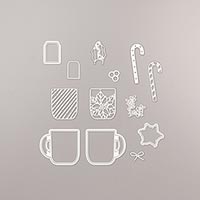
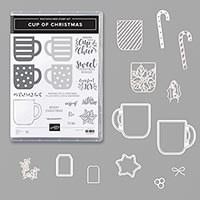
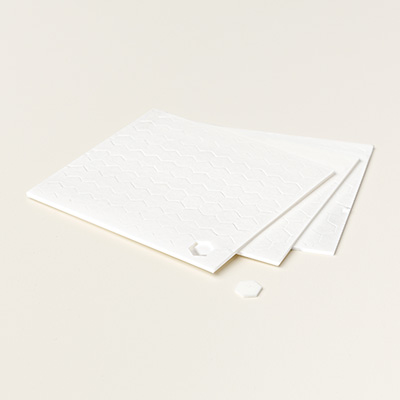
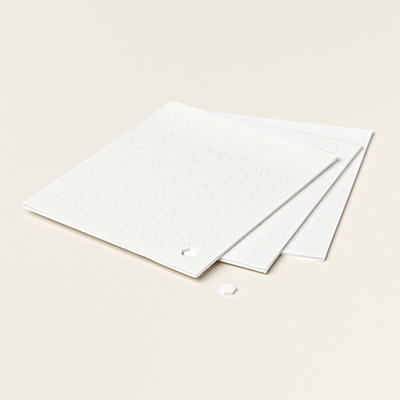
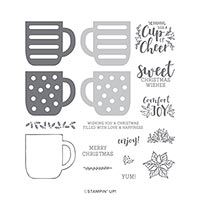
This is one of my favorite sets in the 2019 Holiday Catalog on page 34.  Why?  Because it can be used not just for Christmas.  It can be used for coffee, tea, hot chocolate cards or projects throughout the year. This set is also reversible which means the stamps can be inked on either side.  Of course, I love the candy cane and this set coordinates with the Cup of Cheer Dies; even better.  My card was inspired by Julie Gibson and I did use the retired Multipurpose Adhesive Sheets.  Here are my instructions:

Stamp Sets:  Cup of Christmas, Itty Bitty Christmas
Cardstock:  Real Red, Whisper White, Let it Snow Specialty DSP
Ink:  Real Red
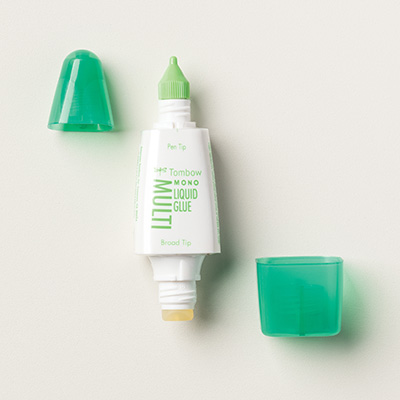
Other:  Big Shot, Cup of Cheer Dies, Subtle Embossing Folder, Multipurpose Glue, Dimensionals, Mini Dimensionals, Sizzix Adhesive Sheets (retired)

1.     The base of the card is Real Red cardstock cut at 5-1/2” x 8-1/2” and scored at 4-1/4” in the middle.
2.    The second layer is Whisper White cut at 4” x 5-1/4” and inserted into the Subtle Embossing Folder and run through the Big Shot.  Adhere to the front of the card with Multipurpose Glue.
3.    The third layer is 3” x 4-1/4” of Real Red.  The DSP is 2-3/4” x 4”.  Layer together and adhere with Dimensionals.
4.    Die cut the right handed cup and candy canes.  For the layer over the Whisper White cup, I used the Sizzix Adhesive sheet, so peel off the backing so that it will stick to the cup.  The candy cane background is Whisper White (no backing) but the Real Red stripes has the adhesive on it to so that will stick to the Whisper White candy cane.  Use the Mini Dimensionals to adhere the candy cane.  Use the Dimensionals on the back of the cup to adhere to the card.
5.    Ink up “enjoy” with Real Red ink on Whisper White tag.  Layer onto Real Red tag with Multipurpose Glue.  Put a Dimensional on the back and adhere to the front of the card.  
6.  For the inside, I used a greeting from Itty Bitty Christmas.

Products I used: 


Sunday, December 3, 2017

Night of Navy Star of Light

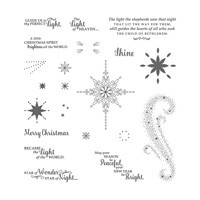
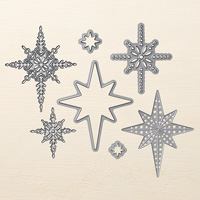
Here is final card my customers made at my Christmas Card and Cookies Class last month.  It was inspired by queenbcreations.  The base of the card is Night of Navy and the second layer is Whisper White.  The ink is Night of Navy.  The snowflake dies are from the Starlight Thinlets used in the Big Shot.  The sentiment and the swirl stamp is from the Star of Light in the annual catalog.

Products I used:

Tuesday, June 13, 2017

Happy Birthday Gorgeous meets Marbled


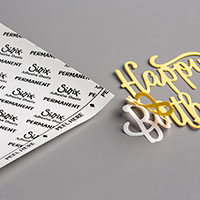
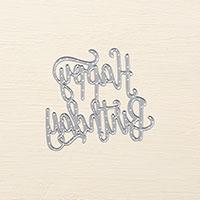
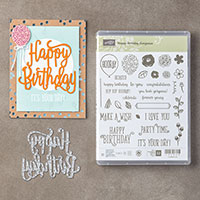
On Sunday, I taught my club members how to use the new Adhesive Sheets.  It works so well with the "Happy Birthday" Thinlet.  I also showed them how to ink up the large background stamps.
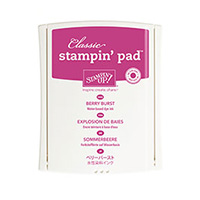
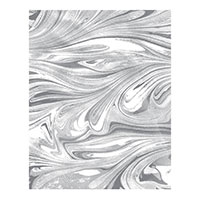
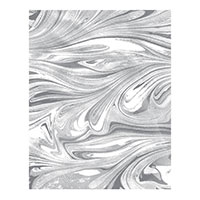
This lovely Marbled background stamp and the new In-Color Berry Burst look awesome together.
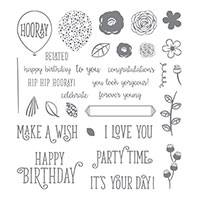
On the inside, they used Happy Birthday Gorgeous stamp set with the Hooray Balloon and It's Your Day. The Happy Birthday Bundle saves you 10% on page 77 of the annual catalog.
Here are my instructions for making this card:

1.     The base of the card is Basic Black cut at 4-1/4” x 11” and scored at 5-1/2” in the middle.
2.    The second layer is Whisper White cut at 4” x 5-1/4”.
3.    Take the Marbled Background stamp and adhere to the Clear Mount “F” using the Carmax Lip Balm to make it stick to the block. 
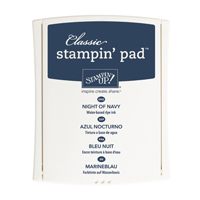
4.    Take the Berry Burst ink pad and ink up the Marbled Background stamp with the rubber facing up.  Then carefully place Whisper White cardstock on top of the rubber and place copy paper over it and press with your hands all over the rubber.
This will prevent getting ink all over your hands.  Lift cardstock carefully!
5.    Adhere the 3-1/2” x 3-1/2” Multipurpose Adhesive Sheet to the 3-1/2” x 3-1/2” Basic Black cardstock by taking one end of the backing and align with one side of the cardstock being careful so that the adhesive doesn’t stick to you.
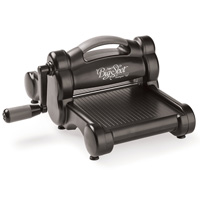
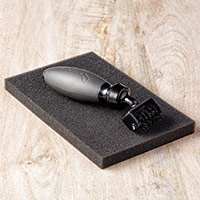
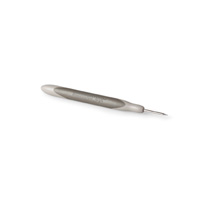
6.    Now take it to the Big Shot and lay the “Happy Birthday” thinlet die on the Basic Black cardstock to die cut it out.  Be sure to use the Precision Plate and one Stand Plate to run it through the Big Shot several times.  Keeping the cardstock pieces with the thinlet, take it to the Big Shot Die Brush to remove all the pieces.  You may need to use the Paper Piercing tool to poke the rest out.
7.    Peel off the backing and adhere to the front of your card.  I usually start to the center and then press it with my fingers towards each side.
I added another picture of adding "Make a Wish" and Rhinestones to the second and third cards.  One the second one, after I stamped the Marbled stamp, I die cut it with the Happy Birthday thinlet and then covered it with 3-1/4" x 3-1/2" Basic Black cardstock and adhered the Marbled "Happy Birthday" die.

Products I used:


Friday, May 12, 2017

Colorful Seasons

Life is a beautiful thing, especially if you are at the beach with a friend.  This card was inspired by another demo Lisa Griffin Zwolanek, and so I wanted to create on of my own.  The set is called Colorful Season and will be available to customers starting June 1.  It also uses the Seasonal Layers Thinlet Dies that coordinates with it and can be purchased as a bundle.  Of course, the birds, grass and sand are from the set High Tide which was is in the Occasions catalog but will be carried over to the new Annual Catalog.  I did a little ink direct to paper for the sky and a little brayering. 

Christmas Mice

  This is a card I made for a recent swap.  I love the Christmas Mice bundle.  It is so adorable.  Stamp Set:   Christmas Mice Cardstock: ...