Sunday, August 19, 2018
Monday, August 13, 2018
Rooted in Nature Wreath
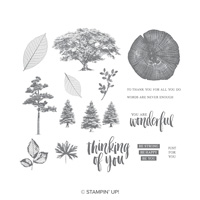
This is a Christmas card that I made using the Rooted in Nature stamp set. I made a rough-draft template below to make this card using the Stamparatus.
1. The base of the card is Granny Apple Green
cardstock cut at 5-1/2” x 8-1/2” and scored at 4-1/4” in the middle.
2. The second layer is Cherry Cobbler
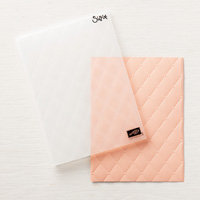
cardstock cut at 4” x 5-1/4” and inserted into the Tufted Dynamic TIEF and run
through the Big Shot.
3. Cut Whisper White cardstock at 4” x 4”. Using
the Stamparatus and the template, Begin inking up the large leaf from Rooted in
Nature with Granny Apple Green ink.
Start with #1 and rotate 4” square Whisper White cardstock to #2 and so
forth until you stamp and rotate it completely around to #16. Trim it out with the
Paper Snips. Die cut hole in center
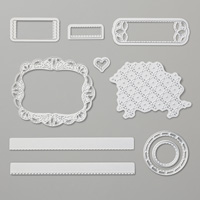
using the smallest die cut circle from the Stitched Labels Framelits.
4. Die cut the bow from Cherry Cobbler
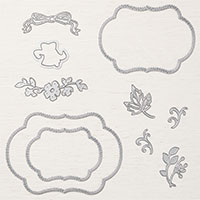
cardstock using the Stitched Seasons Framelits and attach it with Glue Dots. Attach wreath to front of card with
Dimensionals.
5. Ink up ‘tis the season from the Itty Bitty
Greetings with Memento Black ink. Die
cut banner with the Stitched Labels Framelits and attach with Glue Dots.
6. Add Red Rhinestone Basic Jewels to the
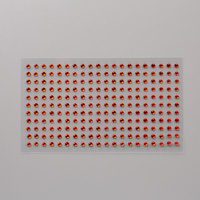
wreath in groups of three to represent the pine berries.
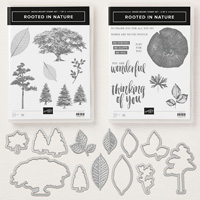
Products I used:
Tuesday, August 7, 2018
Healing Hugs - Masking
Last month, my demo friends and I did another swap like we do each month with a theme. The theme was "Case a Card in the Catalog" and we could change the colors if we wished. This is my swap and I cased it from page 105. I didn't add sequins because I don't have them yet. The technique I used was "masking" with the roses. Here are the instructions on how to make my card:
1. The base of the card is Highland Heather
cut at 5-1/2” x 8-1/2” and scored at 4-1/4” in the middle. Randomly stamp the stitching stamp around the
edges with Gorgeous Grape ink on the front of the card base.
2. The Whisper White layer is 3-1/2” x
3”. Ink up the rose with Gorgeous Grape
ink and stamp it in the center.
3. Then stamp it again on a Post-it note and
trim it out with the Paper Snips and place the mask over the rose by lining it
up exactly on the Whisper White cardstock.
4. Now, ink up the rose with Gorgeous Grape
and then stamp off on the grid paper to make the roses on either side to be
lighter than the middle one.
5. Now, before remove the mask, ink up the
leaves with Coastal Cabana ink and stamp two on either side of the middle rose.
6. Remove the mask and place it over the lower
rose, and stamp more leaves.
7. Use the cross-stitch Framelit and Big Shot
to create the stitching at the top of the Whisper White cardstock. Then attach a little off center to the right
with Snail Adhesive
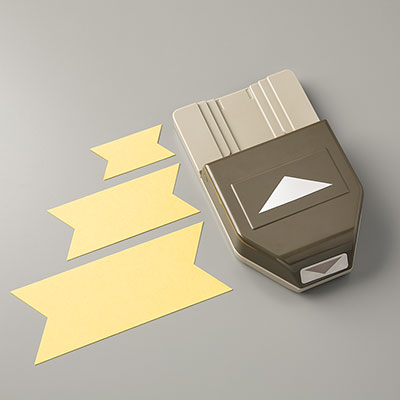
8. Use the Triple Banner Punch to create a
banner. Ink up the “Sending You Healing
Vibes” with Coastal Cabana ink.
9. Attach the Gorgeous Grape Mini Striped
Ribbon across the front of the card at the bottom using Glue Dots or Tear and
Tape.
10. Use a Pearlized Doily and cut off a little
bit of it and attach to the back of the banner.
Attach above the ribbon.
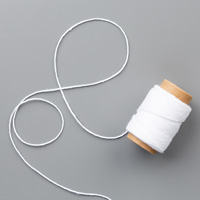
11. Use the White Baker’s Twine to tie a bow
and attach it to the card with a Glue Dot.
Products I used:
Subscribe to:
Comments (Atom)
Boardwalk Fun - Spinner
My grandtwins turn 11 this month, and they love things that spin so when I saw a card that Tracy McDonnell from the Paper Craft Studio mad...

-
Just finished making this fun waterfall card this morning. I love making waterfall cards, so I had to play around with thi...
-
Do you like to chew gum? Have you bought the gum holders with the plastic case? What do you do with the empty case when you are done with ...
-
Who would like to receive a birthday card with a wobble inside? My club remembers had fun making this card last Sunday and I decided to use...


