Showing posts with label Whisper White CS. Show all posts

Tuesday, August 7, 2018

Healing Hugs - Masking

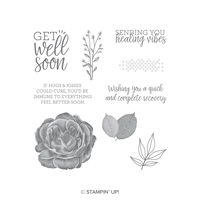
Last month, my demo friends and I did another swap like we do each month with a theme.  The theme was "Case a Card in the Catalog" and we could change the colors if we wished.  This is my swap and I cased it from page 105.  I didn't add sequins because I don't have them yet.  The technique I used was "masking" with the roses.  Here are the instructions on how to make my card:


1.     The base of the card is Highland Heather cut at 5-1/2” x 8-1/2” and scored at 4-1/4” in the middle.  Randomly stamp the stitching stamp around the edges with Gorgeous Grape ink on the front of the card base.

2.    The Whisper White layer is 3-1/2” x 3”.  Ink up the rose with Gorgeous Grape ink and stamp it in the center.

3.    Then stamp it again on a Post-it note and trim it out with the Paper Snips and place the mask over the rose by lining it up exactly on the Whisper White cardstock.

4.    Now, ink up the rose with Gorgeous Grape and then stamp off on the grid paper to make the roses on either side to be lighter than the middle one.

5.    Now, before remove the mask, ink up the leaves with Coastal Cabana ink and stamp two on either side of the middle rose.

6.    Remove the mask and place it over the lower rose, and stamp more leaves.

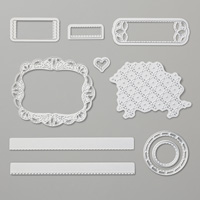
7.    Use the cross-stitch Framelit and Big Shot to create the stitching at the top of the Whisper White cardstock.  Then attach a little off center to the right with Snail Adhesive

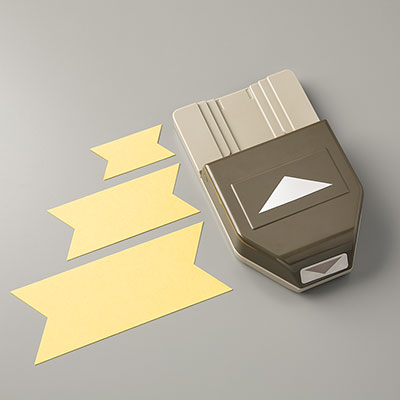
8.    Use the Triple Banner Punch to create a banner.  Ink up the “Sending You Healing Vibes” with Coastal Cabana ink.

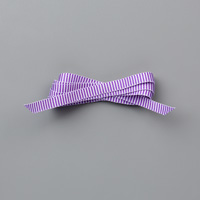
9.    Attach the Gorgeous Grape Mini Striped Ribbon across the front of the card at the bottom using Glue Dots or Tear and Tape.

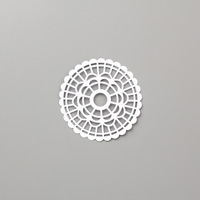
10.  Use a Pearlized Doily and cut off a little bit of it and attach to the back of the banner.  Attach above the ribbon.

11.   Use the White Baker’s Twine to tie a bow and attach it to the card with a Glue Dot. 

Products I used:


Tuesday, January 16, 2018

Heartfelt Blooms Thank You Card


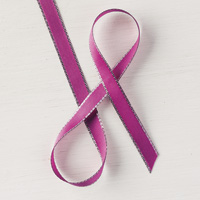
Here is another card that I made using the Heartfelt Blooms set.  This time I stamped it in Berry Burst on Whisper White cardstock.  I used the 3/8" Metallic Berry Burst Ribbon which is absolutely gorgeous.  It is in the Occasions catalog on page 14.  I also used the Wink of Stella Glitter Brush to color the main flower and added Pearl Basic Jewels to make this a Thank you card.

Products I used:
Saturday, November 18, 2017

Good Tidings

This is a card that some of my club members made at the Christmas Card & Cookies Class.  I chose these colors (Tranquil Tide, Pool Party, and Rich Razzleberry)) because I already used my other green and red ink pads for another card.  I had shoe box cards for them to do and they really enjoyed it.  They brought their own adhesives, but I had everything cut out and supplied the ink and paper.
The base of the card is Tranquil Tide cardstock cut at 4-1/4" x 11" and scored at 5-1/2" in the middle.
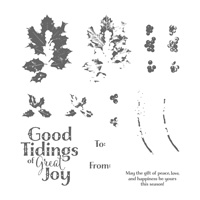
The second layer is Pool Party cut at 4" x 5-1/4".  The Whisper White cardstock is the third layer cut at 3-3/4" x 5" and the Good Tidings stamp set is a 2-step process.  First they stamped Pool Party with the bold holly stamp and then Tranquil Tide with the image holly stamp.  We really liked the color combination.  Then the berries were added with just Rich Razzleberry ink instead of doing a 2-step with them.  I thought Silver Mini Tinsel Ribbon looked great with this card wrapped around the two layers of Pool Party and Whisper White.  The Good Tidings sentiment was stamped with Black Memento ink and cut out with the Layering Circle Framelits and then layered onto a Rich Razzleberry Scallop Circle.

Products I used:


Monday, April 24, 2017

Beautiful You, Sheltering Tree - Masking


Just love using the "Beautiful You" stamp set and happy to know that it will be carried over to the new annual catalog coming out in June.  This time, I combined the set with another favorite called "Sheltering Tree" and did a mask.  We did this card at my club workshop yesterday.  Everyone thought it looked difficult, but after they made the card, they loved it and thought it was easier than they first thought.  The card reminds me of a Spring Day with Sugarplum blossoms to appear as pink dogwood trees.  It was inspired by Julie DeGruis.  Here are the instructions on how this card was made:


Stamp sets:  Beautiful You and Sheltering Tree
Cardstock:  Sugarplum In-Color (2016-2018), Daffodil Delight, Whisper White
Ink:  Archival Basic Black, Early Espresso, Pear Pizzazz, Sugarplum, Watercolor Pencils, and Blender Pens
Other:  Post-it note for masking, Paper Snips

1.     The base of the card is Sugarplum In-Color (2016-2018) cut at 4-1/4” x 11” and scored at 5-1/2” in the middle.
2.    The second layer is Daffodil Delight cut at 4” x 5-1/4”.
3.    Stamp the image of the girl with Archival Black ink towards the middle of the third layer which is 3-3/4” x 5” Whisper White Cardstock.
4.    Stamp the girl again on a post-it note so that sticky part is at the top.  Cut it out with the Paper Snips by cutting just the main image, not the shadows or black areas that stick out.
5.    Position the Post-it note mask over the girl image on the Whisper White cardstock.  Now you can stamp on top of her without getting ink in that area. 
6.    First, stamp the trees on either side of her with Early Espresso ink.  The leaves and grass were stamped with Pear Pizzazz. 
7.    Then I added Sugarplum ink for the blossoms.
8.    Ink up the sentiment “Thinking of You” with Archival Basic Black and stamp at the top or bottom, your preference.

Fall Pumpkins and Sunflowers card

Fall is in the air!  Yes, it is finally sweater weather here in Indiana.  It has been a hot summer, so it's nice to have cooler weather....