Showing posts with label Stamparatus. Show all posts

Sunday, July 26, 2020

Don't Stop Believin' - Melting Frosty

Poor Frosty!!  He wanted to drink some hot cocoa to warm himself up, but he didn't know it would be his first and last drink of hot cocoa!  I thought this stamp set was so funny, but I needed to add some cups above from Nothing's Better Than stamp set too.  The base of the card is Balmy Blue and I added the Feels Like Frost for the background layer.  I used the Stitched So Sweetly Dies to cut out Frosty.  The Stamparatus was great for creating the cups "hinge" style fashion so that they were even and I added a layer of Crumb Cake to match the hot cocoa inside the cup.  I also added Wink of Stella to Frosty and the cups.

Products I used:


Product List

Thursday, August 29, 2019

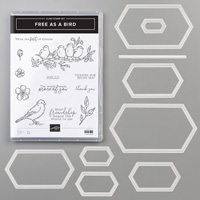
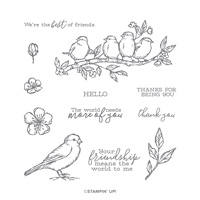
Free as a Bird - Mirror Image

How did I reverse the stamp of the Free as a Bird stamp you might wonder.  I taught how to do this technique at my last club workshop.  Here is how I did it:


Stamp set:  Free as a Bird

Cardstock:  Old Olive, Crumb Cake, Whisper White

Ink:  Memento Black

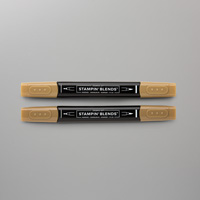
Stampin’ Blends:  Poppy Parade Dark & Light, Crumb Cake Dark & light, Soft Suede Dark & Light, Old Olive Dark & Light, Daffodil Delight Dark & Light

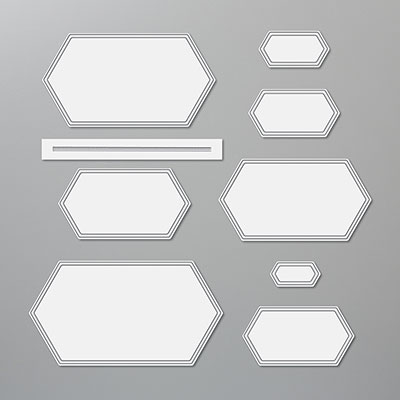
Other:  Big Shot, 3D Brick & Mortar, 3D Embossing Folder Plate #149658 for $10, Stamparatus, Silicone Craft Sheet, Stitched Nested Labels, Multipurpose Glue, Dimensionals

1.     The base of the card is Old Olive cardstock cut at 5-1/2” x 8-1/2” and scored at 4-1/4” in the middle.

2.    The second layer is Crumb Cake cardstock cut at 4” x 5-1/4”.  First ink up the leaf stamp with Memento Black ink and randomly stamp at the top of the Crumb Cake cardstock.  Color the leaves in with the Old Olive Blends.

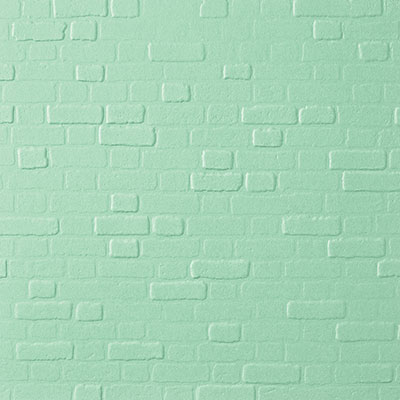
3.    After you color the leaves, insert into the 3D Brick & Mortar Embossing Folder and use the NEW Blue 3D Embossing Folder Plate on top and run it through the Big Shot.  (Any of the new 3D Embossing Folders will require this plate or about 6 stacks of cardstock.)  Attach to the front of the card with Multipurpose Glue.

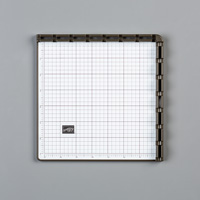
4.    Insert the Silicone Craft Sheet into the Stamparatus.  Ink up the bird stamp with Memento Black Ink and stamp it right onto the Silicone Sheet.  Very carefully, lay the 4” x 5-1/4” Whisper White cardstock on top of the inked Silicone Sheet so that it is in the left corner of the Stamparatus. Be careful not to smear the ink. Without re-inking the stamp, bring the plate back down onto the cardstock pushing down where the bird is attached to the plate. Carefully remove the paper and turn it over and ink up the bird again and stamp on the opposite side so that they are facing each other.  Clean off the silicone sheet when done.

5.    Color the birds in with the Stampin’ Blends.  I made them look like cardinals. Stamp the sentiment “We’re the best of Friends” below the birds with Memento Black ink.  Use the Stitched Nested Label to die cut the birds out.  Put Dimensionals on the back and adhere on the front of the card.

6.    Stamp the inside with leaves and sentiment “Your friendship means the world to me.”

Products I used:


Wednesday, October 10, 2018

Christmas Traditions


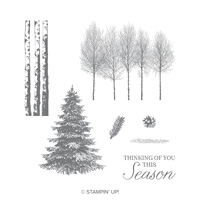
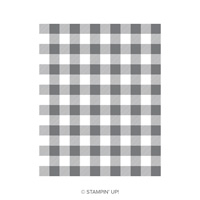
This is another Christmas Traditions card that I made also using the new Winter Woods and the Buffalo Check background stamps which are all in the 2018 Holiday Catalog.  The base of my card is Crumb Cake and I used Old Olive and Early Espresso to make the Buffalo Check layer, but I used the Stamparatus a couple of times to get it inked well. I tore the Crumb Cake cardstock after stamping the trees with Early Espresso and sponged the edges.  For the punch, I punched two from the Old Olive cardstock and one in Crumb Cake and attached to the front with Linen Thread.

Products I used:


Monday, August 13, 2018

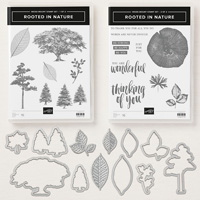
Rooted in Nature Wreath

This is a Christmas card that I made using the Rooted in Nature stamp set.  I made a rough-draft template below to make this card using the Stamparatus.


1.     The base of the card is Granny Apple Green cardstock cut at 5-1/2” x 8-1/2” and scored at 4-1/4” in the middle.

2.    The second layer is Cherry Cobbler cardstock cut at 4” x 5-1/4” and inserted into the Tufted Dynamic TIEF and run through the Big Shot.
3.    Cut Whisper White cardstock at 4” x 4”. Using the Stamparatus and the template, Begin inking up the large leaf from Rooted in Nature with Granny Apple Green ink.  Start with #1 and rotate 4” square Whisper White cardstock to #2 and so forth until you stamp and rotate it completely around to #16. Trim it out with the Paper Snips.  Die cut hole in center using the smallest die cut circle from the Stitched Labels Framelits.

4.    Die cut the bow from Cherry Cobbler cardstock using the Stitched Seasons Framelits and attach it with Glue Dots.  Attach wreath to front of card with Dimensionals.

5.    Ink up ‘tis the season from the Itty Bitty Greetings with Memento Black ink.  Die cut banner with the Stitched Labels Framelits and attach with Glue Dots. 

6.    Add Red Rhinestone Basic Jewels to the wreath in groups of three to represent the pine berries.

Products I used:


Christmas Mice

  This is a card I made for a recent swap.  I love the Christmas Mice bundle.  It is so adorable.  Stamp Set:   Christmas Mice Cardstock: ...