Showing posts with label Rooted in Nature. Show all posts

Friday, October 9, 2020

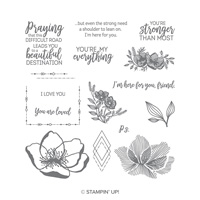
Rooted in Nature - Thank you Card

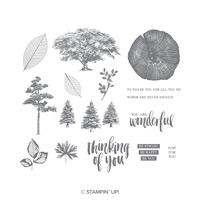
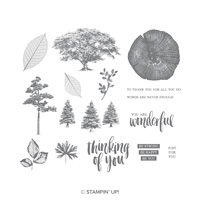
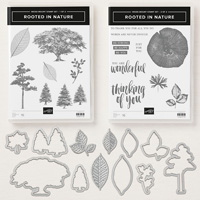
We all need "Thank You" cards to show our appreciation for something we receive from others.  I needed to make one for a customer in another state and this is the card I made which is similar to one I made a couple years ago with the Rooted in Nature set.   The colors are different as well as the sentiment and label.  Sometimes, I refer back to some of the original artwork for ideas.  I just change it up a bit which you can do with other cards you might see on Pinterest, Blogs, or Websites.  Sometimes, I just Case the card exactly as it is if I really like it and don't change a thing, but always give credit to the artist.  Also, this card can be used for any occasion by just changing the sentiment to a birthday, Get Well, etc.

Products I used:  


Product List

Tuesday, October 23, 2018

Farmhouse Christmas

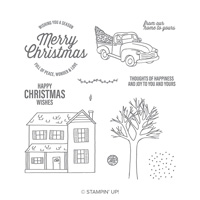
When I first received the 2018 Holiday Catalog, this was the first stamp set bundle that really caught my eye.  I love the pick up truck with the tree, but it also has a house, a tree, a wreath, a fence and some great sentiments.  It also uses the Buffalo Check Background in the Holiday Catalog and another set from the annual catalog called Rooted in Nature.  This is a card I designed and had my club members make on Sunday.
It was their favorite card to make.  Here are the instruction for this card:

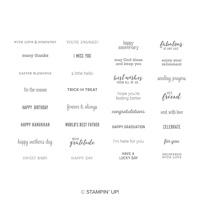
Stamp Sets: Farmhouse Christmas, Rooted in Nature, Buffalo Check
Cardstock:  Shaded Spruce, Cherry Cobbler, Crumb Cake, Whisper White
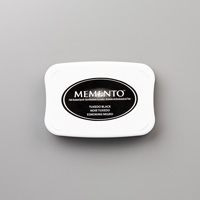
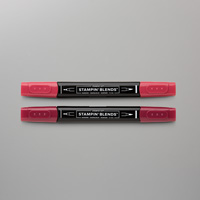
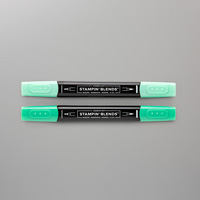
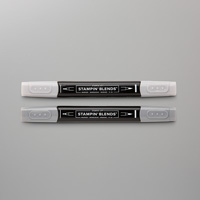
Ink:  Memento Black, Shaded Spruce, Cherry Cobbler, Stampin’ Blends:  Shaded Spruce, Cherry Cobbler, Basic Black (or Smoky Slate)
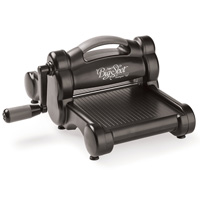
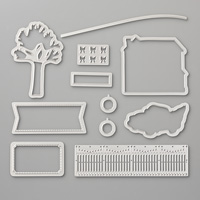
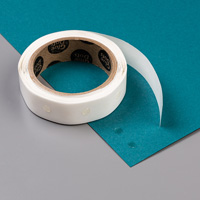
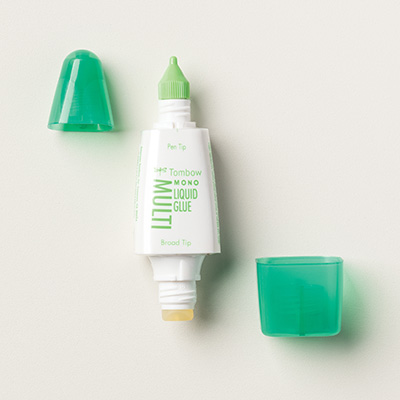
Other:  Big Shot, Farmhouse Framelits, Layering Circle Framelits, Sponge, Snail Adhesive, Multipurpose Glue, Dimensionals

1.     The base of the card is Shaded Spruce cardstock cut at 5-1/2” x 8-1/2” and scored at 4-1/4” in the middle.
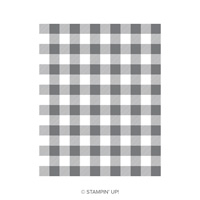
2.    The second layer is Cherry Cobbler cardstock cut at 4” x 5-1/4”.  Ink up the Buffalo Check BG stamp with Memento Black ink.  Lay 4” x 5-1/4” cardstock on top of inked rubber facing up.  Lay a scrap of scrap copy paper over the cardstock and press all over with your hand.  Remove scrap and carefully lift your cardstock and set aside.   Attach to the front of the card with Multipurpose Glue.
3.    The third layer is Crumb Cake cut at 2-1/2” x 5-1/4”.  Carefully, tear the top and bottom edges and sponge with Shaded Spruce ink.  Ink up the trees from Rooted in Nature with Shaded Spruce ink and stamp across the Crumb Cake torn cardstock.  Attach to the front of the card slightly towards the bottom.
4.    Ink up the truck with Memento Black ink and stamp on scrap of Whisper White cardstock.  Die cut before you color with the Stampin’ Blends.
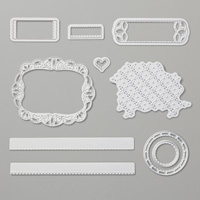
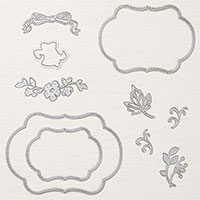
5.    Ink up the sentiment stamp first with Cherry Cobbler ink and stamp on Whisper White cardstock. Clean off the stamp! Die cut the circle with the Layering Circle Framelits.  Now, ink the same stamp with Shaded Spruce ink and use the die to cut it out in the Big Shot. 
6.    Attach truck to the lower left by the trees with Dimensionals.  Attach the sentiments to front of card with Multipurpose Glue and then Dimensionals above the trees.

Products I used:


Monday, August 13, 2018

Rooted in Nature Wreath

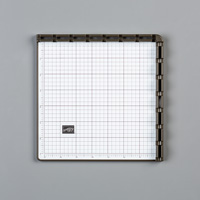
This is a Christmas card that I made using the Rooted in Nature stamp set.  I made a rough-draft template below to make this card using the Stamparatus.


1.     The base of the card is Granny Apple Green cardstock cut at 5-1/2” x 8-1/2” and scored at 4-1/4” in the middle.

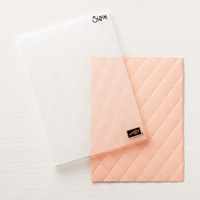
2.    The second layer is Cherry Cobbler cardstock cut at 4” x 5-1/4” and inserted into the Tufted Dynamic TIEF and run through the Big Shot.
3.    Cut Whisper White cardstock at 4” x 4”. Using the Stamparatus and the template, Begin inking up the large leaf from Rooted in Nature with Granny Apple Green ink.  Start with #1 and rotate 4” square Whisper White cardstock to #2 and so forth until you stamp and rotate it completely around to #16. Trim it out with the Paper Snips.  Die cut hole in center using the smallest die cut circle from the Stitched Labels Framelits.

4.    Die cut the bow from Cherry Cobbler cardstock using the Stitched Seasons Framelits and attach it with Glue Dots.  Attach wreath to front of card with Dimensionals.

5.    Ink up ‘tis the season from the Itty Bitty Greetings with Memento Black ink.  Die cut banner with the Stitched Labels Framelits and attach with Glue Dots. 

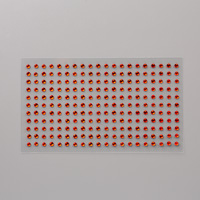
6.    Add Red Rhinestone Basic Jewels to the wreath in groups of three to represent the pine berries.

Products I used:



Christmas Mice

  This is a card I made for a recent swap.  I love the Christmas Mice bundle.  It is so adorable.  Stamp Set:   Christmas Mice Cardstock: ...