Thursday, October 10, 2019
Everything is Rosy
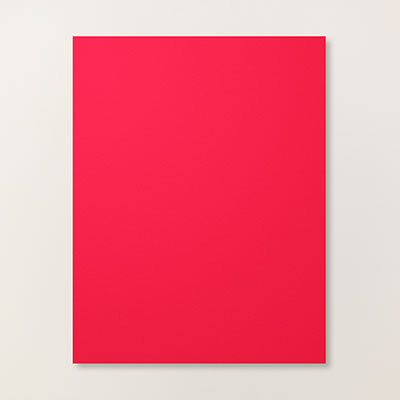
Everything is Rosy is now available on the Clearance Rack for 15% off but only while supplies last so get yours before it's gone.
HERE ON MY ON MY STAMPIN' UP! WEBSITE
Wednesday, October 9, 2019
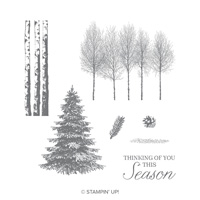
Winter Woods
Winter Woods is such a beautiful stamp set that can be used for any occasion, not just for holidays. I've used this set a lot but decided to make this card a Christmas card. I combined the colors Shaded Spruce and Mint Macaron together which I think are great together. I did use the retired DSP Frosted Floral Specialty Paper but it just went well with my card. So if you still have some, you might want to use it for your card too. Here are the instructions for my card:
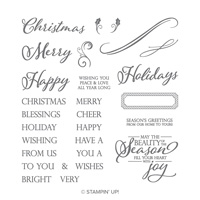
Stamp Set: Winter Woods, Merry Christmas to All
Cardstock: Shaded Spruce, Mint Macaron, Frosted Floral Specialty DSP (Retired 2018)
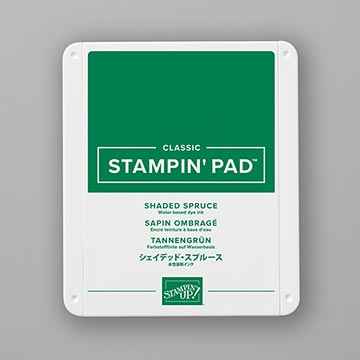
Ink: Shaded Spruce
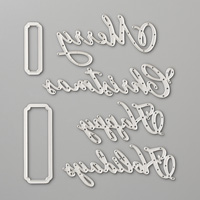
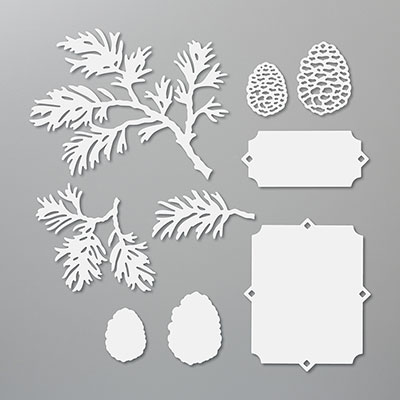
Other: Big Shot, Subtle Embossing Folder, Merry Christmas Thinlets Dies, Beautiful Boughs Dies, Sizzix Adhesive Sheets, Snail Adhesive, Dimensionals
Stamp Set: Winter Woods, Merry Christmas to All
Cardstock: Shaded Spruce, Mint Macaron, Frosted Floral Specialty DSP (Retired 2018)
Ink: Shaded Spruce
Other: Big Shot, Subtle Embossing Folder, Merry Christmas Thinlets Dies, Beautiful Boughs Dies, Sizzix Adhesive Sheets, Snail Adhesive, Dimensionals
1. The base of the card is Shaded Spruce
cardstock cut at 4-1/4” x 11” and scored at 5-1/2” in the middle.
2. The second layer is Mint Macaron cardstock
cut at 4” x 5-1/4” and inserted into the Subtle Embossing Folder and run
through the Big Shot. Adhere to the
front of the card.
3. Ink up the large pine tree from Winter
Woods stamp set with Shaded Spruce ink and use the Stamparatus to center it
onto the 2-7/8” x 3-5/8” Frosted Floral Specialty DSP. Layer onto the 2-1/2” x 3-1/2” Shaded Spruce
cardstock. Adhere with Snail Adhesive to
the front of the card towards the right side.
4. Use the Sizzix Adhesive Sheet on Shaded
Spruce cardstock to die cut the “Merry” from the Merry Christmas Thinlets and
the pines from the Beautiful Boughs Dies (2019 Holiday). Die cut through the Big Shot and adhere to
the front of the card.
5. Ink up “Christmas” from Merry Christmas to
All stamp set with Shaded Spruce on the Frosted Floral Specialty DSP and run it
through the Subtle Embossing Folder and attached with Dimensionals to the card
towards the left.
Products I used:
Tuesday, October 8, 2019
Harvest Hellos - Apples
Hi Stampers, I was gone a lot in September so wasn't able to post as much as I would like to. However, I have been making lots of card samples and hope to start sharing again this month.
I did a few Fall cards, but not so much Halloween.
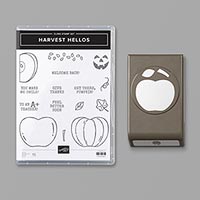
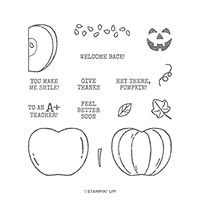
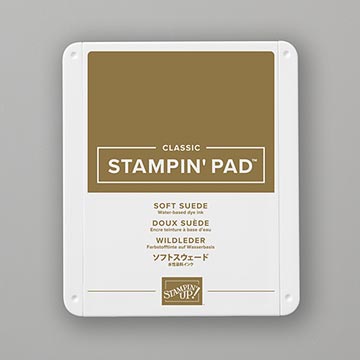
Stamp Set: Harvest Hellos, Birch BG
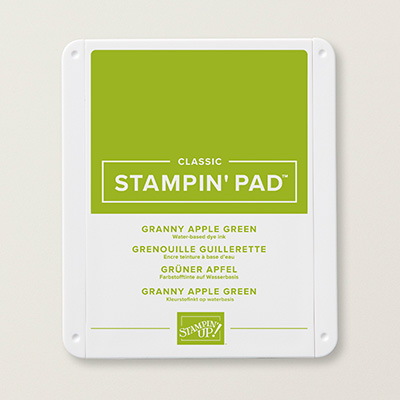
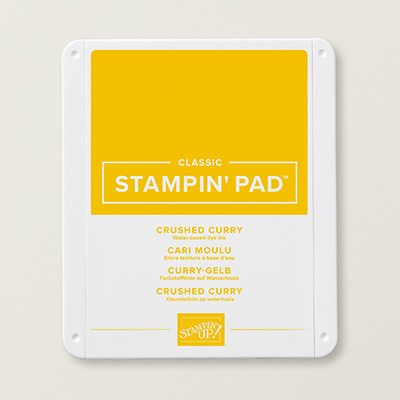
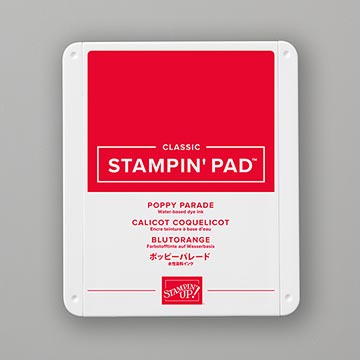
Cardstock: Soft Suede, Whisper White, Granny Apple
Green, Crushed Curry, Poppy Parade
Ink: Soft Suede, Granny Apple Green, Crushed
Curry, Poppy Parade
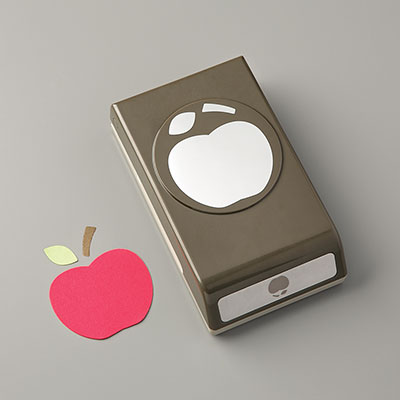
Other: Big Shot, Stamparatus, Apple Builder Punch,
Stitched Nested Labels Dies, Linen Thread, Glue Dots, Snail Adhesive,
Multipurpose Glue, Dimensionals
I did a few Fall cards, but not so much Halloween.
This is my card swap for September, so I will share it first. Here are my instructions:
1. The base of the card is Soft Suede
cardstock cut at 4-1/4” x 11” and scored at 5-1/2” in the middle.
2. The second layer is Whisper White cardstock
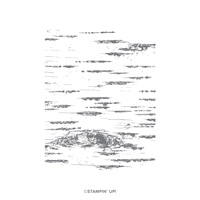
cut at 4” x 5-1/4” and inserted in to the Stamparatus. Use the Birch Background stamp using Soft
Suede ink to create the background.
3. Use Granny Apple Green cardstock and Granny
Apple Green ink using the apple stamp.
Use the Apple Builder Punch to punch it out. Do the same with Crushed Curry and Poppy
Parade.
4. Use Soft Suede ink and cardstock for the
stems and Granny Apple Green for the leaves.
Attach stems to all three apples using Snail Adhesive.
5. Attach Linen Thread to the Crushed Curry
apple using a Glue Dot. Attach a Granny
Apple Green leaf to the Poppy Parade apple.
6. Place the Crushed Curry apple on the card
front first, then the Granny Apple Green one, and Dimensionals on the back of
the Poppy Parade apple to pop it up.
7. Ink up the sentiment “You Make Me Smile”
with Poppy Parade ink on Whisper White.
Die cut with the Stitched Nested Label Die. Attach at the top with Dimensionals.
Subscribe to:
Comments (Atom)
Valentine Kisses - Shaker Card
This shaker card was inspired by Erica Cerwin, but I changed the ribbon and colored it with a Real Red Blend instead of keeping the Bubble B...

-
Just finished making this fun waterfall card this morning. I love making waterfall cards, so I had to play around with thi...
-
Do you like to chew gum? Have you bought the gum holders with the plastic case? What do you do with the empty case when you are done with ...
-
Who would like to receive a birthday card with a wobble inside? My club remembers had fun making this card last Sunday and I decided to use...


