Showing posts with label Poppy Parade. Show all posts

Friday, June 26, 2020

Silhouette Scenes

I used to love walking in the rain when I was younger.  As a matter of fact, one night when my date brought me home, it started to sprinkle.  On a whim, I asked him if he wanted to go for a walk in the rain.  We went clear around the block in the softly, falling rain. Of course, we didn't have an umbrella, but this card reminded me of that night many years ago,   It was the only time I remember walking in the rain with a date.

This is actually a case from last year's catalog that I intended to do, but time gets away from me too quickly.  I still have the retired DSP but it is no longer available to purchase from Stampin' Up!.  I think I want to try using a new DSP with this set as any of them would work such as Whale of a Time DSP as soon as I order it #152460 for $11.50.  The set "Silhouette Scenes" is still available in the new annual catalog, so hopefully I can create some more cards with this gorgeous set.

Products I used to make this card:
Product List

Friday, November 15, 2019

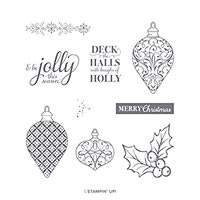
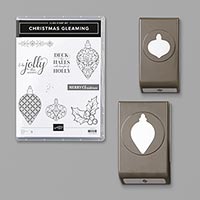
Christmas Gleaming

It's been quite a busy month since I last posted.  I created 10 cards for my Christmas Class that I had on November 3, so it's time to post them to my blog.  Let me know which is your favorites.  Here is my first card which was inspired by the sample card on page 62 of the Holiday Catalog, but I used the Delicata Metallic Copper ink.  Here are the instructions for my first card.


Stamp Set:  Christmas Gleaming

Cardstock:  Call Me Clover, Whisper White

Ink: Delicata Metallic Copper Ink (Now retired), Memento Tuxedo Black, Poppy Parade

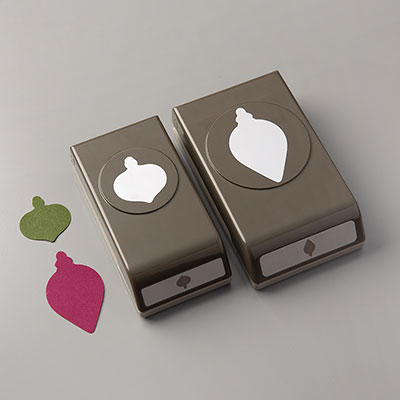
Other:  Big Shot, Stitched Rectangles Dies, Gleaming Ornaments Punch Pack, Dimensionals, Snail Adhesive, White Baker’s Twine, Glue Dot. Toile Tiding Glitter Enamel Dots


1.     The card base is Call Me Clover cardstock cut at 5-1/2” x 8-1/2” and scored at 4-1/4” in the middle.

2.    The second layer is Whisper White cardstock die cut in the Big Shot using the largest Stitched Rectangle Die

3.    Ink up the holly stamp with the Copper ink or for an alternative, use Crumb Cake ink, and stamp on the Whisper White Rectangle.

4.    Ink up the largest ornament stamp with the Memento Black ink and stamp on Call Me Clover scrap.  Punch out with the largest ornament punch.  Attach a Dimensional to the back and attach to the card.  Tie a White Baker’s Twine Bow and attach with a Glue Dot.

5.    Ink up the sentiment “Merry Christmas” with Poppy Parade ink on Whisper White scrap and trim out with scissors/Paper Snips leaving a white edge.  Attach over ornament with Snail Adhesive.

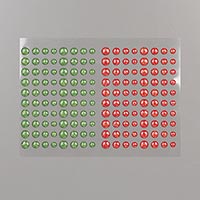
6.    Add 3 Toile Tiding Glitter Enamel Dots.

7.    For the inside, ink up the sentiment “Deck the Halls….” With Call Me Clover ink.

Products I used:


Tuesday, October 8, 2019

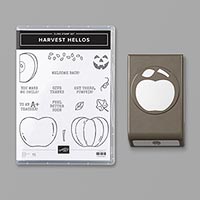
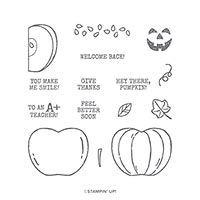
Harvest Hellos - Apples

Hi Stampers,  I was gone a lot in September so wasn't able to post as much as I would like to.  However, I have been making lots of card samples and hope to start sharing again this month.
I did a few Fall cards, but not so much Halloween.
This is my card swap for September, so I will share it first.   Here are my instructions:


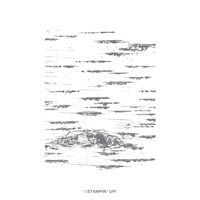
Stamp Set:  Harvest Hellos, Birch BG
Cardstock:  Soft Suede, Whisper White, Granny Apple Green, Crushed Curry, Poppy Parade
Ink:  Soft Suede, Granny Apple Green, Crushed Curry, Poppy Parade
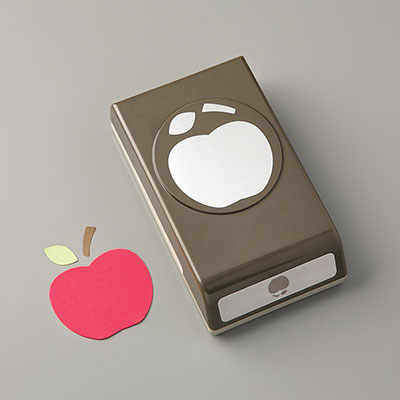
Other:  Big Shot, Stamparatus, Apple Builder Punch, Stitched Nested Labels Dies, Linen Thread, Glue Dots, Snail Adhesive, Multipurpose Glue, Dimensionals

1.     The base of the card is Soft Suede cardstock cut at 4-1/4” x 11” and scored at 5-1/2” in the middle.
2.    The second layer is Whisper White cardstock cut at 4” x 5-1/4” and inserted in to the Stamparatus.  Use the Birch Background stamp using Soft Suede ink to create the background.
3.    Use Granny Apple Green cardstock and Granny Apple Green ink using the apple stamp.  Use the Apple Builder Punch to punch it out.  Do the same with Crushed Curry and Poppy Parade.
4.    Use Soft Suede ink and cardstock for the stems and Granny Apple Green for the leaves.  Attach stems to all three apples using Snail Adhesive.
5.    Attach Linen Thread to the Crushed Curry apple using a Glue Dot.  Attach a Granny Apple Green leaf to the Poppy Parade apple.
6.    Place the Crushed Curry apple on the card front first, then the Granny Apple Green one, and Dimensionals on the back of the Poppy Parade apple to pop it up.
7.    Ink up the sentiment “You Make Me Smile” with Poppy Parade ink on Whisper White.  Die cut with the Stitched Nested Label Die.  Attach at the top with Dimensionals.


Christmas Mice

  This is a card I made for a recent swap.  I love the Christmas Mice bundle.  It is so adorable.  Stamp Set:   Christmas Mice Cardstock: ...