Friday, August 30, 2024

Potions and Spells Card - Blackberry Bliss and Pretty Peacock


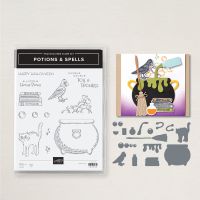
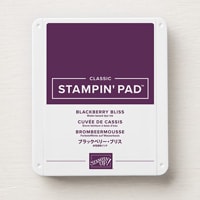
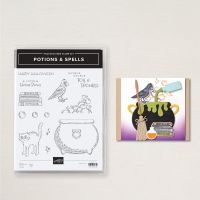
I made this card this morning using Blackberry Bliss, Pretty Peacock, Basic Black, Basic White, and Glimmer Paper from 12" x 12" Three Color Glimmer Paper.  I also used the To Market DSP.  The stamp set is called Potions and Spells, and it comes as a bundle at my Online Store.  I love making cute Halloween cards and projects.  I changed the bubbles because I felt they were too dark in the first card.

Here are my instructions for making this card:

Stamp Set:  Potions and Spells

Cardstock:  Blackberry Bliss, Pretty Peacock, Basic White, Basic Black, Three Color Glimmer Paper, To Market DSP

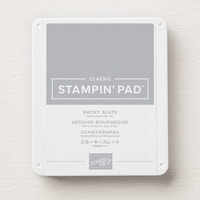
Ink:  Tuxedo Black Memento, Blackberry Bliss, Smoky Slate

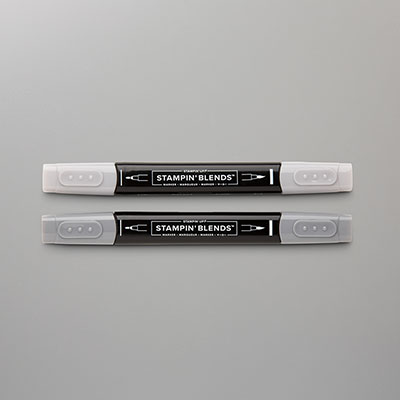
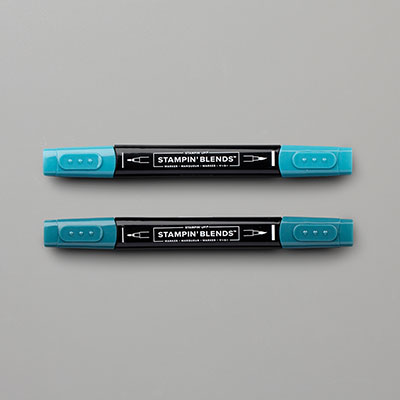
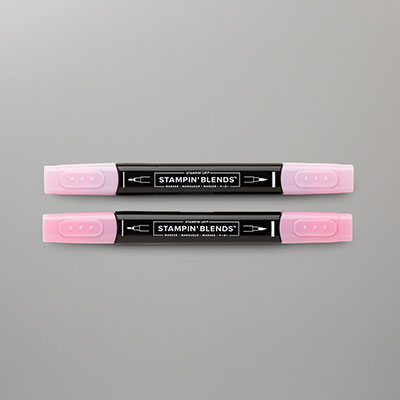
Stampin’ Blends: Smoky Slate, Pretty Peacock

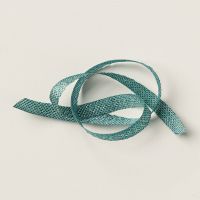
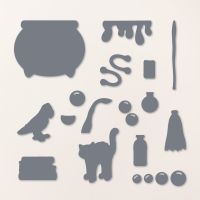
Other:  Stampin’ Cut and Emboss Machine, Potions and Spells Dies, Paper Snips, 3/8” Pretty Peacock Gold Metallic Ribbon, Wink of Stella, Black Stampin’ Dimensionals, Multipurpose Liquid Glue, Glue Dots


1.     The base of the card is Blackberry Bliss cardstock cut at 5-1/2” x 8-1/2” and scored at 4-1/4” in the middle.

2.    The Basic White cardstock is cut at 2-1/2” x 5”.  Ink up the Double Double Toil & Trouble with Blackberry Bliss ink at the top of the Basic White cardstock.

3.    Stamp the bubbles with Tuxedo Black Memento and color in with the Pretty Peacock Stampin’ Blends. Ink up the sparkles stamp with Pretty Peacock and stamp beside the bubbles.

4.    Cut the To Market DSP at 1-1/4” x 5”.  Adhere both the Basic White and the To Market DSP to the front of the card with Multipurpose Liquid Glue.

5.    Ink up the cauldron with Smoky Slate ink pad and color in with the Smoky Slate Stampin’ Blends.  Die cut it out with the Potions and Spells Dies.

6.    Ink up the bubbles with Tuxedo Black Memento on Pretty Peacock cardstock/Basic White cardstock. Add Wink of Stella to them.  Cut them out with the Paper Snips and attach above the Cauldron with Multipurpose Glue and Black Stampin’ Dimensionals and adhere both to the card front towards the right.

7.    Die-cut the Goo die from the Pretty Peacock Glimmer Paper from the 3-Color Pack.

8.    Die cut the broom with Basic Black and Pretty Peacock cardstock.  Adhere together with a Glue dot and then add Multipurpose Liquid Glue to attach to the left side of the card over the DSP.

9.    Die a small bow at the top of the black broom handle and attach with a Glue Dot.

Products I used:


Product List

Thursday, August 29, 2024

Potions and Spells Cauldron Card

This is a card inspired by Julie Gilson, but I changed it a little bit by adding the glittery oozing of the potion and added some black rhinestones, plus I added Wink of Stella to the bubbles.  This set is called Potions and Spells and is an Online Exclusive set that can be purchased as a bundle for Halloween.  

Here are my instructions for making this card:  

Stamp Set:  Potions and Spells Card

Cardstock:  Granny Apple Green, Basic Black, Basic White, Festive Glimmer Paper,
Ink: Tuxedo Black Memento, Granny Apple Green, Pumpkin Pie

Stampin’ Blends:  Pumpkin Pie, Granny Apple Green, Smoky Slate, Peach Pie

Other:  Stampin’ Cut and Emboss Machine, Blending Brushes, Potions and Spells Die, Rustic Cart Dies (hands), Paper Snips, Wink of Stella, Blending Brushes, Multipurpose Liquid Glue, Stampin’ Dimensionals, Retired Black Rhinestones


1.     The base of the card is Granny Apple Green cardstock cut at 4-1/4” x 11” and scored at 5-1/2” in the middle.  Use Multipurpose Liquid Glue.

2.    The Basic Black cardstock is the second layer, and it is cut at 3-7/8” x 5-1/8”.

3.    The third layer is Festive Glimmer Paper cut at 3-5/8” x 4-7/8”

4.    The Basic White is the fourth layer and is cut at 3-1/2” x 4-1/2”.  Use the Blending Brushes first with Granny Apple Green and then with Pumpkin Pie.  Ink up the small stars with Granny Apple Green ink. Adhere to the Glimmer Paper with Multipurpose Liquid Glue.

5.    Ink up the cauldron with Tuxedo Black ink on Basic White and color it in with Smoky Slate Stampin’ Blends.  Die-cut it out with the Potions and Spells Dies.  Use Stampin’ Dimenionals on the back and adhere to the card front.  Die-cut the spillage die with Festive Glimmer Paper and attach to the cauldron with Black Dimensionals.

6.     Ink up the bubbles and color in with the Blends.  There is no die-cut so cut it out with the Paper Snips.  Use Stampin’ Dimensionals and adhere above the cauldron.

7.    Die-cut Basic Black cardstock hands from the Rustic Cart Dies and the handle (or witches' hat as some thought) with Basic Black cardstock.  The “handle” is actually supposed to be the pouring of the potions.  Use Multipurpose Liquid Glue to attach them coming out of the cauldron.

8.    Ink up the crow and color him in attach to the left of the cauldron. 

9.    Add Wink of Stella to the bubbles, cauldron and crow.  Add Black Rhinestones.


Wednesday, August 28, 2024

Potions and Spells - Waterfall Card

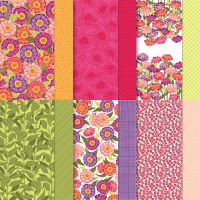
I love making waterfall cards and I have made several of them over the years, but first time with a Halloween set called Potions and Spells.  I saw this cute card idea on Ruth's Stamping Corner and wanted to make one too.  Mine is almost exactly like hers, but I added different ribbon.  I used the 1/2" Night of Navy & Gold Glittered Ribbon.  I had a lot of the Flowering Zinnia DSP to, so I liked the color combination she used.  My CARD club made these on Sunday.  Most of them have made waterfall cards with me before, but at least one of them had never made them before.  I made this one with my 9-year-old granddaughter last month and she did a great job.

Here are my instructions:  

Stamp Set:  Potions and Spells

Cardstock:  Berry Burst, Basic White, Flowering Zinnias DSP

Scraps:  Pool Party, Crushed Curry, Pecan Pie, Festive Glimmer Paper (new in September)

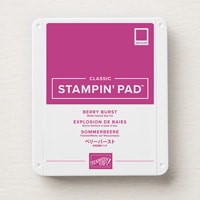
Ink:  Tuxedo Black Memento, Berry Burst

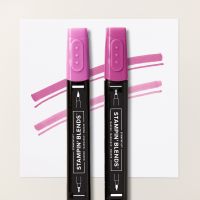
Stampin’ Blends:  Berry Burst, Flirty Flamingo, Smokey Slate, Granny Apple Green (cat eyes),

Other:  Stampin’ Cut and Emboss Machine, Paper Trimmer, Bone Folder, Season’s Greetings Dies, Tear and Tape, Multipurpose Liquid Glue, Paper Snips, Stampin’ Dimensionals, Night of Navy & Gold Glittered Ribbon


1.     The base of the card is Berry Burst cardstock cut at 4-1/4” x 5-1/2”. 

2.     The second layer is from the Zinnia DSP cut at 4” x 5-1/4” and adhered with Multipurpose Liquid Glue.

3.     The third layer is a strip of Berry Burst cardstock cut at 1” x 4-1/4” and adhered with Tear and Tape only at the ends.  Adhere it leaving about an inch at the bottom of the card.

4.     The waterfall mechanism is Berry Burst cardstock cut at 2” x 8-1/2” and scored on the long side at 2-1/2”, 3”, 3-1/2” and 4”.  Use the Bone Folder to burnish each scored line.

5.     At the bottom of the mechanism (the longest part), you will use the Season’s Greetings Die (largest) to create the decorative edge with a hole for the ribbon, but you only use the end part by putting a plate over just it and not take it all the way through the Stampin’ Cut and Emboss Machine.   You can add your ribbon through the hole and tie a knot and cut off the long ends if needed.

6.     Cut four Berry Burst CS squares at 2-1/2” x 2-1/2” and four Basic White CS squares at 2-1/4” x 2-1/4” with the Paper Trimmer. 

7.     Decorate the Basic White squares as shown.  The top square has a little Basic White strip you stamp “A Little Hocus Pocus” with Berry Burst ink and attach it just at the top of the square with Stampin’ Dimensionals.  Stamp the books at the bottom of this square with Tuxedo Black Memento and color with the Stampin’ Blends of choice. 

8.     Ink up the “Double Double Toil & Trouble” with Berry Burst ink before attaching the potion bottles.

9.     Ink up the cat with Tuxedo Black Memento. The cat uses the Smoky Slate Blends.  Color his eyes Granny Apple Green.

10.   When you add the “Happy Halloween”, it is one stamp so you will have to ink “happy” first” and clean off the stamp and then do “Halloween” below.  Attach the broom handle to the broom being careful not to add to much Multipurpose Glue.  Attach at an angle.  Trim of the broom handle and the broom with Paper Snips.   

11.    When finished, you may attach to the Berry Burst squares with Multipurpose Liquid Glue.

12.   Attach the Berry Burst squares to each of the rectangles in the waterfall mechanism but make sure you don’t adhere over the scored lines but just barely below them.  Be sure they are lined up on the sides and just add Multipurpose Glue or Tear and Tape on each rectangle to attach them.

13.   Insert the mechanism under the 1” x 4-1/4” so that the ribbon end is under the strips and just barely above the bottom of the card.  Apply glue only on the middle of the 1-1/4” x 4-1/4” Berry Burst strip and adhere the Happy Halloween square with the broom to the middle of this strip only.  This is where the mechanism will be held in place so make sure it is straight in the middle of the card.

Products I used: 


Product List


Haunted House Kit

This is a Halloween Haunted House Kit #164376 for $18 in the US, that I bought when it first came out.  However, I didn't put it togethe...