
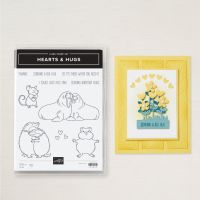
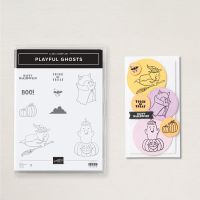
Stamp Sets: Hearts & Hugs, Playful Ghost
Cardstock: Pumpkin Pie/Gorgeous Grape, Basic Black,
Basic White, 2024-2026 In-Color Glimmer Paper (Peach Pie/Highland Heather), 6”
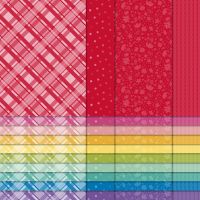
x 6” Brights or Regals DSP
Ink:
Tuxedo Black Memento
Stampin’
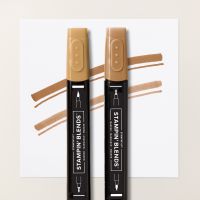
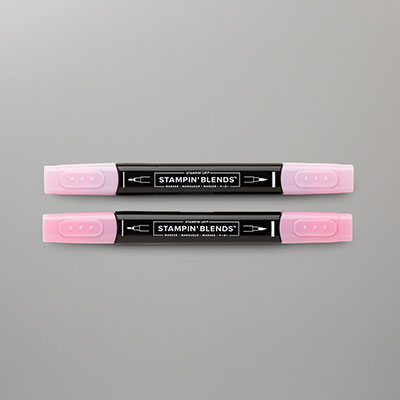
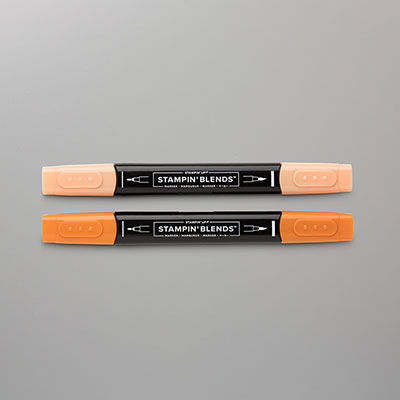
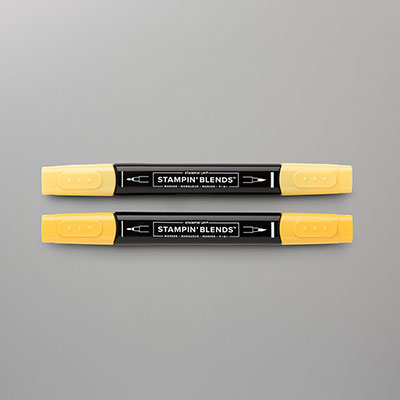
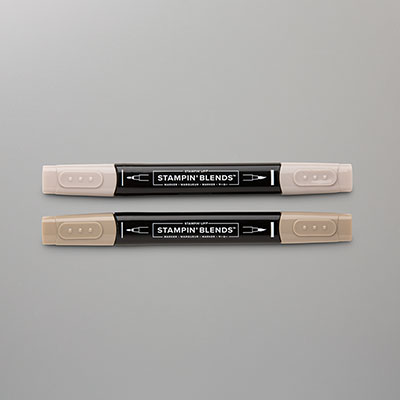
Blends: Pecan Pie, Flirty Flamingo,
Pumpkin Pie, Daffodil Delight, Crumb Cake
Other: Stampin’ Cut and Emboss Machine, Paper Snips,
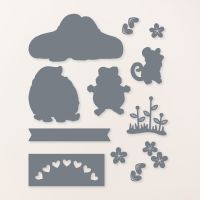
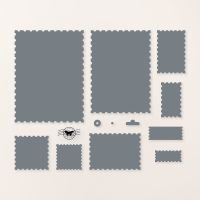
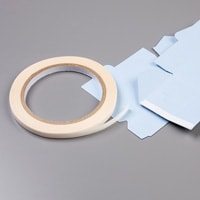
Bone Folder, Hearts & Hugs Dies, Perennial Postage Dies, Tear and Tape
Multipurpose Liquid Glue, Black Stampin’ Dimensionals
1. The measurement for the
Paper Pumpkin box is 7-1/2” x 6-1/4” and scored at ½”, 2-3/4”, 4,” on the
7-1/2” side. On the 6-1/4” side, score
at 1-1/4”. 4-1/4”, 5-1/2”. Use the Bone
Folder burnish each score line.
2. With the Paper Snips, cut
according to the pattern.
3. Use the Bone Folder to
burnish all of the scored lines.
4. Use Tear and Tape across
½” side on the left. Remove adhesive. Fold
and then bring the other side to attach to the Tear and Tape.
5. For the top of the box,
fold in the two side flaps. Round off
the corners of the top flap and tuck it into the box.
6. Fold in the bottom tabs
and use Multipurpose Liquid Glue to form the bottom of the box.
7. Ink up the hamster and the
pumpkin ghost on Basic White cardstock.
Die-cut the hamster with the Hearts & Hugs Dies. Cut out the Pumpkin Body and Hat of the ghost
with Paper Snips. Color them in with the
Stampin’ Blends. Glue the Pumpkin and
cap to the hamster with Multipurpose Liquid Glue.
8. Cut the Basic Black cs at
2” x 2-3/4”, Glimmer Paper at 1-3/4” x 2-1/2, and then cut a piece of the
DSP using the Perennial Postage die.
Layer together using Black Dimensionals.
9. Add the hamster with Black
Dimensionals.
10. Cut the DSP for the sides
and back at 2” x 2-3/4”, for the sides (2) 1” x 2-3/4”, and top and bottom (2)
1” x 2” and attach with Multipurpose Liquid Glue.
11. You can add a bow if you wish.
Products I used:
.jpg)







No comments:
Post a Comment
Thanks for taking the time to comment on my blog. You have made my day!