Stamp
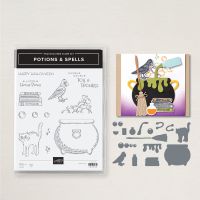
Set: Potions and Spells
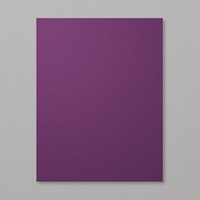
Cardstock: Blackberry Bliss, Pretty Peacock, Basic
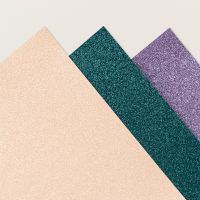
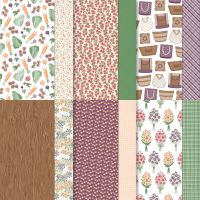
White, Basic Black, Three Color Glimmer Paper, To Market DSP
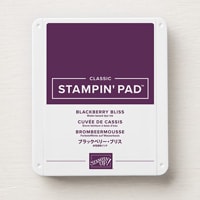
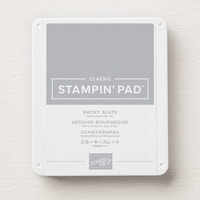
Ink: Tuxedo Black Memento, Blackberry Bliss, Smoky
Slate
Stampin’
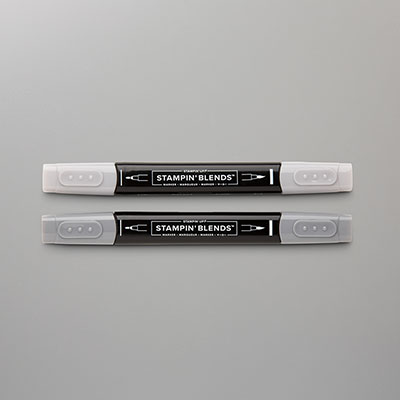
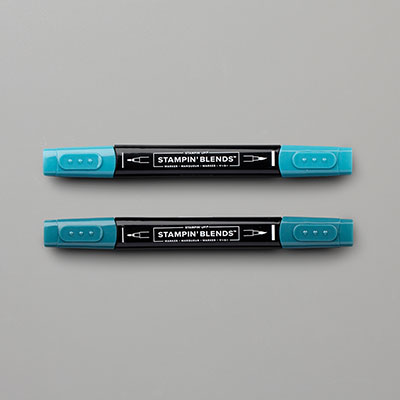
Blends: Smoky Slate, Pretty Peacock
Other: Stampin’ Cut and Emboss Machine, Potions and
Spells Dies, Paper Snips, 3/8” Pretty Peacock Gold Metallic Ribbon, Wink of
Stella, Black Stampin’ Dimensionals, Multipurpose Liquid Glue, Glue Dots
1. The base of the card is
Blackberry Bliss cardstock cut at 5-1/2” x 8-1/2” and scored at 4-1/4” in the
middle.
2. The Basic White cardstock
is cut at 2-1/2” x 5”. Ink up the Double
Double Toil & Trouble with Blackberry Bliss ink at the top of the Basic
White cardstock.
3. Stamp the bubbles with
Tuxedo Black Memento and color in with the Pretty Peacock Stampin’ Blends. Ink
up the sparkles stamp with Pretty Peacock and stamp beside the bubbles.
4. Cut the To Market DSP at
1-1/4” x 5”. Adhere both the Basic White
and the To Market DSP to the front of the card with Multipurpose Liquid Glue.
5. Ink up the cauldron with
Smoky Slate ink pad and color in with the Smoky Slate Stampin’ Blends. Die cut it out with the Potions and Spells
Dies.
6. Ink up the bubbles with
Tuxedo Black Memento on Pretty Peacock cardstock/Basic White cardstock. Add Wink of Stella to them. Cut them out with the Paper Snips and attach
above the Cauldron with Multipurpose Glue and Black Stampin’ Dimensionals and
adhere both to the card front towards the right.
7. Die-cut the Goo die from
the Pretty Peacock Glimmer Paper from the 3-Color Pack.
8. Die cut the broom with
Basic Black and Pretty Peacock cardstock.
Adhere together with a Glue dot and then add Multipurpose Liquid Glue to
attach to the left side of the card over the DSP.
9. Die a small bow at the top
of the black broom handle and attach with a Glue Dot.










No comments:
Post a Comment
Thanks for taking the time to comment on my blog. You have made my day!