I've been out of town babysitting my grandchildren a lot this month, so I apologize for not posting since the beginning of the month. I did take some things to stamp with my granddaughter. She loves doing crafts as much as I do.
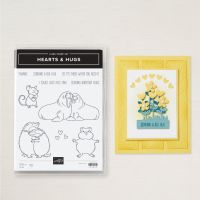
Stamp Set: Hearts & Hugs (Happy Birthday)
Cardstock: Summer Splash, Petunia Pop, Basic White,
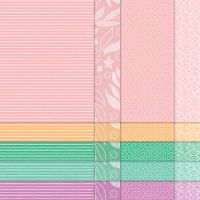
2024-2026 In-Color 6” x 6” DSP
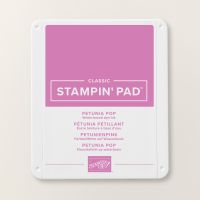
Ink: Petunia Pop
Other: Stampin’ Cut and Emboss Machine, Paper
Trimmer, Stylish Shapes Dies, Eyelet 3D Embossing Folder, Hearts & Hugs
Dies, Multipurpose Liquid Glue, Stampin’ Dimensionals, 2024-2026 In-Color Resin
Dots
1. The base of the card is Summer Splash
cardstock cut at 4-1/4” x 11” and scored at 5-1/2” in the middle.
2. The second layer is Petunia Pop cardstock
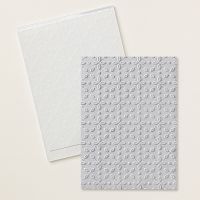
cut at 4” x 5-1/4” and inserted into the Eyelet 3D Embossing Folder and run
through the Stampin’ Cut and Emboss Machine.
Adhere to the base with Multipurpose Liquid Glue.
3. Cut two Summer Splash squares at 2-5/8” each and glue one layer in the middle as by making an 8 pointed star.
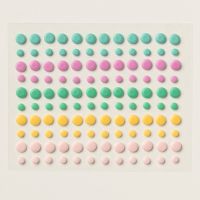
4. From the 2024-2026 In-Color DSP, cut eight (8) 1-1/4” squares. Glue one pattern of the 1-1/4” square to one of the points (but do not completely glue it down). Now, glue an alternating 1-1/4” square to the next point. Continue alternating with the rest of them until you get to the last one and tuck it under the first one you put down. Add a Resin Dot to the center.
5. Ink up the “Happy Birthday” sentiment with
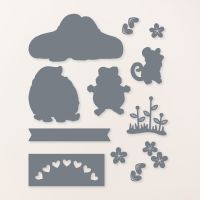
Petunia Pop ink on Basic White cardstock and die-cut with the label from the
Hearts & Hugs Dies. Adhere to the
bottom front of the card and you might want to add 1” x 4” DSP down first.
Products I used:









No comments:
Post a Comment
Thanks for taking the time to comment on my blog. You have made my day!