Showing posts with label Adhesive Sheets. Show all posts

Friday, December 11, 2020

Home Together Dies - I'm Back!

 Hi All,

I've not been posting on my blog since October because I had a complete knee replacement, so I've been healing and going for physical therapy.  I haven't felt like being creative, but hoping to get back into it very soon.  Since today is my birthday, I thought I would show you what I have been doing. I decorated a little lighted tree which took me several weeks because it was hard to get up and down from my chair each time I needed something.  The idea came from Cyndi Johnson.


Here are the instructions for the ornaments for the tree and where to buy the lighted tree.


1.      For the Birdhouses: Cut Whisper White cardstock at 3” x 3” and score at 1” on all four sides to create the house cube. Use the heart-cut die to cut two from Cherry Cobbler or Shaded Spruce.  For the solid house dies, cut two from Whisper White cardstock.  Glue pieces together and add to two of the sides.

2.    For the Roof: Cut 2-1/4” x 1-3/8” from Whisper White and the same from the DSP.  Score in half.  Punch a hole in the middle of the scoreline and add a loop of the Gold Ribbon on the Whisper White Roof.  Adhere the DSP to the White Roof.

3.    The trees and snowflakes were made with the Home Together and So Many Snowflake Dies.  The trees from the DSP are two-sides using the Adhesive Sheets (I cut one Shaded Spruce tree and adhered the Gold Ribbon for the loop and then adhering the DSP trees to both sides).  Do the same for the snowflakes cutting one Whisper White snowflake, adhering the loop, and then attach the adhesive snowflakes to each side. The adhesive sheets make it so much easier.

The battery-operated tree can be purchased from Amazon and it takes three AA batteries.  Amazon.com: 24" LED Birch Tree with 24 Lights (2 Packs), Tabletop Lighted Bonsai Birch Tree Battery Powered Thanksgiving Table Decoration Light for Indoor Christmas Party Home and Bedroom Fall décor: Home & Kitchen


Wednesday, June 14, 2017

More Marbled Birthday Card

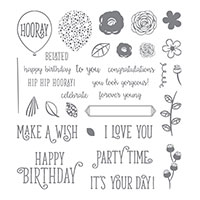
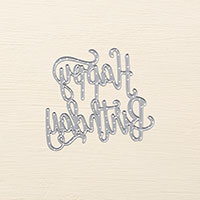
This is another card that I made using the Marbled Background and the Happy Birthday Thinlet but this time I double the "Happy Birthday" Thinlet with Basic Black first and then the new In-Color Lemon Lime Twist.  Here are my instructions:


1.     The base of the card is Lemon Lime Twist cut at 4-1/4” x 11” and scored at 5-1/2” in the middle.
2.    The second layer is Whisper White cut at 3-1/2” x 4”.
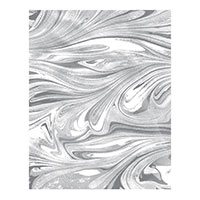
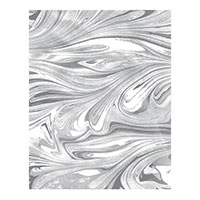
3.    Take the Marbled Background stamp and adhere to the Clear Mount “F” using the Carmax Lip Balm to make it stick to the block. 
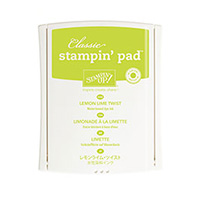
4.    Take the Lemon Lime Twist ink pad and ink up the Marbled Background stamp with the rubber facing up.  Then carefully place Whisper White cardstock on top of the rubber and place copy paper over it and press with your hands all over the rubber.
This will prevent getting ink all over your hands.  Lift cardstock carefully!  Layer it onto the 3-3/4” x 4-1/4” Basic Black cardstock.
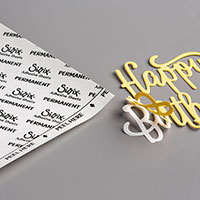
5.    Adhere the 3-1/2” x 3-1/2” Multipurpose Adhesive Sheets to the 3-1/2” x 3-1/2” Basic Black cardstock and the Lemon Lime Twist cardstock by taking one end of the backing and align with one side of the cardstock being careful so that the adhesive doesn’t stick to you.
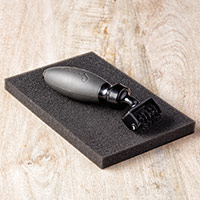
6.    Now take it to the Big Shot and lay the “Happy Birthday” thinlet die on the Basic Black cardstock to die cut it out.  Be sure to use the Precision Plate and one Stand Plate to run it through the Big Shot several times.  Keeping the cardstock pieces with the thinlet, take it to the Big Shot Die Brush to remove all the pieces.  You may need to use the Paper Piercing tool to poke the rest out.
7.    Peel off the backing and adhere to the front of your card using the Basic Black first and then the Lemon Lime Twist just a hair to the left of the Basic Black.  I usually start to the center and then press it with my fingers towards each side. 
8.    Adhere to the front of the card.

Products I used:


Fern & Flora - "You Make the World a Better Place"

Here is another card that I made using the Moonlit Flora Designer Series Paper.  It is so beautiful that it really makes the card without pu...