

Tuesday, August 27, 2024
Hearts & Hugs Box with the Playful Ghosts

.jpg)
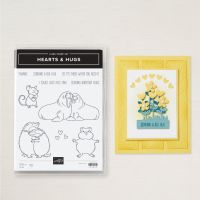
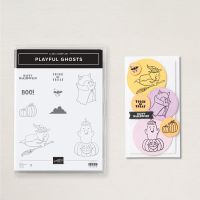
These are cute, little Halloween boxes filled with candy made with the Hearts & Hugs hamster and I used the pumpkin costume from one of the Playful Ghosts. This idea came from Kathryn Themann, a demonstrator who creates lots of boxes. Since I didn't have any current Halloween DSP, I used the Brights and Regals DSP. My club members made these on Sunday and got to choose which color they preferred. They included miniature Twix from Big Lots and Candy Ghosts from Oriental Trading Company
Stamp Sets: Hearts & Hugs, Playful Ghost
Cardstock: Pumpkin Pie/Gorgeous Grape, Basic Black,
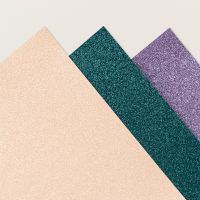
Basic White, 2024-2026 In-Color Glimmer Paper (Peach Pie/Highland Heather), 6”
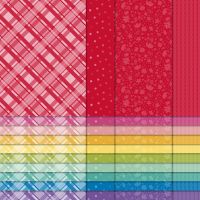
x 6” Brights or Regals DSP
Ink:
Tuxedo Black Memento
Stampin’
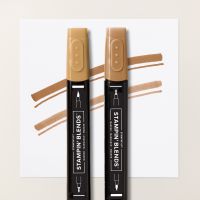
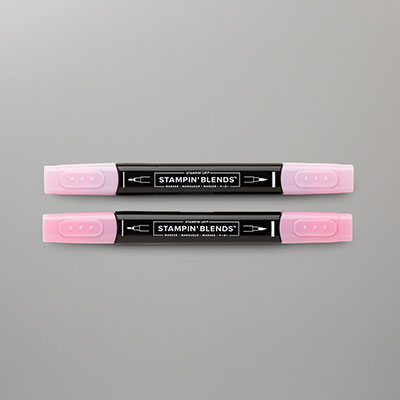
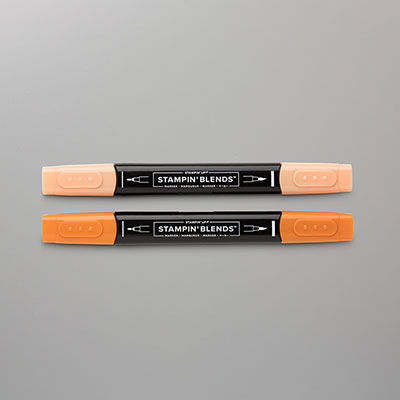
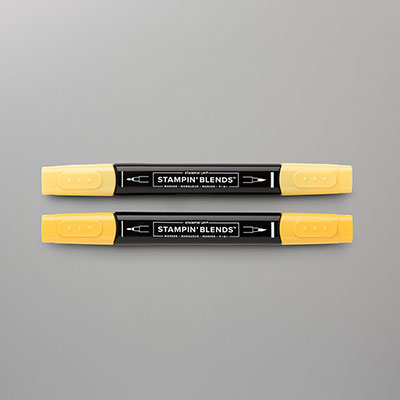
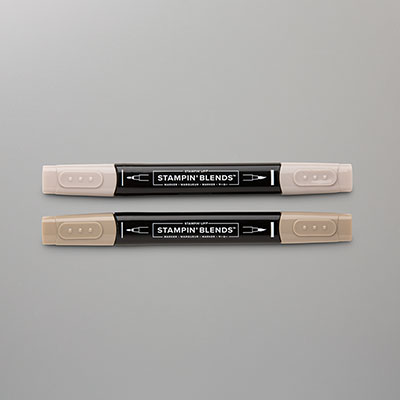
Blends: Pecan Pie, Flirty Flamingo,
Pumpkin Pie, Daffodil Delight, Crumb Cake
Other: Stampin’ Cut and Emboss Machine, Paper Snips,
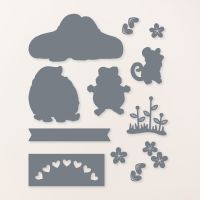
Bone Folder, Hearts & Hugs Dies, Perennial Postage Dies, Tear and Tape
Multipurpose Liquid Glue, Black Stampin’ Dimensionals
1. The measurement for the
Paper Pumpkin box is 7-1/2” x 6-1/4” and scored at ½”, 2-3/4”, 4,” on the
7-1/2” side. On the 6-1/4” side, score
at 1-1/4”. 4-1/4”, 5-1/2”. Use the Bone
Folder burnish each score line.
2. With the Paper Snips, cut
according to the pattern.

3. Use the Bone Folder to
burnish all of the scored lines.
4. Use Tear and Tape across
½” side on the left. Remove adhesive. Fold
and then bring the other side to attach to the Tear and Tape.
5. For the top of the box,
fold in the two side flaps. Round off
the corners of the top flap and tuck it into the box.
6. Fold in the bottom tabs
and use Multipurpose Liquid Glue to form the bottom of the box.
7. Ink up the hamster and the
pumpkin ghost on Basic White cardstock.
Die-cut the hamster with the Hearts & Hugs Dies. Cut out the Pumpkin Body and Hat of the ghost
with Paper Snips. Color them in with the
Stampin’ Blends. Glue the Pumpkin and
cap to the hamster with Multipurpose Liquid Glue.
8. Cut the Basic Black cs at
2” x 2-3/4”, Glimmer Paper at 1-3/4” x 2-1/2, and then cut a piece of the
DSP using the Perennial Postage die.
Layer together using Black Dimensionals.
9. Add the hamster with Black
Dimensionals.
10. Cut the DSP for the sides
and back at 2” x 2-3/4”, for the sides (2) 1” x 2-3/4”, and top and bottom (2)
1” x 2” and attach with Multipurpose Liquid Glue.
11. You can add a bow if you wish.
Products I used:






Thursday, August 22, 2024
Hearts & Hugs Pinwheel Card
I've been out of town babysitting my grandchildren a lot this month, so I apologize for not posting since the beginning of the month. I did take some things to stamp with my granddaughter. She loves doing crafts as much as I do.


This is two of the cards that we did at a club workshop back in June 2024. They had a choice of which pinwheel card they wanted to make. My friend Justine came to visit me before the workshop, and we played around and made a few card samples. They are really easy to make once you get the hang of it.
Here are my instructions for the first card, but you can change it to whatever scraps you might have:
Stamp Set: Hearts & Hugs (Happy Birthday)
Cardstock: Summer Splash, Petunia Pop, Basic White,
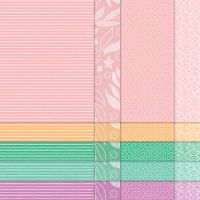
2024-2026 In-Color 6” x 6” DSP
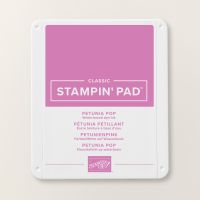
Ink: Petunia Pop
Other: Stampin’ Cut and Emboss Machine, Paper
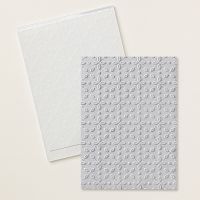
Trimmer, Stylish Shapes Dies, Eyelet 3D Embossing Folder, Hearts & Hugs
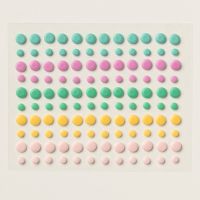
Dies, Multipurpose Liquid Glue, Stampin’ Dimensionals, 2024-2026 In-Color Resin
Dots
1. The base of the card is Summer Splash
cardstock cut at 4-1/4” x 11” and scored at 5-1/2” in the middle.
2. The second layer is Petunia Pop cardstock
cut at 4” x 5-1/4” and inserted into the Eyelet 3D Embossing Folder and run
through the Stampin’ Cut and Emboss Machine.
Adhere to the base with Multipurpose Liquid Glue.
3. Cut two Summer Splash squares at 2-5/8” each and glue one layer in the middle as by making an 8 pointed star.
4. From the 2024-2026 In-Color DSP, cut eight (8) 1-1/4” squares. Glue one pattern of the 1-1/4” square to one of the points (but do not completely glue it down). Now, glue an alternating 1-1/4” square to the next point. Continue alternating with the rest of them until you get to the last one and tuck it under the first one you put down. Add a Resin Dot to the center.
5. Ink up the “Happy Birthday” sentiment with
Petunia Pop ink on Basic White cardstock and die-cut with the label from the
Hearts & Hugs Dies. Adhere to the
bottom front of the card and you might want to add 1” x 4” DSP down first.
Products I used:



Saturday, August 3, 2024
Bistro Burger

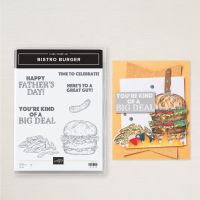
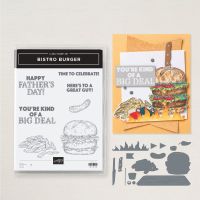
Doesn't this hamburger look good enough to eat? Even the knife looks so realistic with the silver foil for the blade and the Early Espresso for the handle. I won this stamp set for receiving the bonus mystery box from Debra Harrison. It's a great stamp set for Father's Day or Birthday for any masculine card. It also has a pickle and French fries with four sentiments.
Here are my instructions for this card:
Stamp Set: Bistro Burger
Cardstock: Early Espresso, Crumb Cake, Basic White, Silver
Foil, Country Woods DSP
Ink: Tuxedo Black Memento
Stampin’
Blends: Daffodil Delight, Lemon Lime Twist, Crumb Cake, Poppy Parade, Pebbled
Path, Old Olive
Other: Stampin’ Cut and Emboss Machine, Bistro
Burger Dies, Multipurpose Liquid Glue, Stampin’ Dimensionals
1. The base of the card is Early Espresso
cardstock cut at 4-1/4” x 11” and scored at 5-1/2” in the middle.
2. The second layer is Crumb Cake cardstock
cut at 4” x 5-1/4” and adhered to the front with Multipurpose Liquid Glue.
3. The DSP is cut at 1-1/2” x 5” for the left
side. For the right side, it is cut at
2-1/4” x 3” and both adhere with Multipurpose Liquid Glue with a border
showing.
4. Ink up the sentiment “You’re Kind of a Big
Deal” with Early Espresso ink and stamp on the lower right side of the Crumb
Cake layer.
5. On a scrap of Basic White, ink up the
hamburger. Color the buns with Crumb
Cake Blends, the hamburger patty with Pebbled Path Blends, the tomatoes with
Poppy Parade Blends, the lettuce with Lemon Lime Twist Blends, the pickles with
Old Olive Blends, Daffodil Delight Blends for the cheese.
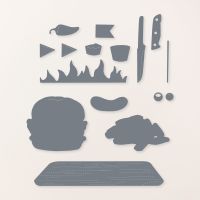
6. Die-cut the hamburger with the Bistro
Burger Dies. Use the Silver Foil for the
blade of the knife and Early Espresso cardstock for the handle of the knife. Glue together with Multipurpose Liquid Glue
and slide into the slit of the hamburger bun at an angle.
7. Put Stampin’ Dimensionals on the back and
adhere to the center of the card.
Products I used:

Subscribe to:
Posts (Atom)
Fern & Flora - "You Make the World a Better Place"
Here is another card that I made using the Moonlit Flora Designer Series Paper. It is so beautiful that it really makes the card without pu...

-
 Just couldn't resist making another card using the Swirly Scribbles Thinlets to make a snowman. Seongsook Duncan had posted her vers...
 -
 This card uses a lot of the new products in the 2016-2017 Annual Stampin' Up! Catalog. The new stamp set is called Seaside Shor...
 -
 Just finished making this fun waterfall card this morning. I love making waterfall cards, so I had to play around with thi...