
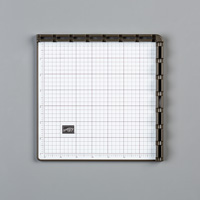
Love playing with my Stamparatus to create the flower wreaths. First I used some cardstock at 4" x 4" to use as a template to create on my grid by lining up the points at the 3" marks.

Here the instructions I created but I was inspired to create this using The Paper Pixie's video on how to do it.
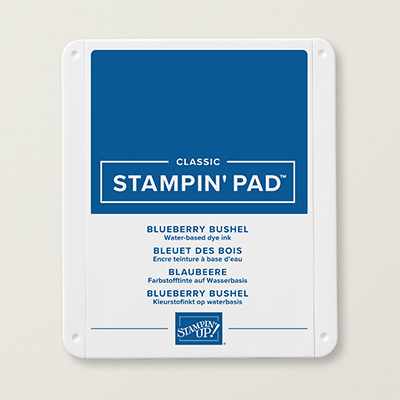
1. The base of the card is Blueberry
Bushel cut at 5” x 10” and scored at 5” in the middle.
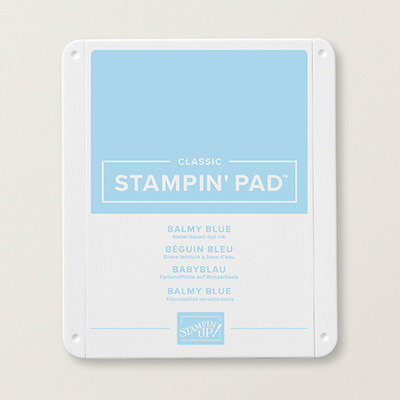
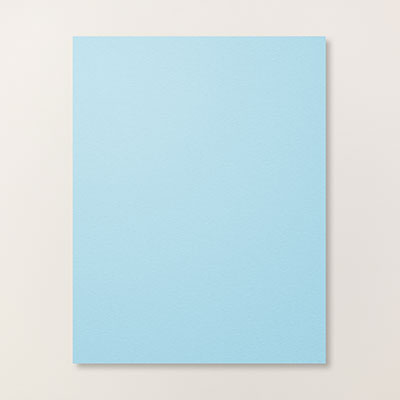
2. The second layer is Balmy
Blue cardstock cut at 4-1/4” x 4-1/4”.
3. The third layer is Whisper
White cut at 4” x 4”.
4. Stamparatus (Page 207): It is a tool to perfectly align your
stamps. Magnets are very strong and
should not be too close together or they may break! I have duct tape on mine to make it easier to
pick them up. They are positioned in
individual wells on the back of the Stamparatus. The foam mat is to be used with Photopolymer
stamps. Remove if using the red rubber
stamps. There are two plates, but they should not be stored away in the hinges
or they might break.
5. Lay the 4” x 4” Whisper White
cardstock in the Stamparatus on the template.
Place a magnet to hold it in place.
Take the “larger flower” stamp image and position it at the top center
of your cardstock. Place the plate over
the stamp to pick it up. Make sure
cardstock and the grid don't move. Reposition, if
necessary. Ink up the stamp with the Balmy Blue ink. Close the plate and press down with your
fingers. You can re-ink the stamp again
if isn’t dark enough or missing ink. Use
the Shammy if you need to clean off each time before your stamp. Once
satisfied, turn your Whisper White cardstock on the template to the left. Ink up with the Balmy Blue ink again and
stamp. Repeat until you have the wreath
done. Now flip the plate over and use
the “smaller flower” image using Blueberry Bushel ink. Do the same as before.
6. Stamp the leaves with Call Me
Clover ink (not necessary to use the Stamparatus) in between each flower.
7. Ink up the sentiment of your choice with Blueberry
Bushel and stamp in the center of the flower wreath.
8. Make an envelope with the
Envelope Builder and 8-1/8” x 8-1/8” DSP starting at the 4-1/4” mark. Punch and score all the way around.
Products I used:


Great card and tutorial. Thanks for sharing and inspiring.
ReplyDelete