Showing posts with label Call Me Clover. Show all posts

Wednesday, February 19, 2020

Crayon Kids and Smile

 This is a retired set "Crayon Kids" which came out in 2002 (the year I became a demo) which I kept and so glad I did because I made these two cards for my grand twins today who will be turning 5 this Saturday.  I just had to share. I also used the retired "Smile" set which came out in 2000 for the "Happy Birthday" sentiment.  I also used the current 2018-2020 In-Color cardstock and ink. Wouldn't it be fun if these two sets came back in photopolymer or cling mount sets?

Cardstock and Ink Colors I used:


Friday, November 15, 2019

Christmas Gleaming

It's been quite a busy month since I last posted.  I created 10 cards for my Christmas Class that I had on November 3, so it's time to post them to my blog.  Let me know which is your favorites.  Here is my first card which was inspired by the sample card on page 62 of the Holiday Catalog, but I used the Delicata Metallic Copper ink.  Here are the instructions for my first card.


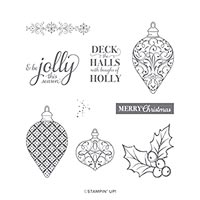
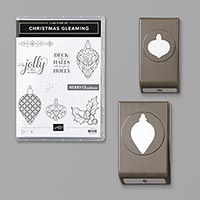
Stamp Set:  Christmas Gleaming

Cardstock:  Call Me Clover, Whisper White

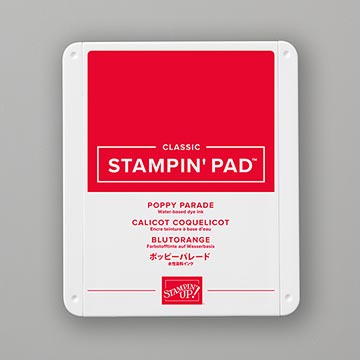
Ink: Delicata Metallic Copper Ink (Now retired), Memento Tuxedo Black, Poppy Parade

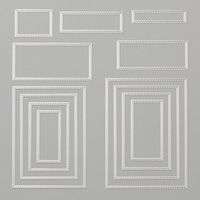
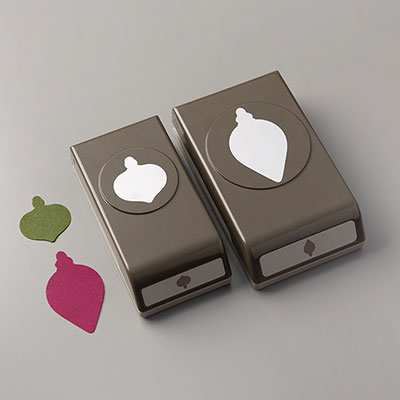
Other:  Big Shot, Stitched Rectangles Dies, Gleaming Ornaments Punch Pack, Dimensionals, Snail Adhesive, White Baker’s Twine, Glue Dot. Toile Tiding Glitter Enamel Dots


1.     The card base is Call Me Clover cardstock cut at 5-1/2” x 8-1/2” and scored at 4-1/4” in the middle.

2.    The second layer is Whisper White cardstock die cut in the Big Shot using the largest Stitched Rectangle Die

3.    Ink up the holly stamp with the Copper ink or for an alternative, use Crumb Cake ink, and stamp on the Whisper White Rectangle.

4.    Ink up the largest ornament stamp with the Memento Black ink and stamp on Call Me Clover scrap.  Punch out with the largest ornament punch.  Attach a Dimensional to the back and attach to the card.  Tie a White Baker’s Twine Bow and attach with a Glue Dot.

5.    Ink up the sentiment “Merry Christmas” with Poppy Parade ink on Whisper White scrap and trim out with scissors/Paper Snips leaving a white edge.  Attach over ornament with Snail Adhesive.

6.    Add 3 Toile Tiding Glitter Enamel Dots.

7.    For the inside, ink up the sentiment “Deck the Halls….” With Call Me Clover ink.

Products I used:


Monday, March 18, 2019

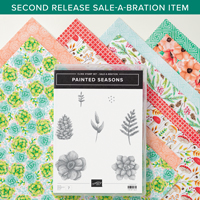
Painted Seasons


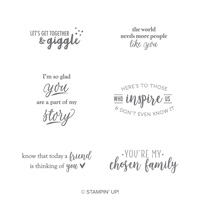
Stamp Set:  Painted Seasons (SAB 2nd), Part of My Story

Cardstock:  Call Me Clover, Early Espresso, Whisper White, Painted Seasons DSP

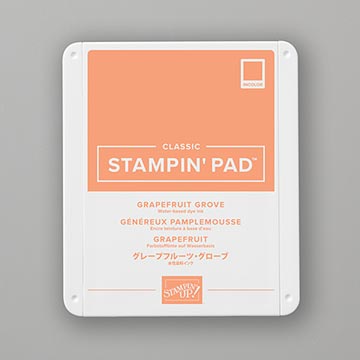
Ink:  Grapefruit Grove, Call Me Clover, Early Espresso.

Other:  Big Shot, Pinewood Planks TIEF,  Four Seasons Framelit Dies, Story Label Punch, Banner Triple Punch, Dauber, Multipurpose Glue, Dimensionals, Snail Adhesive


1.     The base of the card is Call Me Clover cardstock cut at 4-1/4” x 11” and scored at 5-1/2” in the middle.

2.    The second layer is Early Espresso cardstock cut at 4” x 5-1/4” and inserted into the Pinewood Planks TIEF and run through the Big Shot.

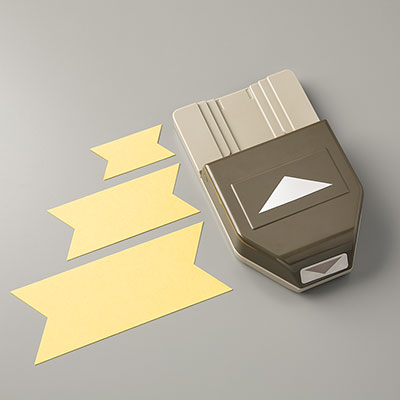
3.    The Painted Seasons DSP is cut at 2” x 5” and inserted into the Banner Triple Punch to create a banner to be adhered to the middle of the card.

4.    Ink up the ferns with Call Me Clover ink and stamp on Whisper White cardstock. 

5.    Ink up the flower stamp with Grapefruit Grove ink on Whisper White cardstock.  Ink up a Dauber with Early Espresso for the center of the flower. Die cut them out with the Four Seasons Framelit Dies.  Adhere the ferns with Snail Adhesive and pop up the flower with Dimensionals.

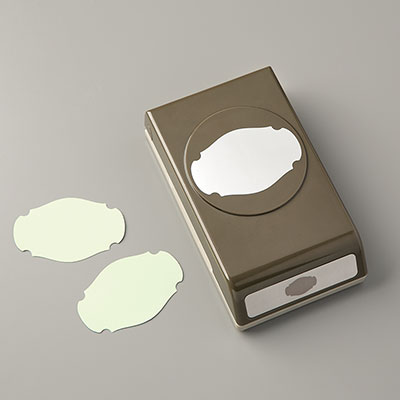
6.    Ink up the sentiment “Here’s to Those Who Inspire Us & Don’t Even Know It’ with Early Espresso ink on Call Me Clover cardstock.  Punch out with the Story Label Punch and put Dimensionals on the back to pop it up over the banner below the flower.

Products I used:


Saturday, July 28, 2018

Abstract Impressions - Wreath Builder

 
Love playing with my Stamparatus to create the flower wreaths.  First I used some cardstock at 4" x 4" to use as a template to create on my grid by lining up the points at the 3" marks.
Here the instructions I created but I was inspired to create this using The Paper Pixie's video on how to do it.
1.     The base of the card is Blueberry Bushel cut at 5” x 10” and scored at 5” in the middle.
2.    The second layer is Balmy Blue cardstock cut at 4-1/4” x 4-1/4”.
3.    The third layer is Whisper White cut at 4” x 4”.
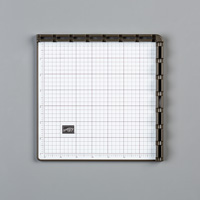
4.    Stamparatus (Page 207):  It is a tool to perfectly align your stamps.  Magnets are very strong and should not be too close together or they may break!  I have duct tape on mine to make it easier to pick them up.  They are positioned in individual wells on the back of the Stamparatus.  The foam mat is to be used with Photopolymer stamps.  Remove if using the red rubber stamps. There are two plates, but they should not be stored away in the hinges or they might break.
5.    Lay the 4” x 4” Whisper White cardstock in the Stamparatus on the template.  Place a magnet to hold it in place.  Take the “larger flower” stamp image and position it at the top center of your cardstock.  Place the plate over the stamp to pick it up.  Make sure cardstock and the grid don't move.  Reposition, if necessary. Ink up the stamp with the Balmy Blue ink.  Close the plate and press down with your fingers.  You can re-ink the stamp again if isn’t dark enough or missing ink.  Use the Shammy if you need to clean off each time before your stamp. Once satisfied, turn your Whisper White cardstock on the template to the left.  Ink up with the Balmy Blue ink again and stamp.  Repeat until you have the wreath done.  Now flip the plate over and use the “smaller flower” image using Blueberry Bushel ink.  Do the same as before.
6.    Stamp the leaves with Call Me Clover ink (not necessary to use the Stamparatus) in between each flower.
7.    Ink up the sentiment of your choice with Blueberry Bushel and stamp in the center of the flower wreath.
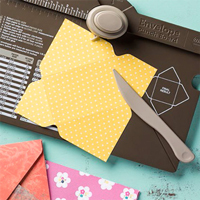
8.    Make an envelope with the Envelope Builder and 8-1/8” x 8-1/8” DSP starting at the 4-1/4” mark.  Punch and score all the way around.

Products I used:


Wednesday, July 18, 2018

Abstract Impressions

This is a card that I made for a customer of mine using the new In-Colors Lipstick Red and Call Me Clover for the flowers and leaves.  I also used the returning In-Color Flirty Flamingo for the flower.  I used the Tailored Tag Punch to create the "thank you" using Memento Black ink.    I used Stampin' Dimensionals to attach the tag.  This card was inspired by Erica Cerwin.

Products I used:

Fall Pumpkins and Sunflowers card

Fall is in the air!  Yes, it is finally sweater weather here in Indiana.  It has been a hot summer, so it's nice to have cooler weather....