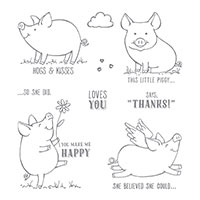
Don't you just love this little flying pig? I created this card for a swap I'm in this month. The theme was "Anything with Wings" so why not a pig with wings? The stamp is from the set "This Little Piggy" in the 2019-20 Stampin' Up! annual catalog.
Here is the instructions for my card:
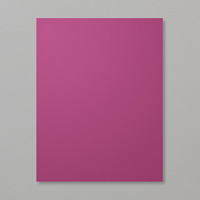
1. The base of the card is Rich Razzleberry
cardstock cut at 4-1/4” x 11” and scored at 5-1/2” in the middle.
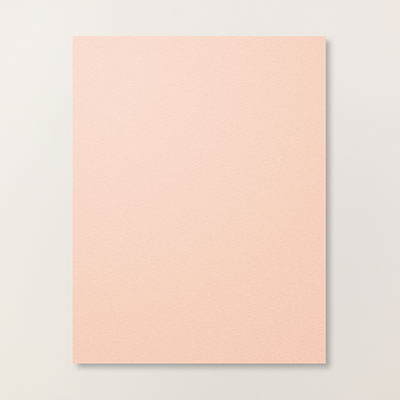
2. The second layer is Petal Pink cardstock
cut at 4” x 5-1/4” and inserted into the Subtle Embossing Folder and run
through the Big Shot. Adhere to the
front of the card with Multipurpose Glue.
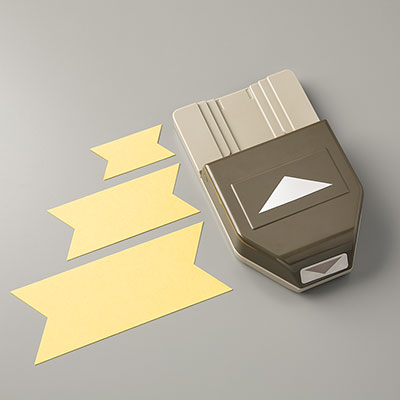
3. The banner is Rich Razzleberry cardstock
cut 2” x 5” and inserted into the Banner Triple Punch and adhered to the center
of the card with Multipurpose Glue.
4. Using the Layering Circles Dies in the Big
Shot, cut the largest scalloped circle die from Rich Razzleberry
cardstock. Cut second to the largest
circle die from Whisper White cardstock.
5. Ink up the “flying pig” stamp with Memento
Black ink and stamp it on the Whisper White circle die.
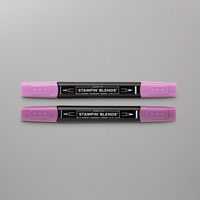
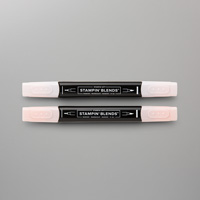
6. Color the pig in with the Stampin’ Blends
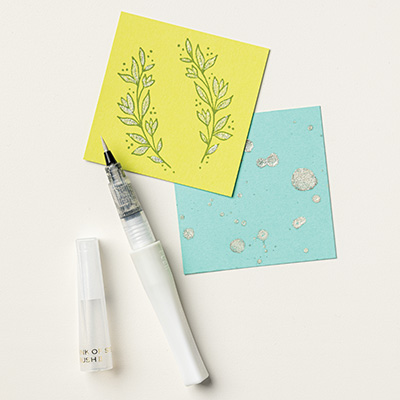
and use the Wink of Stella on his wings, hooves, snoot and curly tail. Attach to the scalloped circle with
Multipurpose Glue.
7. Put Dimensionals on the back and adhere
over the banner.
Products I used for this card:









No comments:
Post a Comment
Thanks for taking the time to comment on my blog. You have made my day!