Showing posts with label Tear and Tape. Show all posts

Wednesday, May 13, 2020

Dressed to Impress Gift Card Holder

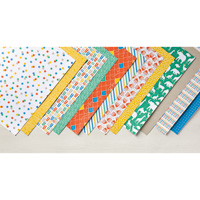
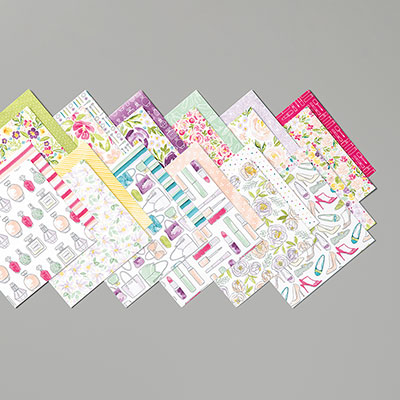
Sometimes I like to case a card from another demo if I really like it and this is one from Stampin' Annie.  It's a gift-card holder and I hadn't had a chance to play with this set yet.  I love the colors in the Best Dressed Designer Series Paper.  Sometime, we just don't have enough time to play with our DSP or we tend to hoard it.    Here are my instructions for making this card:
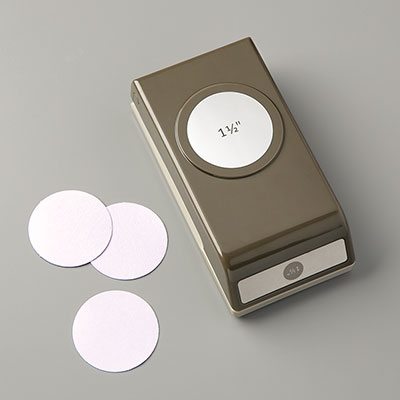
1.     The base of the card is Pretty Peacock cardstock cut at 4-1/4” x 10-3/8” and score at 5-1/2” and 8-3/8”.  For the gift card holder, punch a little half circle with the 1-1/2” Circle Punch.    Cut Mint Macaron cardstock at 2-5/8” x 4” and adhere to the front.  Cut the Best Dressed DSP (stripes) at 2-1/2” x 3-7/8” to adhere to the Mint Macaron on the front.
2.    For the inside, cut Whisper White cardstock at 4” x 5-1/4” and then cut a strip of the Mint Macaron (shoes) DSP for the right side.
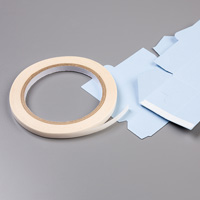
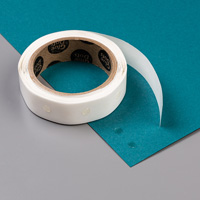
3.    For inside, before adhering the gift card holder section with Tear and Tape to leave room for a gift card, add another Mint Macaron (shoes) DSP cut at 1-3/4” x 4”.
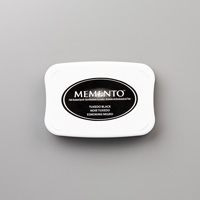
4.    Die cut 2-7/8” Circle Stitched Shapes die from Whisper White cardstock.  Ink up the sentiment “life is short, buy the shoes” with Memento Black ink at the top of the white circle.
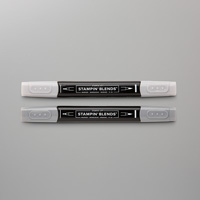
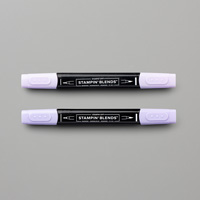
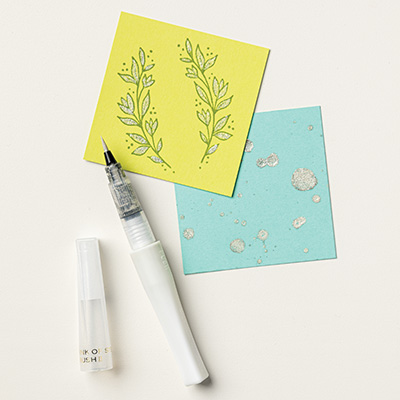
5.    On a scrap of Whisper White, ink up two shoes with Memento Black ink and color them in with the Purple Posy Stampin’ Blends.  Die cut with the All Dressed-Up Dies.  Use the Wink of Stella on them.
6.    Cut one Scallop Circle from Mint Macaron cardstock using Scalloped Circle from Layering Circles Dies.  Adhere together.
7.    Add the die cut shoes to the circle and use Dimensional on the one in front.
8.    Adhere glue to the side that will attach to the front of the card.

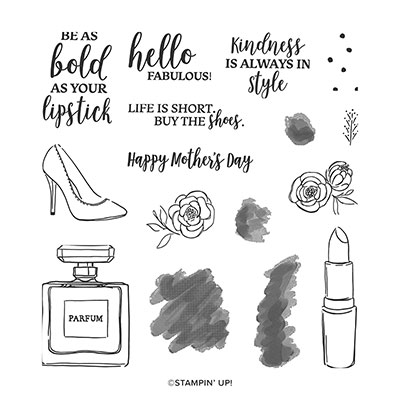
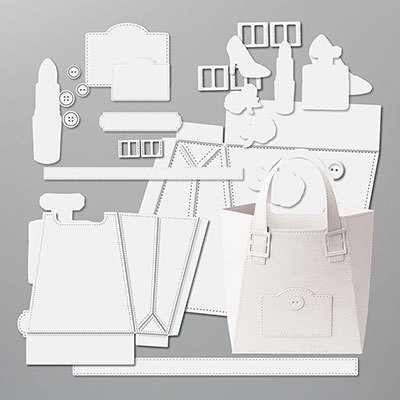
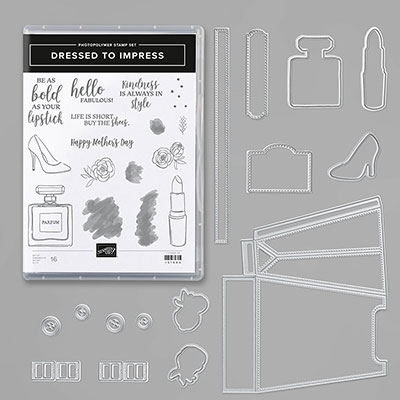
Products I used except for some of the dies that will be carried over are not on this list, but will be in the new catalog but reconfigured with different codes:
Thursday, January 30, 2020

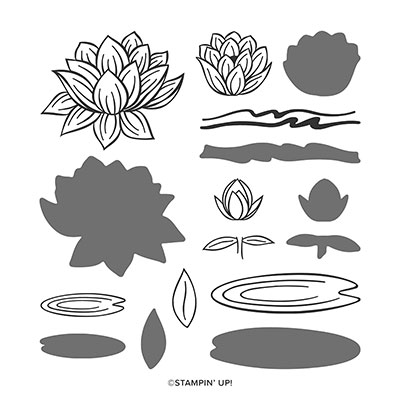
Lovely Lilypad Calendar

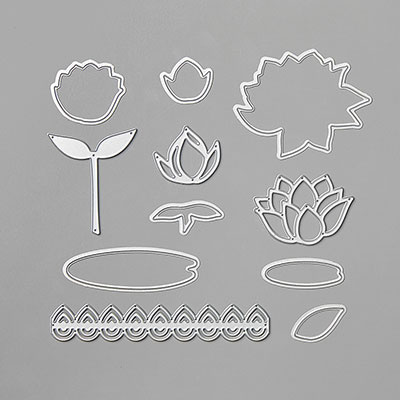
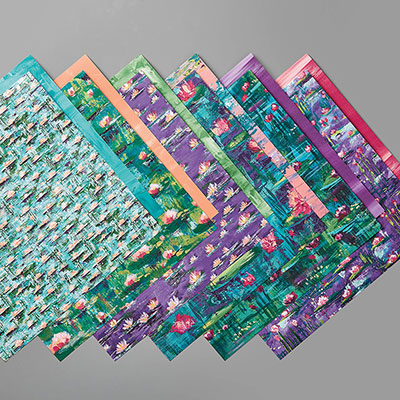
Each January, I like to have my club stamp members make a new stand-up calendar with a current stamp set.  This set is called Lovely Lily Pad and it's from 2020 Sale-a-Bration catalog FREE with a $50 purchase until the end of March.  If you wish to get the Lily Pad Dies that coordinate with it, it is FREE with another $100 order.  Or you could earn both with a $150 workshop and you could earn more FREE Rewards. The background paper is another Sale-a-Bration item with a $50 order. The calendars were purchased through https//vippies.com

Here are my instructions for making this calendar.

Stamp Sets:  Lovely Lily Pad (SAB), Morning Star (Mini)
Cardstock:  Thick Whisper White, Garden Green, Flirty Flamingo, Lily Impressions DSP (SAB)
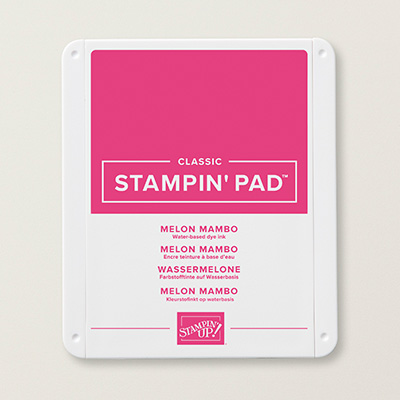
Ink:  Melon Mambo, Memento Black, Garden Green
Other:  Big Shot, Bone Folder, Lily Pad Dies, Tear and Tape, Dimensionals, Fine-Tip Glue Pen, Multipurpose Glue, Triple Banner Punch, Multipurpose Glue, Calendars were purchased from https://vippies.com  This was inspired by Erica Cerwin's calendar. 

1.     The calendar is cut from Thick Whisper White cardstock at 4-1/4” x 11” and scored at 5-1/2” in the middle.  Use the Bone Folder so the mountain scored line is on the inside.
2.    The stand between is also Thick Whisper White cardstock cut at 4” x 5-1/2” and scored on the long side at ½”, 2-3/4” and 5”.  Use the Bone Folder to crease all of the scored lines.  Attach Tear and Tape on the small ends and to the inside so that the stand looks like a “W” with short sides.
3.    Lily Impressions DSP is cut at 4” x 5-1/4” and adhered to the base of the calendar.
4.    Ink up the Lily Pad with Garden Green ink and stamp it on Garden Green cardstock.  Die-cut them out with the Lily Pad Dies.
5.    Ink up the Lotus Lily Flower with Melon Mambo ink and stamp it on Melon Mambo cardstock. Die-cut it out with the Lily Pad Dies.  Add the Flirty Flamingo accent die with Multipurpose Glue or Fine-Tip Glue Pen.
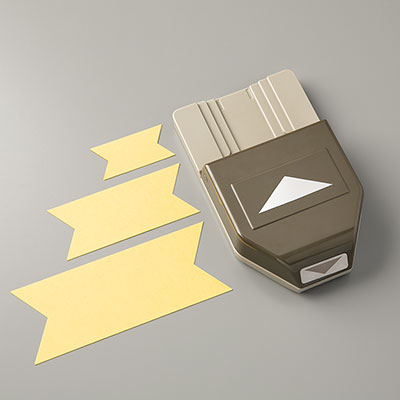
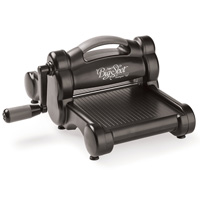
6.    Ink up the sentiment “Each day is a new beginning” with Memento Black ink on Whisper White cardstock.  Use the Triple Banner Punch to make a banner end.
7.    Layer everything out before placing it on the calendar.  Remove adhesive on the back of the calendar and attach at the bottom making sure you’ll have room at the top for the sentiment and Melon Mambo Lily flower.  Attach the sentiment banner with Multipurpose Glue as well as the Lily Pad.  Attach the Lotus Lily flower with Dimensionals.


Thursday, April 4, 2019

Best Bunny Suspension Card


This is a card we made at the last workshop called a suspension card.  I learned how to make this card from a video from Barb Mullikin.  Here are my instructions:

1.     The base of the card is Thick Whisper White cardstock cut at 4-1/4” x 11” and scored at 5-1/2” in the middle.

2.    The second layer is Botanical Butterfly DSP cut at 4” x 5-1/4”. Layer onto the front of the card for placement.  Put a small dap of Snail Adhesive in the middle.  Place oval die over center and die cut out in the Big Shot.

3.    Take the scallop oval and the oval you used in 2. to create a nest together on a scrap of Highland Heather cardstock.

4.    On the front of the card place two strips of Tear and Tape at the top of the oval and two at the bottom of the oval.

5.    Lay a strip of Baker’s over the center of the oval.  Then put more Tear and Tape over the other Tear and Tape to hold in place.

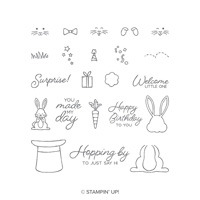
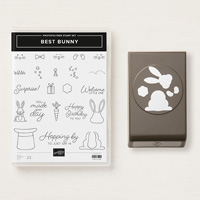
6.    Ink up the bunny pieces with Memento Black ink and punch out with the Bunny Builder Punch.  Color in with the Smoky Slake Stampin’ Blends. 

7.    Stamp the birthday package and fussy cut it out with the Paper Snips.  Color it in with Highland Heather Stampin’ Blends.  The front paws should be attached as though holding the present in front.  Put the tail in the back.

8.    Put the bunny back in the center of the opening with the Baker’s twine down the middle of the bunny.  Add Glue Dots..

9.    Take the front bunny on top of the bunny back.

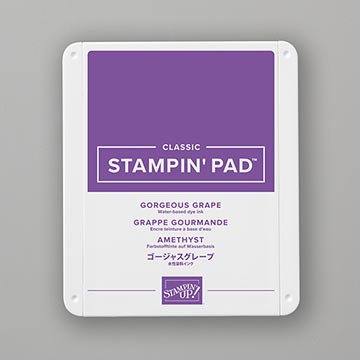
10.  Ink up the “Surprise” sentiment with Gorgeous Grape on Whisper White 5/8” strip.  Flag it with the Paper Snips to create a banner.

11.   On the inside down at the right bottom, ink up the sentiment “Happy Birthday”.

12.  Optional:  Add sequins to the front.  Spin twine around so when card is opened it spins around.

Products I used:


Monday, March 6, 2017

Balloon Adventures Gift Card


1.     The base of my card is Emerald Envy cut at 4-1/4” x 11” and scored at 5-1/2” and 2-1/4.”

2.    The Party Animal DSP is cut at 3” x 4” and adhered to the front with Multipurpose Glue.

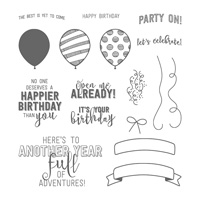
3.    Ink up the sentiment “Open Me Already” with Emerald Envy ink and stamp on a 1” x 3” Whisper White cardstock and layer onto a 1-1/4” x 3” Emerald Envy cardstock.  Adhere over the DSP in the center.

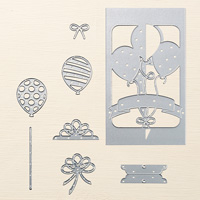
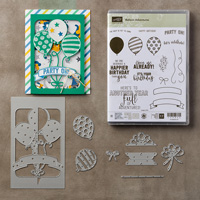
4.    To make the slot for the gift card, use the thinlet in the Balloon Pop-Up Thinlets Die twice to create the slit using the Big Shot.

5.    Use Tear and Tape on either side of the slit to create the pocket for the gift card.

6.    On the inside, ink up the sentiment “No one deserves a Happier Birthday Than you” with Pacific Point ink and stamp to the left on the Whisper White cardstock.

7.    Ink up the balloons with Pacific Point and Emerald Green and stamp to the right of the Whisper White cardstock.  Ink up the strings with Pacific Point.

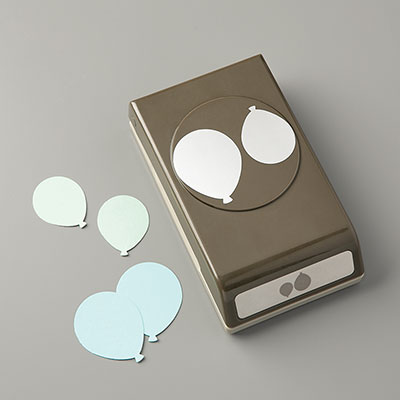
8.    Punch out a Crushed Curry balloon using the Balloon Bouquet Punch.  Attach a Dimensional on the back and place it in front of the other two balloons.

Products I used:


Fall Pumpkins and Sunflowers card

Fall is in the air!  Yes, it is finally sweater weather here in Indiana.  It has been a hot summer, so it's nice to have cooler weather....