Showing posts with label Real Red. Show all posts

Monday, June 29, 2020

Dandelion Wishes - Fourth of July

My cat Milo is all black and he is afraid of the fireworks like most animals are.  I thought it would be fun to include him in my Fourth of July card as if he is looking at the beautiful fireworks display.  I've seen other people use the Dandelion Wishes as fireworks, so I thought I would give it a try.  I was inspired by Tina Wardell's card with Playful Pets.  Here are the instructions to my card.


1.     The base of the card is Pacific Point cardstock cut at 5-1/2” x 8-1/2 and scored at 4-1/4” in the middle.
2.    The second layer is Real Red cardstock 3-5/8” x 5”
3.    The third layer is Whisper White cardstock cut at 3-3/8” x 4-3/4”.
4.     Stamp the Dandelion Wishes stamp on the Whisper White cardstock in Versamark ink.  Eliminate the stems.  Add the White Embossing Powder and heat set with the Heat Tool.  I actually used the retired Shimmer White EP.
5.    Using Sponge Dauber, sponge the Real Red and Pacific Point on the fireworks.  The sparkles of the embossing powder will still shine through.
6.    Use the sentiment “Let’s Celebrate” from the Celebrate Sunflowers stamp set.
7.    Ink up the “Let’s” with a Black Marker.  Then alternate Real Red and Pacific Point markers on the “celebrate”.
8.    Basic Black scrap for the cat.  Punch it out.
9.    Attach punched out Basic Black cat using Dimensionals to the card.

Products I used:


Product List
Shimmer White Stampin' Emboss Powder
[149511]
$6.00
Cat Punch
[144666]
$18.00
Real Red Stampin' Write Marker
[100052]
$3.50
Pacific Point Stampin' Write Marker
[120968]
$3.50

Tuesday, May 12, 2020

Geared Up Garage

This is a masculine card that I need for a birthday for a friend.  I've not made any cards with it yet, so decided it was time I used it especially since he collects classic cars.  
Here are the instructions for my card:

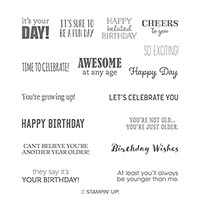
Stamp Sets:  Geared Up Garage, Itty Bitty Birthdays (inside)
Cardstock:  Real Red, Gray Granite, Whisper White, Silver Foil
Ink:  Memento, Stampin’ Blends Real Red Combo and Mango Melody Combo
Other:  Big Shot, Garage Gears Dies, Paper Snips, Dimensionals, Multipurpose Glue

1.     The base of the card is Real Red cardstock cut at 5-1/2” x 8-1/2” and scored at 4-1/4” in the middle.
2.    The second layer is Gray Granite cardstock cut at 4” x 5-1/4” and inked up with Gray Granite ink using several of the stamps.
3.    Ink up the car stamp with Memento Black ink on Whisper White cardstock.  Color it in with the Stampin’ Blends.  Die cut with the Garage Gears Dies in the Big Shot.
4.    Using the Silver Foil and gears die, die cut in the Big Shot.  Adhere to the card with Multipurpose Glue.
5.    Ink up the sentiment “You’re a Classic” with Memento Black ink on Whisper White cardstock strip.  Use the Paper Snips to make a banner on both ends and attach with Multipurpose Glue.
6.    Attach Dimensionals on the car and attach to the card over the gears.

Products I used: 


Thursday, January 30, 2020

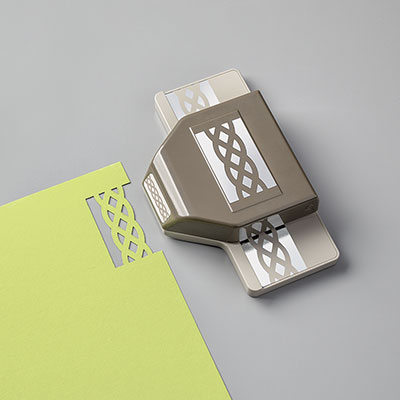
Heartfelt Braided Border Punch

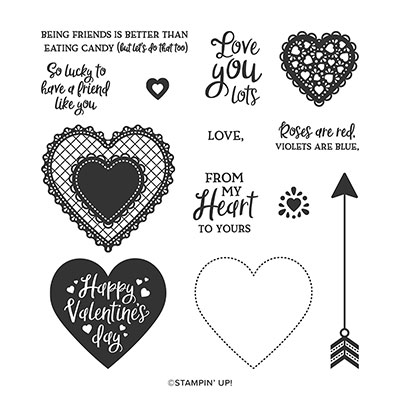
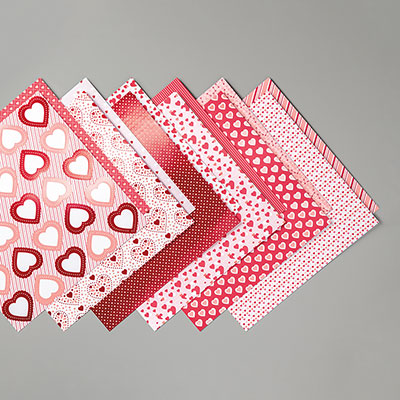
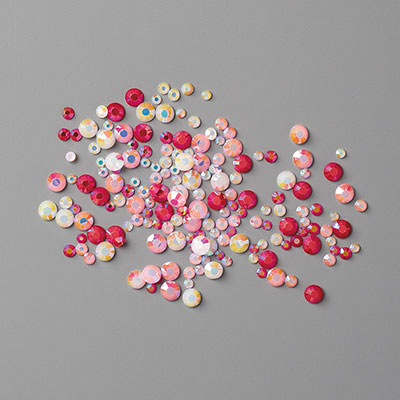
This is a great card to send to a friend for Valentine's or anytime.  The set is called Heartfelt and it is in the 2020 January-May Mini catalog on pages 8, 9 and 10.  The colors are Flirty Flamingo and Real Red which shows you on page 9 the colors in the Suite to use with the From My Heart Specialty Designer Series Paper.  I bought the whole Suite because I loved everything that was in it.  I plan on baking brownies in the tins by using a brownie mix and filling them up like cupcakes and bake for about 15 minutes at 350.  They come with plastic lids to add after the brownies have cooled and you can decorate each lid using the doilies, ribbon, and sentiments.

Here are the directions for this card:

Stamp Set:  Heartfelt (2020 January-May Mini) Page 10

Cardstock:  Flirty Flamingo, Real Red, Whisper White, From My Heart Specialty DSP

Ink:  Flirty Flamingo or Real Red

Other:  Heart Punch Pack, Braided Border Punch, From My Heart Faceted Gems, Multipurpose Glue, Take Your Pick Tool


1.     The base of the card is Flirty Flamingo cardstock cut at 4-1/4” x 11” and scored at 5-1/2” in the middle.

2.    The second layer is Real Red cardstock cut at 3-3/4” x 5” and from the From My Heart Specialty DSP it’s cut at 3-5/8” x 4-7/8”.  Layer it onto the Real Red cardstock.

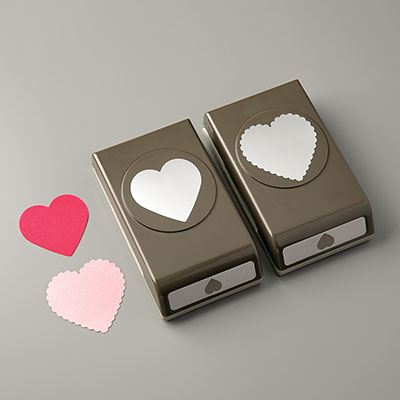
3.    Use the Scallop Heart Punch to punch out the heart from the Specialty DSP. Ink up the sentiment “So lucky to have a friend like you” with Real Red or Flirty Flamingo ink depending on which heart you punch out. Put Dimensionals on the back to pop it up.

4.    Punch out from Real cardstock a braided layer using the Braided Border Punch.  Attach with Multipurpose Glue.

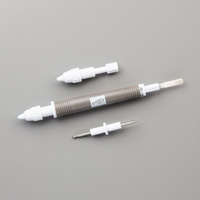
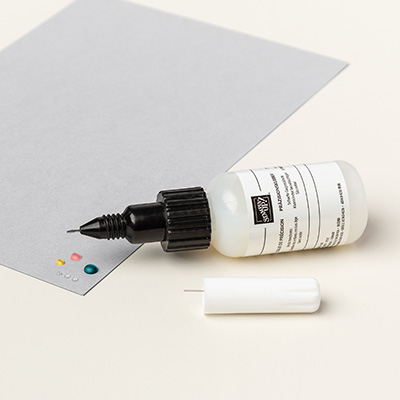
5.    Attach 3 Faceted Gems to the card using Multipurpose Glue or Fine-Tip Glue Pen.  Use the Take Your Pick Tool to pick them up using the putty end.

Products I used:


Friday, November 15, 2019

Cup of Christmas - Enjoy!

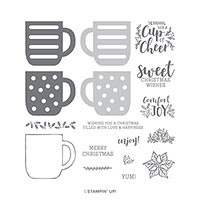
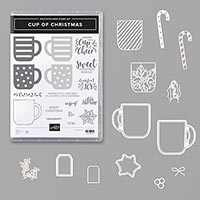
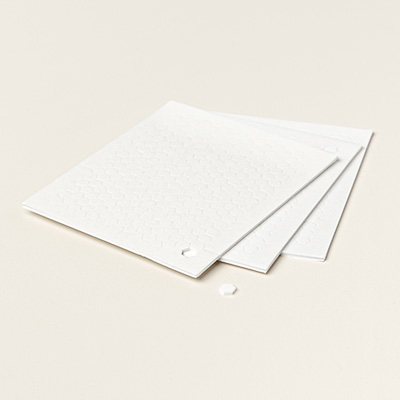
This is one of my favorite sets in the 2019 Holiday Catalog on page 34.  Why?  Because it can be used not just for Christmas.  It can be used for coffee, tea, hot chocolate cards or projects throughout the year. This set is also reversible which means the stamps can be inked on either side.  Of course, I love the candy cane and this set coordinates with the Cup of Cheer Dies; even better.  My card was inspired by Julie Gibson and I did use the retired Multipurpose Adhesive Sheets.  Here are my instructions:

Stamp Sets:  Cup of Christmas, Itty Bitty Christmas
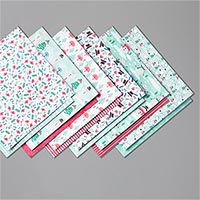
Cardstock:  Real Red, Whisper White, Let it Snow Specialty DSP
Ink:  Real Red
Other:  Big Shot, Cup of Cheer Dies, Subtle Embossing Folder, Multipurpose Glue, Dimensionals, Mini Dimensionals, Sizzix Adhesive Sheets (retired)

1.     The base of the card is Real Red cardstock cut at 5-1/2” x 8-1/2” and scored at 4-1/4” in the middle.
2.    The second layer is Whisper White cut at 4” x 5-1/4” and inserted into the Subtle Embossing Folder and run through the Big Shot.  Adhere to the front of the card with Multipurpose Glue.
3.    The third layer is 3” x 4-1/4” of Real Red.  The DSP is 2-3/4” x 4”.  Layer together and adhere with Dimensionals.
4.    Die cut the right handed cup and candy canes.  For the layer over the Whisper White cup, I used the Sizzix Adhesive sheet, so peel off the backing so that it will stick to the cup.  The candy cane background is Whisper White (no backing) but the Real Red stripes has the adhesive on it to so that will stick to the Whisper White candy cane.  Use the Mini Dimensionals to adhere the candy cane.  Use the Dimensionals on the back of the cup to adhere to the card.
5.    Ink up “enjoy” with Real Red ink on Whisper White tag.  Layer onto Real Red tag with Multipurpose Glue.  Put a Dimensional on the back and adhere to the front of the card.  
6.  For the inside, I used a greeting from Itty Bitty Christmas.

Products I used: 


Fern & Flora - "You Make the World a Better Place"

Here is another card that I made using the Moonlit Flora Designer Series Paper.  It is so beautiful that it really makes the card without pu...