Showing posts with label Pear Pizzazz. Show all posts

Sunday, January 12, 2020

Timeless Tulip


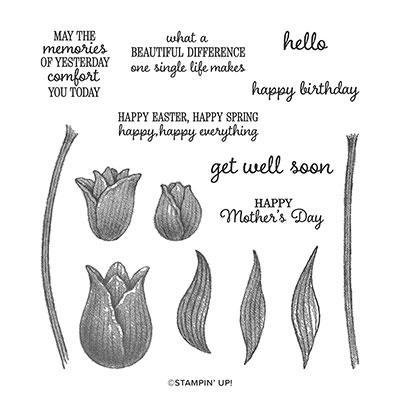
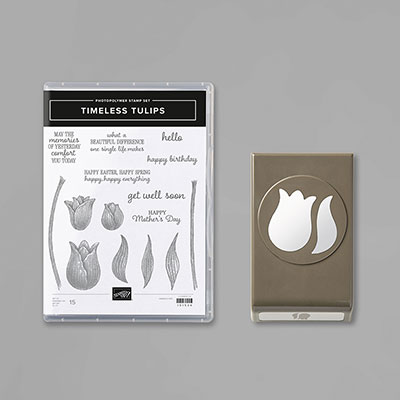
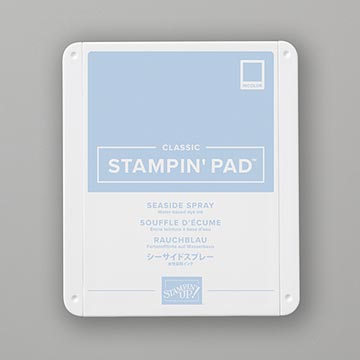
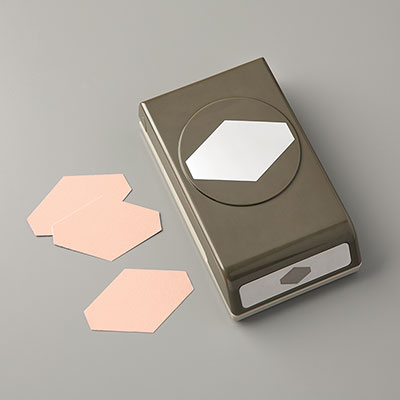
This is was the first stamp set I decided I wanted to purchase as a demo for the preorder in December from the January-June 2020 Mini Catalog.  It is a Photopolymer stamp set with 15 stamps.  There are 7 sentiments included which could be for Mother's Day, Get Well, Sympathy and Birthday.  I used the Seaside Spray In-Color for the base of my card.  It's listed on page 43 and you can purchase it as a bundle with the Tulip Builder Punch,  If you wish to order any of the products below, just click on the picture and it will take you directly to my website to order.  This is the first card I made using this set.  

Here are my instructions: 


Stamp Set:  Timeless Tulips
Cardstock:  Seaside Spray, Whisper White
Ink:  Seaside Spray, Pear Pizzazz, Memento Black
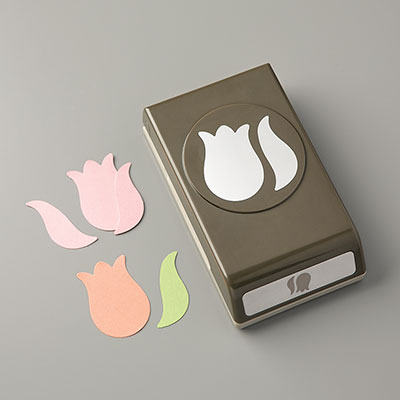
Other:  Big Shot, Rectangle Stitched Dies, Tulip Builder Punch, ¼” Seaside Spray Metallic Ribbon, Glue Dots, Stamparatus, Dimensionals, Glue Dots, Multipurpose Glue.

1.     The base of the card is Seaside Spray cardstock cut at 5-1/2” x 8-1/2” and scored at 4-1/4” in the middle.
2.    The second layer is Whisper White cardstock cut at 3-3/4” x 5”.
3.    The third layer is Seaside Spray cardstock cut at 3-1/8” x 4-1/2”.
4.    The fourth layer is Whisper White which is die-cut in the Big Shot with the Rectangle Stitched Die (third largest).
5.    Line up the stamps on the Stamparatus for placement Ink up the tulip stamp with Seaside Spray and stamp on the stitched Whisper White rectangle.  Stamp the stems and with Pear Pizzazz.
6.    Stamp the tulip stamp with Seaside Spray on a Whisper White scrap and punch it out with the Tulip Builder Punch.  Add Dimensionals to the back and adhere over the first stamped tulip flower image.
7.    Ink up “Happy Birthday” with Memento Black ink and stamp on the lower left of the tulip.
8.    Take a 2” piece or less of ribbon and tie in a faux bow and trim off the excess.  Attach to the base of the tulip with a Glue Dot.

Products I used: 
Saturday, February 9, 2019

Dear Doily with Flowers


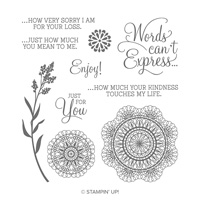
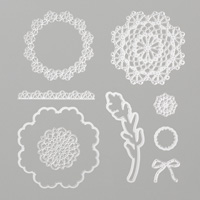
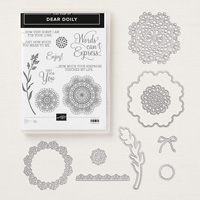
The Dear Doily stamp set in the 2019 Occasions catalog is a favorite of mine, but I hadn't tried using the flowers yet, so decided I would make a card using them today.

Here are my instructions:

1.     Base of the card is Gorgeous Grape cardstock cut at 4-1/4” x 11” and scored at 5-1/2” in the middle.

2.    The second layer is Pear Pizzazz cardstock cut at 4” x 5-1/4” and inserted into the Layered Leaves TIEF and run through the Big Shot.  Adhere to the front of the card Multipurpose Glue.

3.    Cut Whisper White cardstock at 2-3/4” x 4-1/4”.  Die cut a large doily with the Doily Builder Thinlet Dies from scrap cardstock and layer over Whisper White cardstock.  Holding doily in place as a mask and sponge Gorgeous Grape ink over the doily.  Remove doily.  Layer onto a 3” x 4-1/2” of Gorgeous Grape cardstock.

4.    Using the Stampin’ Markers on the flower stamp (Pear Pizzazz for the leaves and stem; Gorgeous Grape for the flowers).  Huff on them and stamp scrap of Whisper White cardstock.  Die cut three of them out with the Doily Builder Thinlets Dies.

5.    Using Mini Dimensionals adhere over the sponged doily.

6.    Ink up the sentiment with Gorgeous Grape ink and stamp on Whisper White cardstock.  Punch out with the 1-1/4” Circle Punch.  Punch a scallop circle punch from Gorgeous Grape cardstock with the 1-3/8” Scallop Circle Punch.  Layer together with Multipurpose Glue.  Add Dimensionals to the back and adhere to the front of the card.

7.    Die cut a Gorgeous Grape bow with the Doily Builder Thinlets.

8.    Put Dimensionals on the back of the layered cardstock and attach to the front of the card.

Products I used:

Monday, January 15, 2018

Heartfelt Blooms with Watercolor Pencils

This card was made with the Sale-a-Bration set "Heartfelt Blooms" which  I earned with a $50 order.  When I first saw this set, I wasn't thrilled with it but the more I played with it, the more I liked it. It is on page 4 of the SAB catalog and it comes in wood or clear mount.  This set when stamped gives a photographic finish, and it also has a patent pending.  I stamped it in Basic Gray and then colored it in with Watercolor Pencils.  Then I used my Wink of Stella Glitter Brush, but a Blender Pen will also work.

Here are the products I used:


Friday, January 12, 2018

Beautiful Day Butterfly

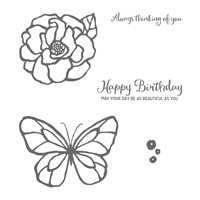
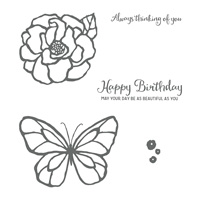
This is another card I made using the Brusho Crystals.  Although, the colors are not as vibrant as the cards I've made so far.  It's a different technique.  First I embossed the butterfly with Gold Embossing Powder and this time used Whisper White cardstock.  I used a palette to paint with the Aqua Painter, so my crystals were watered down but yet I didn't spritz the card with water.  I wanted to keep the colors inside the lines of the butterfly.  So here my instructions on how I made this card:


1.     The base of the card is Marina Mist cardstock cut 4-1/4” x 11 and scored at 5-1/2” in the middle.
2.    The second layer is Pear Pizzazz cut at 4-1/4” x 5-1/4” and the third layer is Whisper White cut at 3-3/4” x 5”.
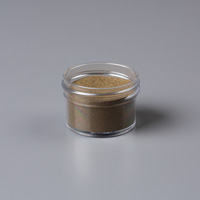
3.    Ink up the butterfly stamp with Versamark ink and stamp onto the Whisper White cardstock towards the top.  Sprinkle with Gold Embossing Powder and heat set with Heat Tool.
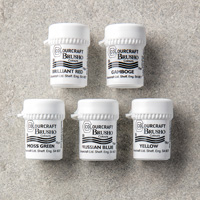
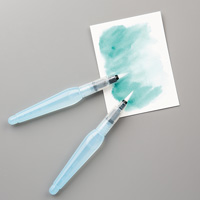
4.    Sprinkle Brusho Crystal in each section of the paint palette.  Add water from the Aqua Painter to each section.  Paint the butterfly sections as you wish with the Aqua Painter, cleaning it off between colors.  I used the Moss Green and Prussia Blue for my butterfly.
5.    For the sentiment, ink it up with Archival Basic Black and stamp onto scrap of Pear Pizzazz cardstock.  Use the Paper Snips to create a banner and attach to the bottom of the Whisper White cardstock.

Products I used:

Fern & Flora - "You Make the World a Better Place"

Here is another card that I made using the Moonlit Flora Designer Series Paper.  It is so beautiful that it really makes the card without pu...