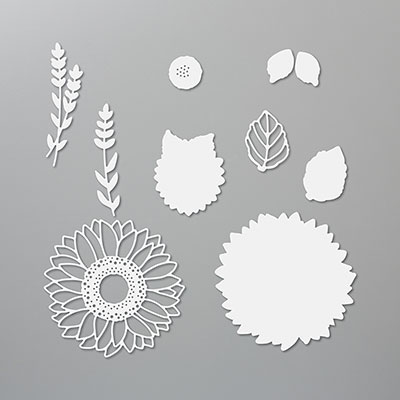
Stamp Set: Celebrate Sunflowers #152517 Bundle #152704
Cardstock: Thick Whisper White #140272, Whisper White
#100730, Pretty Peacock #150880, Seaside Spray #150883, Misty Moonlight #153081,
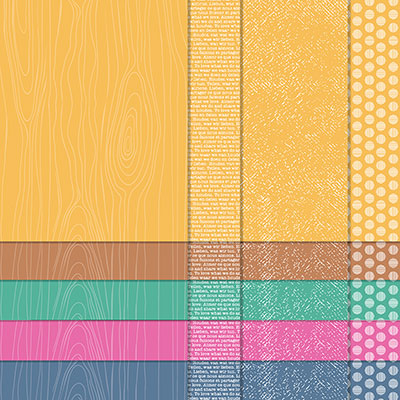
2020-2021 In-Color DSP (Misty Moonlight) #153070
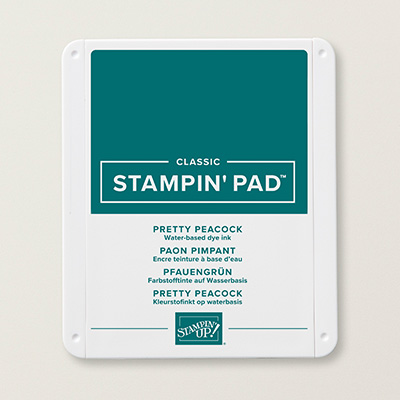
Ink: Pretty Peacock #150083, Misty Moonlight
#153118
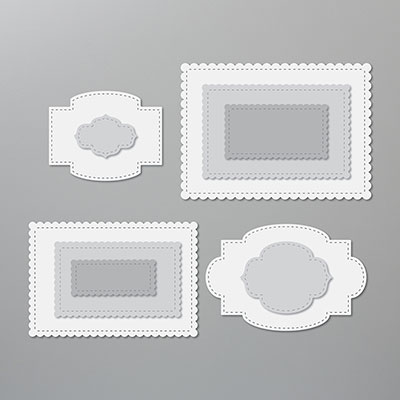
Other: Die Cutting Machine, Stitched So Sweetly Dies
#151690, Sunflower Dies #152704, Classic Label Punch #141491, Multipurpose Glue
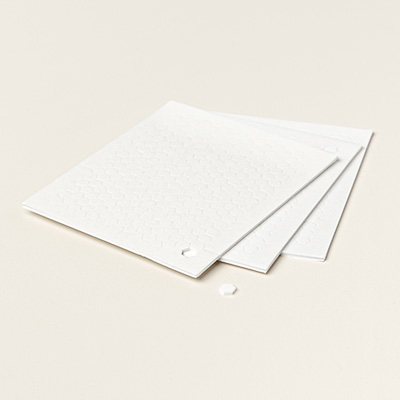
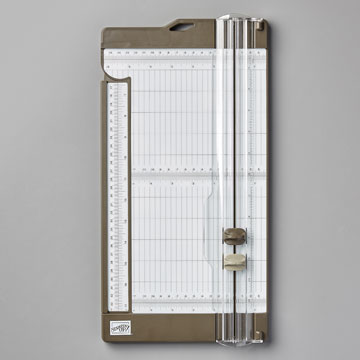
#110755, Dimensionals #104430, Mini Dimensionals #144108, Paper Trimmer #152392,
Post-it Notes
1. The base of the card is Thick Whisper White
cardstock cut at 5-1/2” x 8-1/2” and scored at 4-1/4” in the middle.
2. The third layer is the Misty Moonlight DSP
from the 2020-2021 In-Colors DSP and cut at 4-1/4” x 5-1/2” and adhered to the
front with Multipurpose Glue.
3. Die cut the largest Stitched So Sweetly Die
from Whisper White cardstock and trim off the top edge with the Paper
Trimmer. Adhere to the front of the card
with Multipurpose Glue.
4. Ink up the leaves using Pretty Peacock ink
on Pretty Peacock cardstock. Die cut
them out using the Sunflowers Dies. Adhere with Multipurpose Glue to the
Whisper White Stitched So Sweetly die cut.
5. Ink up the base of the sunflower stamp
using the Stampin’ Spot from the May Paper Pumpkin Kit onto Seaside Spray
cardstock. Die cut using the Sunflower
Dies.
6. For cut the layering outlines from Misty
Moonlight cardstock and adhere together using Multipurpose Glue.
7. Put Dimensionals on the back of the layered
sunflowers and adhere to the card over the leaves.
8. Use a post-it note to block part of the
sentiment. Ink it up with the Misty
Moonlight ink. Remove the post-it note and
stamp it on Whisper White scrap. Punch
it out with the Classic Label Punch. Use
Multipurpose Glue on the left half of it and a Mini Dimensional on the right
side of it. Attach over on the right
side of the sunflower.
Products I used to make this card:
Products I used to make this card:







No comments:
Post a Comment
Thanks for taking the time to comment on my blog. You have made my day!