Showing posts with label Classic Label Punch. Show all posts

Thursday, September 10, 2020

Coming Home - Happy Holidays

Time for another Coming Home card I made all from the Trimming the Town Designer Series Paper and the Home Together Dies.  Here are my instructions:

1.     The base of the card is Misty Moonlight cardstock cut at 5-1/2” x 8-1/2” and scored at 4-1/4” in the middle.

2.    The second layer is Whisper White cardstock cut at 4” x 5-1/4” and adhered to the front of the card.

3.    The third layers were made using the snowbank dies from the Home Together Dies using the Trimming the Town DSP and Whisper White cardstock until it is 3-3/4” x 5” to layer onto the front of the card.

4.    With Paper Snips, trim out the buildings from the Trimming the Town DSP and adhere with Multipurpose glue to the third layers.

5.    Ink up the sentiment “Happy Holidays” from the Itty Bitty Christmas stamp set with Misty Moonlight ink and stamp on a scrap of Whisper White cardstock.

6.    Punch it out with the Classic Label Punch.  Put Mini Dimensionals on the back and adhere to the front center of the card.

Products I used:


Product List

Friday, June 26, 2020

Zany Zebras with Stripes


Years ago, Stampin' Up! sold other zebra stamp sets.  In 2005, there was one called In the Wild and in 2007 there was one called Zoofari Zebra so I knew I had to get this stamp set since the other sets are long retired.  I made this same type card with those Zebra stamps that I bought from Stampin' Up!  but you can view them on Splitcoaststampers.com and my username is Imastamping.  

 I also have a friend who loves zebras, and she has a rare autoimmune disease. The zebra is the official symbol of rare diseases in the United States and is noted for its black and white stripes, which are central to its uniqueness.  

The technique I used was tearing strips of Whisper White cardstock and adhering them to the Basic Black base card.  I used the Layering Squares to add the zebras.  I used the Classic Label Punch for the sentiment.

Products I used to make this card:


Product List

Thursday, May 28, 2020

Celebrate Sunflowers in Misty Moonlight

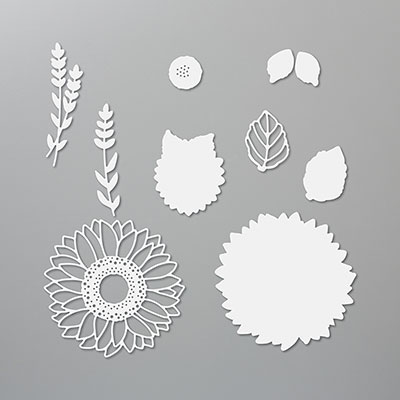
When I received my 2020 May Paper Pumpkin, it had a new In-Color Stampin' Spot called Misty Moonlight, so since I couldn't order the new In-Color ink pads until June, I decided I wanted to make a blue sunflower.  I used the  Misty Moonlight Stampin' Spot on Seaside Spray cardstock for the base of the sunflower and then used the Misty Moonlight for the outline layer of the sunflower.  The new DSP is also Misty Moonlight adhere to Thick Whisper White.  Here is the instructions for making my card:

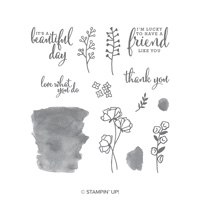
Stamp Set:  Celebrate Sunflowers #152517 Bundle #152704
Cardstock:  Thick Whisper White #140272, Whisper White #
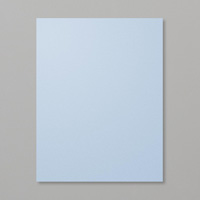
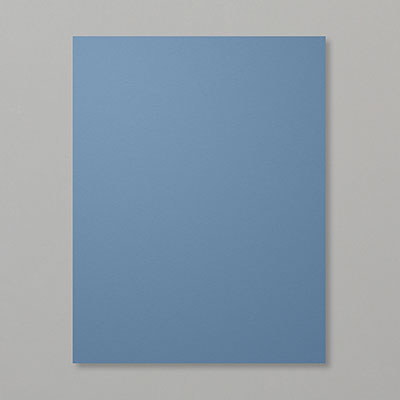
100730, Pretty Peacock #150880, Seaside Spray #150883, Misty Moonlight #153081, 
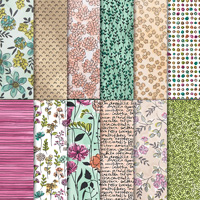
2020-2021 In-Color DSP (Misty Moonlight) #153070
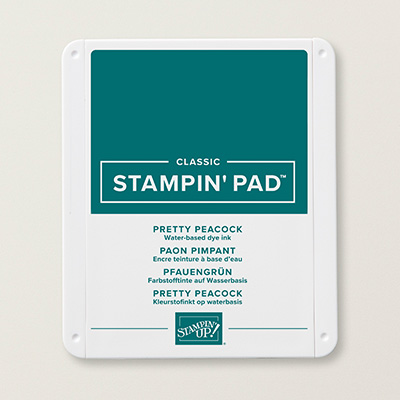
Ink:  Pretty Peacock #150083, Misty Moonlight #153118
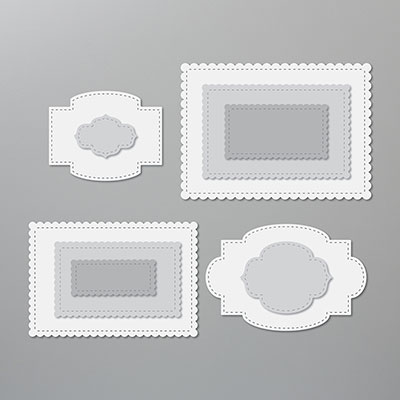
Other:  Die Cutting Machine, Stitched So Sweetly Dies #151690, Sunflower Dies #152704, Classic Label Punch #141491, Multipurpose Glue #
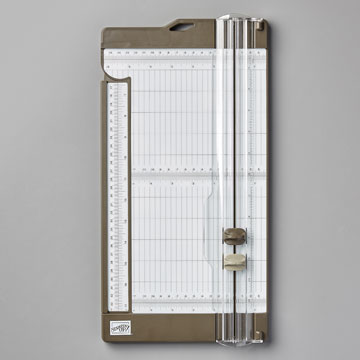
110755, Dimensionals #104430, Mini Dimensionals #144108, Paper Trimmer #152392, Post-it Notes

1.     The base of the card is Thick Whisper White cardstock cut at 5-1/2” x 8-1/2” and scored at 4-1/4” in the middle.
2.    The third layer is the Misty Moonlight DSP from the 2020-2021 In-Colors DSP and cut at 4-1/4” x 5-1/2” and adhered to the front with Multipurpose Glue.
3.    Die cut the largest Stitched So Sweetly Die from Whisper White cardstock and trim off the top edge with the Paper Trimmer.  Adhere to the front of the card with Multipurpose Glue.
4.    Ink up the leaves using Pretty Peacock ink on Pretty Peacock cardstock.  Die cut them out using the Sunflowers Dies. Adhere with Multipurpose Glue to the Whisper White Stitched So Sweetly die cut.
5.    Ink up the base of the sunflower stamp using the Stampin’ Spot from the May Paper Pumpkin Kit onto Seaside Spray cardstock.  Die cut using the Sunflower Dies.
6.    For cut the layering outlines from Misty Moonlight cardstock and adhere together using Multipurpose Glue.
7.    Put Dimensionals on the back of the layered sunflowers and adhere to the card over the leaves.
8.    Use a post-it note to block part of the sentiment.  Ink it up with the Misty Moonlight ink.  Remove the post-it note and stamp it on Whisper White scrap.  Punch it out with the Classic Label Punch.  Use Multipurpose Glue on the left half of it and a Mini Dimensional on the right side of it.  Attach over on the right side of the sunflower.

Products I used to make this card:


Thursday, May 17, 2018

Detailed Dragonfly Closure Card

I've been stamping a lot, but I'm sorry to say, I've been neglecting to post to my blog recently.  This is a card I made recently for my swaps using the new preorder "Share What You Love" that you can preorder the month of May HERE

Below are my instructions for making this card and I give credit to Rachel Tessman for designing it.


1.     The base of the card is Thick Whisper White cardstock cut at 5-1/2” x 8-1/2” and folded in half.

2.    The second layer is Share What You Love DSP cut at 2” x 4-1/4” for the strip outside and for the inside 4” x 5-1/4”.

3.    Use the Leaf Punch to punch out two (2) leaves from the Vellum cardstock and color with Mint Macaron ink.  Let dry!

4.    Adhere the first leaf in the left-hand corner of the card with Snail Adhesive and other on the other side of the DSP strip.

5.    Now measure 5/8” from the left side of the card for placement of the DSP strip. (Use the paper grid for measurement – 5/8” is just one mark over from 1/2” inch mark).  Adhere with Snail Adhesive/or Multipurpose Glue.

6.    Insert the Classic Label Punch to punch on the left side of the card until it stops and punch out through both layers of the DSP and Thick WW cardstock.

Then bring the punch down and line it up with the first punch and punch about ½” more.

7.    Use the Detailed Dragonfly Thinlets to make a detailed Basic Black dragonfly and a solid vellum dragonfly in the Big Shot.  Always run the Thinlets through the Big Shot at an angle (or at least not head first, so as not to cause them to bend when done.

8.    Align the detailed black dragonfly on top of the vellum dragonfly using Glue Dots or Multipurpose Glue.  Then add Glue Dots to the bottom of the vellum dragonfly to attach through the punched classic hole in the card.  Fold his wings ups slightly so that when you open the card, his wings will go through the punched hole.

9.    You can add two Rhinestones and attach as his eyes or onto his body.

10.  Add sentiment to the right side and then another sentiment on the inside up at the top.  I used the new sentiment "I'm Lucky to have a Friend Like You" from the new preorder stamp set "Love What You Do" and for the inside of the card, I used the Dragonfly Dreams sets for the sentiment "You Sure Know How to Make Someone Happy."

Products I used:

Easter Basket

Yes, I know Easter isn't until April this year, but as it gets closer, most of the items for this card will probably be hard to get beca...