Showing posts with label Pretty Peacock. Show all posts

Friday, October 9, 2020

Rooted in Nature - Thank you Card

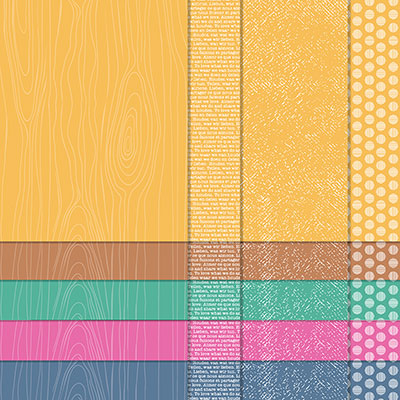
We all need "Thank You" cards to show our appreciation for something we receive from others.  I needed to make one for a customer in another state and this is the card I made which is similar to one I made a couple years ago with the Rooted in Nature set.   The colors are different as well as the sentiment and label.  Sometimes, I refer back to some of the original artwork for ideas.  I just change it up a bit which you can do with other cards you might see on Pinterest, Blogs, or Websites.  Sometimes, I just Case the card exactly as it is if I really like it and don't change a thing, but always give credit to the artist.  Also, this card can be used for any occasion by just changing the sentiment to a birthday, Get Well, etc.

Products I used:  


Product List

Tuesday, July 21, 2020

Forever Fern


When I first opened the 2020-2021 Stampin' Up! Annual Catalog, I fell in love with the Forever Fern stamp set.  I looked at the Forever Greenery Suite and wondered what I would ever do with the Gold Hoops.  Julie Gilson made some beautiful cards using the hoops so I knew I had to purchase her tutorial to learn how.  She is so talented!  These are the cards I made following her directions. 


Product List

Thursday, May 28, 2020

Celebrate Sunflowers in Misty Moonlight

When I received my 2020 May Paper Pumpkin, it had a new In-Color Stampin' Spot called Misty Moonlight, so since I couldn't order the new In-Color ink pads until June, I decided I wanted to make a blue sunflower.  I used the  Misty Moonlight Stampin' Spot on Seaside Spray cardstock for the base of the sunflower and then used the Misty Moonlight for the outline layer of the sunflower.  The new DSP is also Misty Moonlight adhere to Thick Whisper White.  Here is the instructions for making my card:

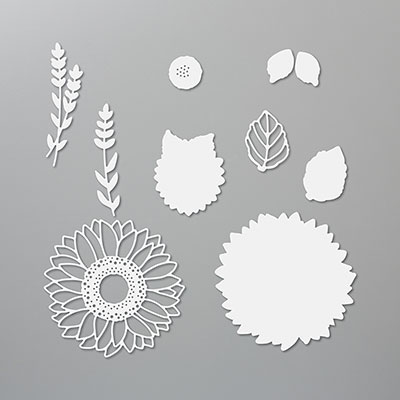
Stamp Set:  Celebrate Sunflowers #152517 Bundle #152704
Cardstock:  Thick Whisper White #140272, Whisper White #100730, Pretty Peacock #150880, Seaside Spray #150883, Misty Moonlight #153081, 2020-2021 In-Color DSP (Misty Moonlight) #153070
Ink:  Pretty Peacock #150083, Misty Moonlight #153118
Other:  Die Cutting Machine, Stitched So Sweetly Dies #151690, Sunflower Dies #152704, Classic Label Punch #141491, Multipurpose Glue #110755, Dimensionals #104430, Mini Dimensionals #144108, Paper Trimmer #152392, Post-it Notes

1.     The base of the card is Thick Whisper White cardstock cut at 5-1/2” x 8-1/2” and scored at 4-1/4” in the middle.
2.    The third layer is the Misty Moonlight DSP from the 2020-2021 In-Colors DSP and cut at 4-1/4” x 5-1/2” and adhered to the front with Multipurpose Glue.
3.    Die cut the largest Stitched So Sweetly Die from Whisper White cardstock and trim off the top edge with the Paper Trimmer.  Adhere to the front of the card with Multipurpose Glue.
4.    Ink up the leaves using Pretty Peacock ink on Pretty Peacock cardstock.  Die cut them out using the Sunflowers Dies. Adhere with Multipurpose Glue to the Whisper White Stitched So Sweetly die cut.
5.    Ink up the base of the sunflower stamp using the Stampin’ Spot from the May Paper Pumpkin Kit onto Seaside Spray cardstock.  Die cut using the Sunflower Dies.
6.    For cut the layering outlines from Misty Moonlight cardstock and adhere together using Multipurpose Glue.
7.    Put Dimensionals on the back of the layered sunflowers and adhere to the card over the leaves.
8.    Use a post-it note to block part of the sentiment.  Ink it up with the Misty Moonlight ink.  Remove the post-it note and stamp it on Whisper White scrap.  Punch it out with the Classic Label Punch.  Use Multipurpose Glue on the left half of it and a Mini Dimensional on the right side of it.  Attach over on the right side of the sunflower.

Products I used to make this card:


Wednesday, May 13, 2020

Dressed to Impress Gift Card Holder

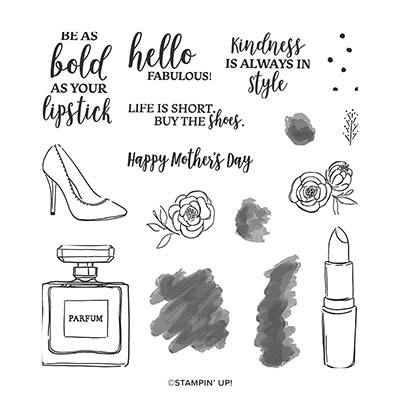
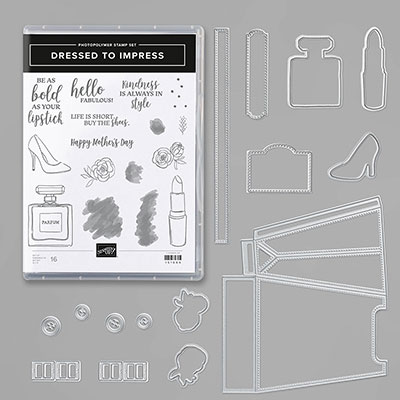
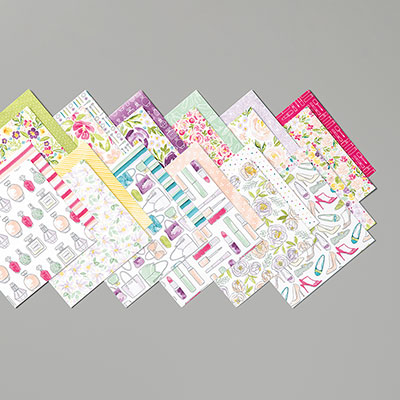
Sometimes I like to case a card from another demo if I really like it and this is one from Stampin' Annie.  It's a gift-card holder and I hadn't had a chance to play with this set yet.  I love the colors in the Best Dressed Designer Series Paper.  Sometime, we just don't have enough time to play with our DSP or we tend to hoard it.    Here are my instructions for making this card:
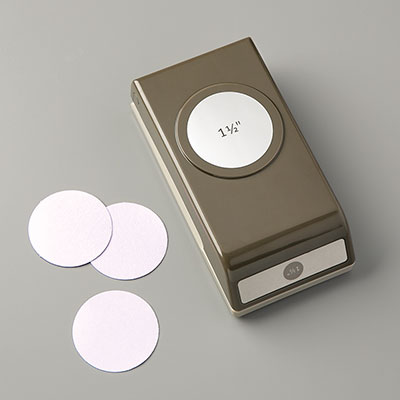
1.     The base of the card is Pretty Peacock cardstock cut at 4-1/4” x 10-3/8” and score at 5-1/2” and 8-3/8”.  For the gift card holder, punch a little half circle with the 1-1/2” Circle Punch.    Cut Mint Macaron cardstock at 2-5/8” x 4” and adhere to the front.  Cut the Best Dressed DSP (stripes) at 2-1/2” x 3-7/8” to adhere to the Mint Macaron on the front.
2.    For the inside, cut Whisper White cardstock at 4” x 5-1/4” and then cut a strip of the Mint Macaron (shoes) DSP for the right side.
3.    For inside, before adhering the gift card holder section with Tear and Tape to leave room for a gift card, add another Mint Macaron (shoes) DSP cut at 1-3/4” x 4”.
4.    Die cut 2-7/8” Circle Stitched Shapes die from Whisper White cardstock.  Ink up the sentiment “life is short, buy the shoes” with Memento Black ink at the top of the white circle.
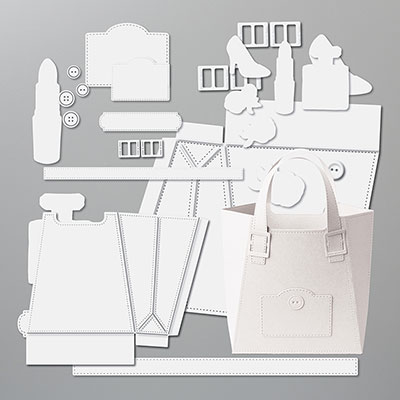
5.    On a scrap of Whisper White, ink up two shoes with Memento Black ink and color them in with the Purple Posy Stampin’ Blends.  Die cut with the All Dressed-Up Dies.  Use the Wink of Stella on them.
6.    Cut one Scallop Circle from Mint Macaron cardstock using Scalloped Circle from Layering Circles Dies.  Adhere together.
7.    Add the die cut shoes to the circle and use Dimensional on the one in front.
8.    Adhere glue to the side that will attach to the front of the card.

Products I used except for some of the dies that will be carried over are not on this list, but will be in the new catalog but reconfigured with different codes:


Glow of Harvest with Painted Pumpkins

This is a card using the Designer Series Paper Glow of Harvest, which was $5 with an order of $75 or more.   Then, I used the masks to make ...