Wednesday, September 25, 2024
Haunted House Kit
Saturday, September 21, 2024
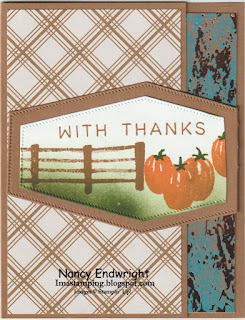
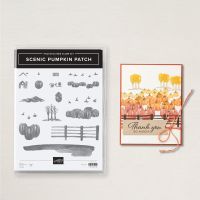
Scenic Pumpkin Patch with Paper Pumpkin - Autumn Abundance
Stamp Sets: Scenic Pumpkin Patch and September 2024 Paper Pumpkin Autumn Abundance
Cardstock: Pecan Pie, Basic White, 12” x 12” Oxidized
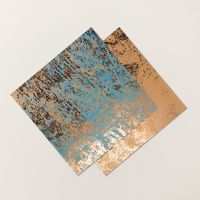
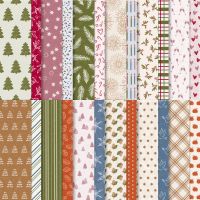
Copper Specialty DSP, 6” x 6” Iconic Celebrations DSP
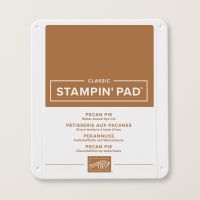
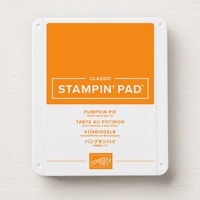
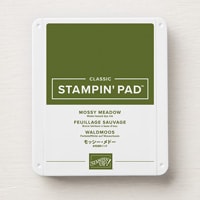
Ink: Pecan Pie, Pumpkin Pie, Mossy Meadow
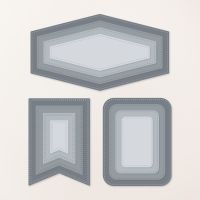
Other: Stampin’ Cut and Emboss Machine, Nested
Essential Dies, Blending Brushes, Paper Trimmer, Multipurpose Liquid Glue.
1. The base of the card is Pecan Pie cardstock
cut at 5-1/2” x 8-1/2” and scored at 4-1/4” in the middle.
2. Cut 1” off the front of the card.
3. Cut Oxidized Copper DSP at 1-1/2” x 5-1/4”
and adhere to the right side of 4” x 5-1/4” of Basic White cardstock for the
inside with Multipurpose Liquid Glue.
4. On the outside, cut the Iconic Celebrations
DSP at 3” x 5-1/4” and adhere with Multipurpose Liquid Glue.
5. Die-cut a large Nested Essential Die from
Pecan Pie cardstock and score it on the right side at ¾”. Adhere the ¾” inch under the inside so that
it will fold over to the front.
6. Die-cut the next largest Nested Essential
Die from Basic White. Stamp your scene
with the fence being Pecan Pie ink. The
pumpkins being Pumpkin Pie with Mossy Meadow stems and use the Blending Brush
and Mossy Meadow ink for the grass. Cut
off ¾” to layer on top of the Pecan Pie Nested Essential.
7. Ink up the sentiment “With Thanks” using
Pecan Pie ink from the Paper Pumpkin set – Autumn Abundance or whatever Fall
sentiment you have. Also, add another
sentiment inside.
Products I used:
Friday, September 20, 2024
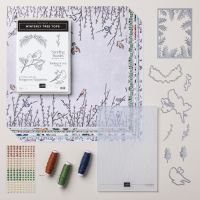
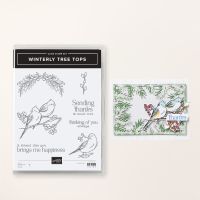
Winterly Tree Tops - Thank you
Stamp Set: Winterly Tree Tops
Cardstock: Cherry Cobbler and Basic White
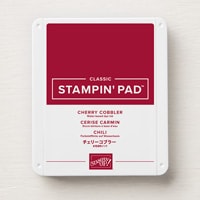
Ink: Tuxedo Black Momento, Mossy Meadow, Cherry
Cobbler
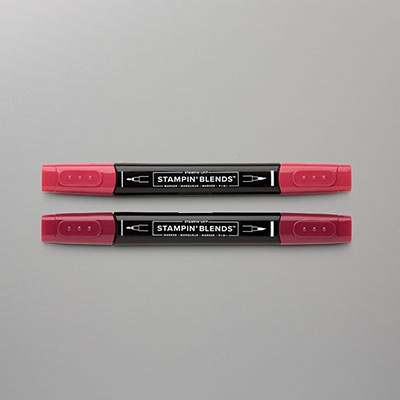
Stampin’
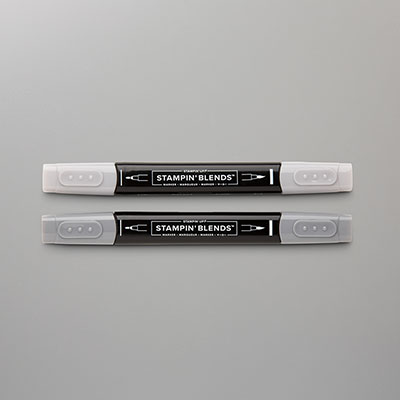
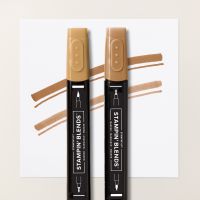
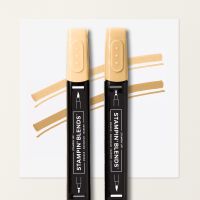
Blends: Cherry Cobbler, Smoky Slate,
Pecan Pie and Peach Pie
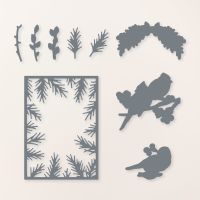
Other: Stampin’ Cut and Emboss Machine, Winterly
Tree Top Dies, Modern Label Punch, Blending Brush, Multipurpose Liquid Glue,
Stampin’ Dimensionals
1. The base of the card is Cherry Cobbler
cardstock cut at 5-1/2” x 8-1/2” and scored at 4-1/4” in the middle.
2. The second layer is Basic White cardstock
cut at 4” x 5-1/4”. Die-cut the frame
out from another Basic White cardstock and use the inside to place on the Basic
White cardstock. Then use the Blending
Brush with Mossy Meadow ink to create the branches. Adhere to the front of the card with Stampin’
Dimensionals.
3. Use Tuxedo Black Memento on a scrap of
Basic White cardstock and color the birds and branches with the Stampin’
Blends. Die-cut it out and use Stampin’ Dimensionals
on the back to adhere to front of the card.
4. Ink up the sentiment “Sending Thanks &
Much Love” with Cherry Cobbler ink on Basic White cardstock. Punch it out with the Modern Label
Punch. Use Stampin’ Dimensionals to pop
it up with the top under the birds slightly.
5. On the inside ink up the sentiment “A
friend like you brings me happiness” with Cherry Cobbler ink and stamp the bird
stamp with Tuxedo Black Memento and color it in with the Stampin’ Blends.
Tuesday, September 10, 2024
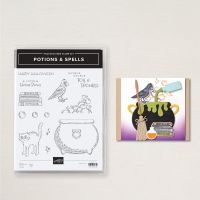
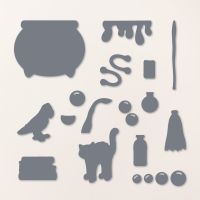
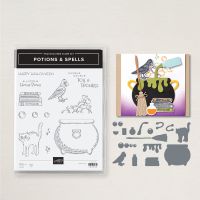
Potions and Spells - Frankie Cauldron
Stamp Set: Potions and Spells
Cardstock: Granny Apple Green, Basic Black, Poppy Parade, Basic White
Ink: Tuxedo Black Memento
Stampin’ Blends: Granny Apple Green
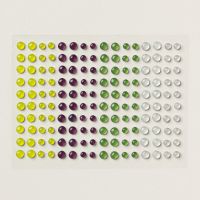
Other: Stampin’ Cut and Emboss Machine, Greetings of the Season’s Dies, Potions and Spells Dies, Black and Very Vanilla Large Check Ribbon, Transparent Adhesive Backed Dots
Products I used:
Valentine Kisses - Shaker Card
This shaker card was inspired by Erica Cerwin, but I changed the ribbon and colored it with a Real Red Blend instead of keeping the Bubble B...

-
Just finished making this fun waterfall card this morning. I love making waterfall cards, so I had to play around with thi...
-
Do you like to chew gum? Have you bought the gum holders with the plastic case? What do you do with the empty case when you are done with ...
-
Who would like to receive a birthday card with a wobble inside? My club remembers had fun making this card last Sunday and I decided to use...

