Stamp
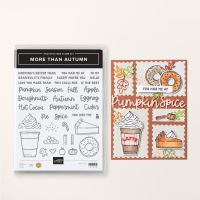
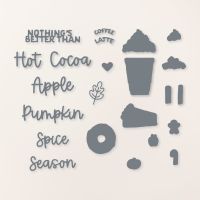
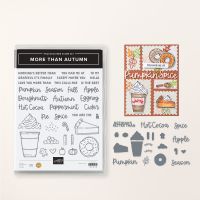
Set: More than Autumn
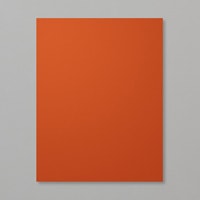
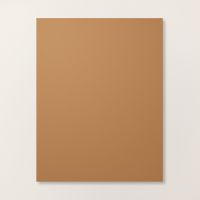
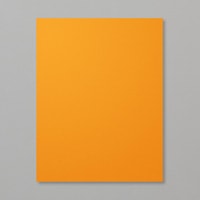
Cardstock: Crushed Curry, Cajun Craze, Pecan Pie,
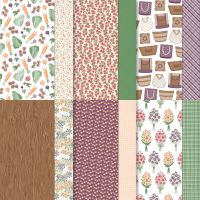
Pumpkin Pie, Basic White, To Market DSP
Ink: Pecan Pie, Crumb Cake
Stampin’
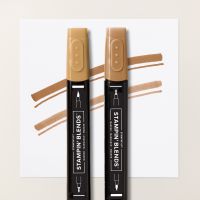
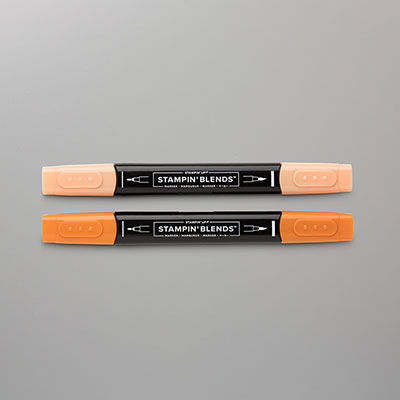
Blends: Pumpkin Pie Light, Pecan Pie
Light
Other: Stampin’ Cut and Emboss Machine, Paper
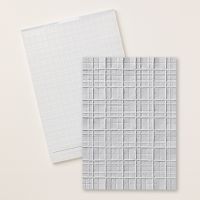
Trimmer, Forever Plaid 3D Embossing Folder, Paper
Snips, More Than Autumn Dies, Something Fancy Dies, Stylish Shapes Dies, Adhesive
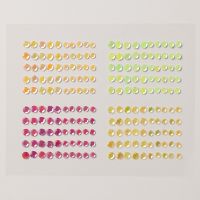
Sheets, Adhesive Backed Shiny Sequins, Stampin’ Dimensionals, Multipurpose
Liquid Glue
1. The base of the card is
Crushed Curry cardstock cut at 5-1/2” x 8-1/2” and scored at 4-1/4” in the
middle.
2. The second layer is Cajun
Craze cardstock cut at 4” x 5-1/4” and inserted into the Plaid 3D Embossing
Folder and run through the Stampin’ Cut and Embossing Folder. Adhere to the
front of the card with Multipurpose Liquid Glue.
3. Die-cut two Pecan Pie
latte cups from the dies and then cut two more from the To Market DSP. Cut from the To Market DSP two latte sleeves
to fit onto the latte cups by using the Paper Snips to cut out the middle and
then attach the sleeves with Multipurpose Liquid Glue.
4. Ink up the whipped cream
with Crumb Cake ink on Basic White cardstock and die-cut.
5. Ink up two pumpkins with
Pecan Pie and color in with the Pumpkin Pie Blends. Die-cut them out. Adhere to the sleeves of the cups with
Multipurpose Liquid Glue.
6. Die-cut a label from the Stylish
Shapes and the Something Fancy Dies from Basic White cardstock. Ink up the sentiment “Nothing’s Better Than”
with Pecan Pie ink on the Stylish Shapes label. Adhere to the top left of the
card with Stampin’ Dimensionals.
7. For the Something Fancy
Die, die-cut the dies “Pumpkin” and “Season” from Pumpkin Pie cardstock. I adhered Adhesive Sheets, but you can always
use a Dauber and Multipurpose Glue on a Silicone Mat when ready to add to the
label. Add the label bottom of the card with Multipurpose Liquid Glue. Then adhere the Pumpkin Season
8. Add your latte cups with
Stampin’ Dimensionals with one overlapping the other slightly. Add the whipped cream with Stampin’
Dimensionals.
9. Add three Adhesive Backed
Shiny Sequins.
Products I used:
Product List








No comments:
Post a Comment
Thanks for taking the time to comment on my blog. You have made my day!