Stamp
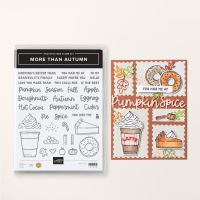
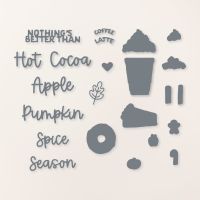
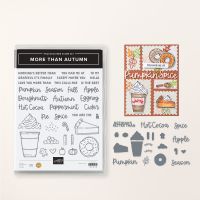
Set: More Than Autumn
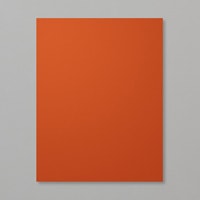
Cardstock: Crumb Cake, Cajun Craze, Basic White, and
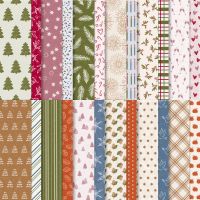
Iconic Celebrations DSP
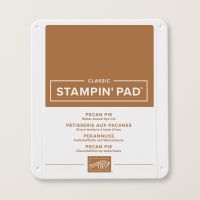
Ink: Tuxedo Black Memento, Pecan Pie
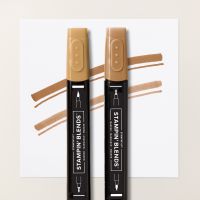
Stampin’
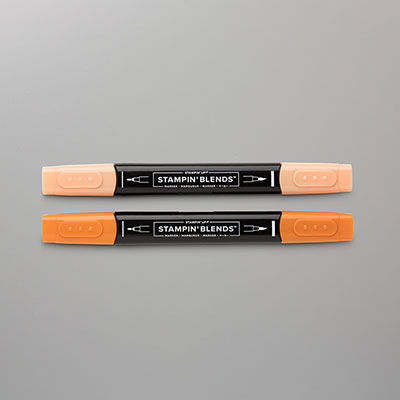
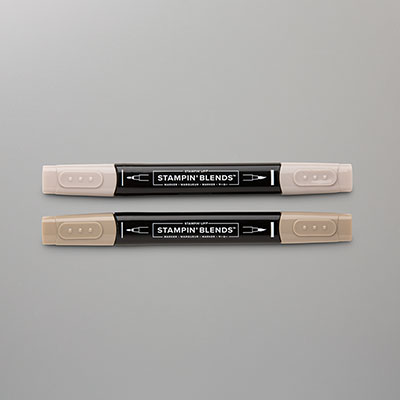
Blends: Pecan Pie, Pumpkin Pie, Crumb
Cake Light
Other: Stampin’ Cut and Emboss Machine, More Than
Autumn Dies, Forever Plaid 3D Embossing Folder, Stylish Shapes Dies, Adhesive
Backed Swirl Dots, Multipurpose Liquid Glue, Stampin’ Dimensionals
1. The base of the card is
Crumb Cake cardstock cut at 4-1/4” x 11” and scored at 5-1/2” in the middle.
2. Cut 2” x 5-1/2” of the
Iconic Celebrations DSP and adhere to the left side of the card front with
Multipurpose Liquid Glue.
3. Cut Cajun Craze cardstock
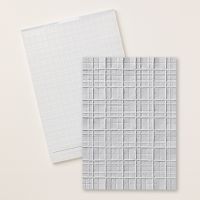
at 3-1/4” x 4-1/2” and insert it into the Forever Plaid 3D Embossing Folder and
run it through the Stampin’ Cut and Emboss Machine. Adhere to the center of the card with Stampin’
Dimensionals.
4. Die-cut a 3” Basic White Circle
using the Stylish Shapes Dies.
5. Ink up the coffee cup with
Tuxedo Black Memento ink and stamp it on the Basic White circle. Color it in with Blends.
6. For the whipped cream, ink
it up with Pecan Pie and highlight with the Crumb Cake Light Blend. Make two.
One is for the inside. Ink up a cinnamon stick with Pecan Pie. Ink up the pumpkin with Pecan Pie and color
with the Pumpkin Pie Blends.
7. For the Pumpkin Pie, color
with Pumpkin Pie and Crumb Cake Blends.
Die-cut all the pieces with the More Than Autumn Dies. Die-cut the whipping cream with the small die
for the inside.
8. Die-cut “Latte” from Cajun
Craze cardstock and adhere to the sleeve of the latte cup with Multipurpose
Liquid Glue. Add the whipping cream with
a Stampin’ Dimensional to the top of the cup.
Add the cinnamon stick and pumpkin with Multipurpose Liquid Glue.
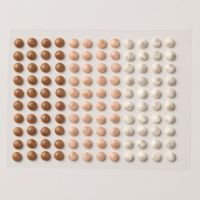
9. Add three Adhesive Backed
Swirl Dots.
10. For the inside: Add a strip ¾” x 4” of the polka dotted DSP
across the bottom with Multipurpose Liquid Glue. Add the Pumpkin pie and the small whipping
cream with Multipurpose Glue.
Products I used:







No comments:
Post a Comment
Thanks for taking the time to comment on my blog. You have made my day!