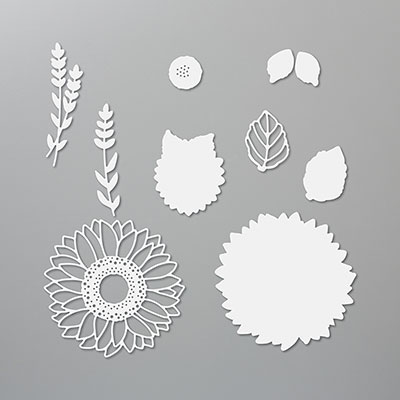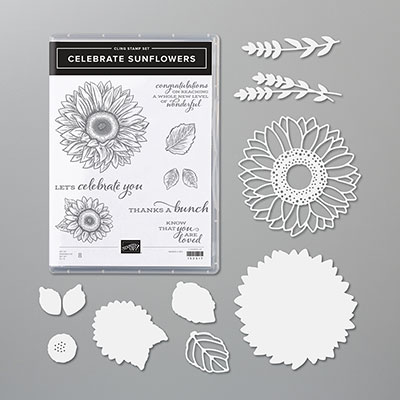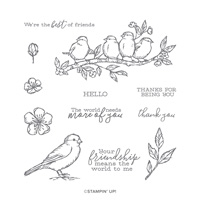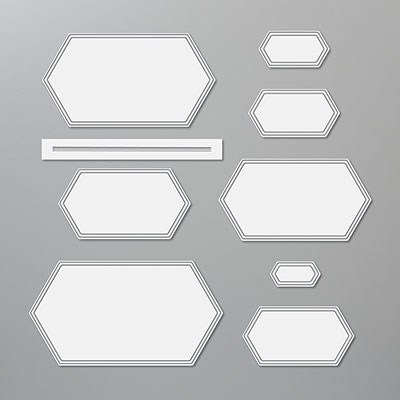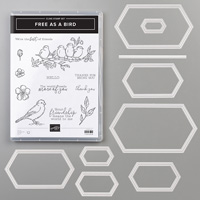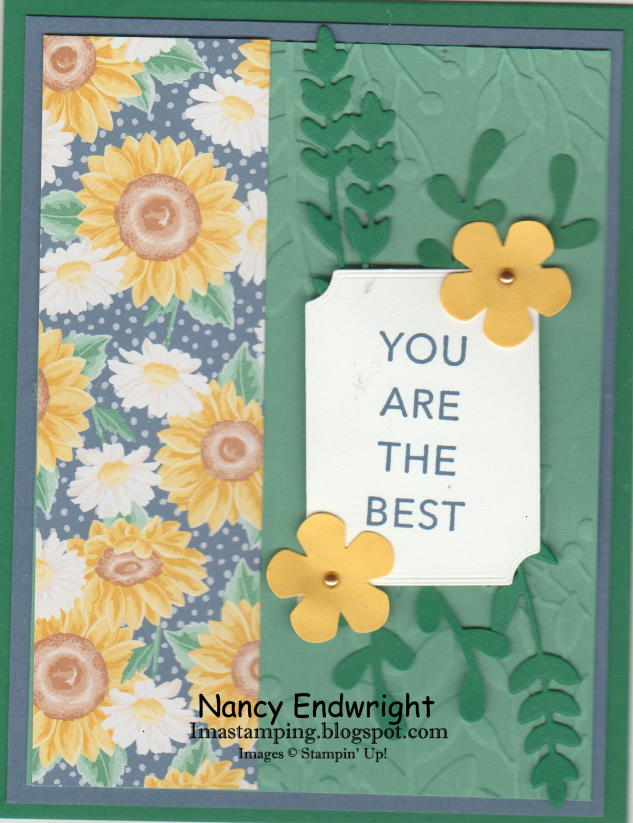
Each month, I do a swap with other Stampin' Up! demonstrators in the United States. The theme was "New Catalog Swaps" so this is one of the new stamp sets that I ordered from the new catalog. I love all the label dies that come with it as a Bundle to save 10%. The new double sided tape Stampin' Seal is a lot stronger than the Snail Adhesive that Stampin' Up! used to have. It holds a lot more too (16.4 yds. compared to 13.1 yds.) and just a dollar more. They also carry Stampin' Seal + which is even stronger but great for 3-D projects and the same 16.4 yds.
The Big Shot is retired right now, but a newer version in the catalog is called Stampin' Cut & Emboss Machine which will be available to customers September 1. There is also a Mini Stampin' Cut & Emboss Machine but we don't know when it will be available yet. As a demonstrator, I will be able to preorder the new Stampin' Cut & Emboss Machine in August.
For the month of June right now, there is a special. If you love Stampin' Up! and want to get a discount even if it's just for your hobby, you can sign up this month for $99 and get $125 worth of product plus you get to choose a FREE BUNDLE of your choice from the catalog with your Starter Kit. I'd love to have you join my team!
")


 Designer Series Paper")


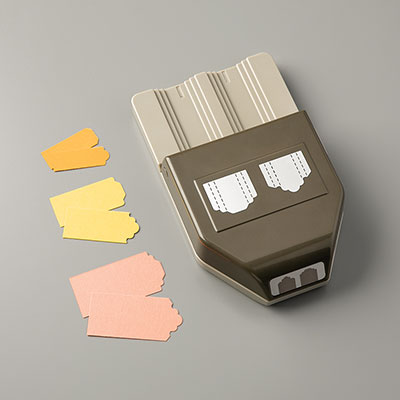
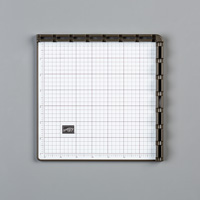
Big Shot
[113439]
$110.00