Showing posts with label Sponge Brayer. Show all posts

Tuesday, October 6, 2020

In the Pines - Snowman Season (inside)


Have you started making your Christmas cards yet?  It's never too early.  On Sunday, I had my October workshop and my club members made this card using the In the Pines Bundle with Shaded Spruce ink.  For the inside of the card, we used a sentiment from the Snowman Season "Hoping this season builds heartwarming memories" and "Season's Greetings is from the In the Pines set.  The 3D Evergreen Forest Embossing Folder was sponged with the Sponge Brayer before running the Whisper White cardstock through the Stampin' Cut and Emboss Machine.  The beautiful Green Foil was cut from the scallop Layering Ovals.  The gals really liked this card.


Products I used:


Product List

Friday, October 2, 2020

In the Pines - Three Trees

October is here!  It's been a rough year for everyone and it's getting closer to the holidays, so I've made another In the Pines card using Shaded Spruce ink.  It just seems to be my favorite color for stamping trees.  I love pine trees and used to have one in my front yard, but unfortunately, a few years ago we had a hard frost that destroyed my tree and I had to have it cut down.  I guess I should replace it because I think my birds would love it.  This card has three pine trees that I stamped with the 2-step stamping technique.  Then I ran it into the Evergreen Forest 3D Embossing Folder, Sponge Brayered it on the logo side with Shaded Spruce ink and ran it through the Big Shot.  Then I added the sentiment above.

Products I used:


Product List

Thursday, July 19, 2018

Enjoy Life

This is a card we did at my club workshop last month that was inspired by Linda Van Wely-Zwolle but I added a zigzag ribbon and used Basic Black cardstock for my borders.
Here are my instructions for this card:


Stamp Set:  Enjoy Life
Cardstock:  Daffodil Delight, Basic Black, Whisper White
Ink: Memento Black, Daffodil Delight, Pumpkin Pie
Other: Sponge Brayer, water drops, paper towel, Stamparatus, Dimensionals, 3/8” Basic Black Shimmer Ribbon

1.    The base of the card is Daffodil Delight cut at 5-1/2” x 8-1/2” and scored at 4-1/4” in the middle.
2.    The second layer is Basic Black cut at 4” x 5-1/4”.
3.    The third layer is Whisper White cut at 3-3/4” x 5”.
4.    Starting with the Daffodil Delight ink up the Sponge Brayer and brayer it across the top of the Whisper White cardstock.  Then ink up the other Sponge Brayer with Pumpkin Pie ink blending the colors.
5.    Optional: Get your hand slightly wet and sprinkle water onto the cardstock and immediate dry with a paper towel.
6.    Ink up the grass with Memento Black ink and stamp along the bottom.
7.    Use the Stamparatus to use the person stamp and Memento Black ink.
8.    Ink up the sentiment onto 1-3/4” x 2-1/4” Whisper White cardstock with Memento Black ink and layer onto the 2” x 2-1/2” Basic Black cardstock.
9.    Use the 3/8” Basic Black Shimmer Ribbon on the back of layers as shown in picture.  Attach with Dimensionals.

Products I used:


Friday, October 13, 2017

Eastern Beauty Cat Thank You

This is similar to a card I saw on Facebook made by Eimear Carvill, but I wanted to make a "thank you" card to a friend/customer who made a special memorial frame for me of my cat Bailey who I recently lost.  I also made an anniversary card for my son and his wife but forgot to scan it first before giving it to them.  They have two cats and thought they'd get a kick out of the card.  Here are my instructions:


Stamp Sets:  Eastern Beauty “Thank You”, Spooky Cat
Cardstock:  Pacific Point, Whisper White, Basic Black
Ink:  Memento Black, Marina Mist, Pacific Point
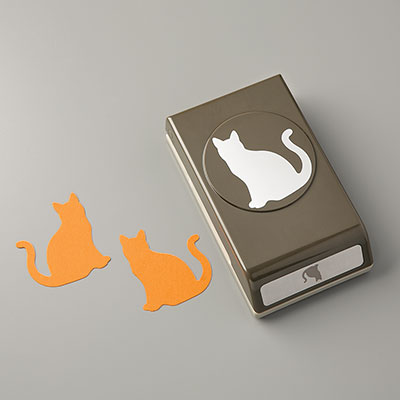
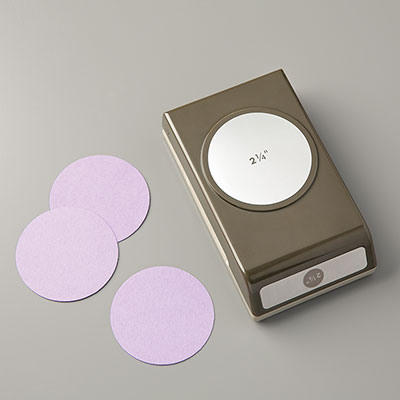
Other:  Cat Punch, Sponge Brayer, Multipurpose Glue, Dimensionals, Post-it Note, 2-1/4” Circle Punch

1.     The card base is Pacific Point cardstock cut at 5-1/2” x 8-1/2” and scored at 4-1/4” in the middle.
2.    The second layer is Whisper White cardstock cut at 4” x 5-1/4”.  Punch out a circle from a post-it note with the 2-1/4” Circle Punch and lay it on the center of the Whisper White cardstock.
3.    Ink up the Sponge Brayer with Marina Mist ink and brayer the Whisper White cardstock several times.  Then ink up the Sponge Brayer with Pacific Point and brayer mostly the top of the Whisper White cardstock.
4.    Ink up “Thank You” with Memento Black ink and stamp inside the moon created with the punched post-it note circle.
5.    Punch out two cats from Basic Black cardstock using the Cat Punch.  Intertwine their tails and put Dimensionals on the back of them and adhere to the moon.

Wednesday, August 10, 2016

Swirly Bird and Shooting Star Spinner


Finally found some time to play with my Sliding Star Framelits.  I decided to make some sailboats using the Swirly Bird set.  The base of my card is Dapper Denim.  Then I used a Post-it note to cover the sky.  I used the Sponge Brayer for the water and cut out Dapper Denim using the Swirly Scribbles Thinlet..  Then I made the sky Daffodil Delight with the Sponge Brayer.  The sailboats are Dapper Denim, Real Red and Marina Mist.  I rounded up a Dimensional between two pennies and attached the one sailboat inside the Sliding Star Framelit to create a spinner card.

Products I used:

Fern & Flora - "You Make the World a Better Place"

Here is another card that I made using the Moonlit Flora Designer Series Paper.  It is so beautiful that it really makes the card without pu...